11b/g Wireless Multi-Client Bridge/AP
Version 1.0
11
3 Client Bridge Mode – Web Configuration
3.1 Logging In
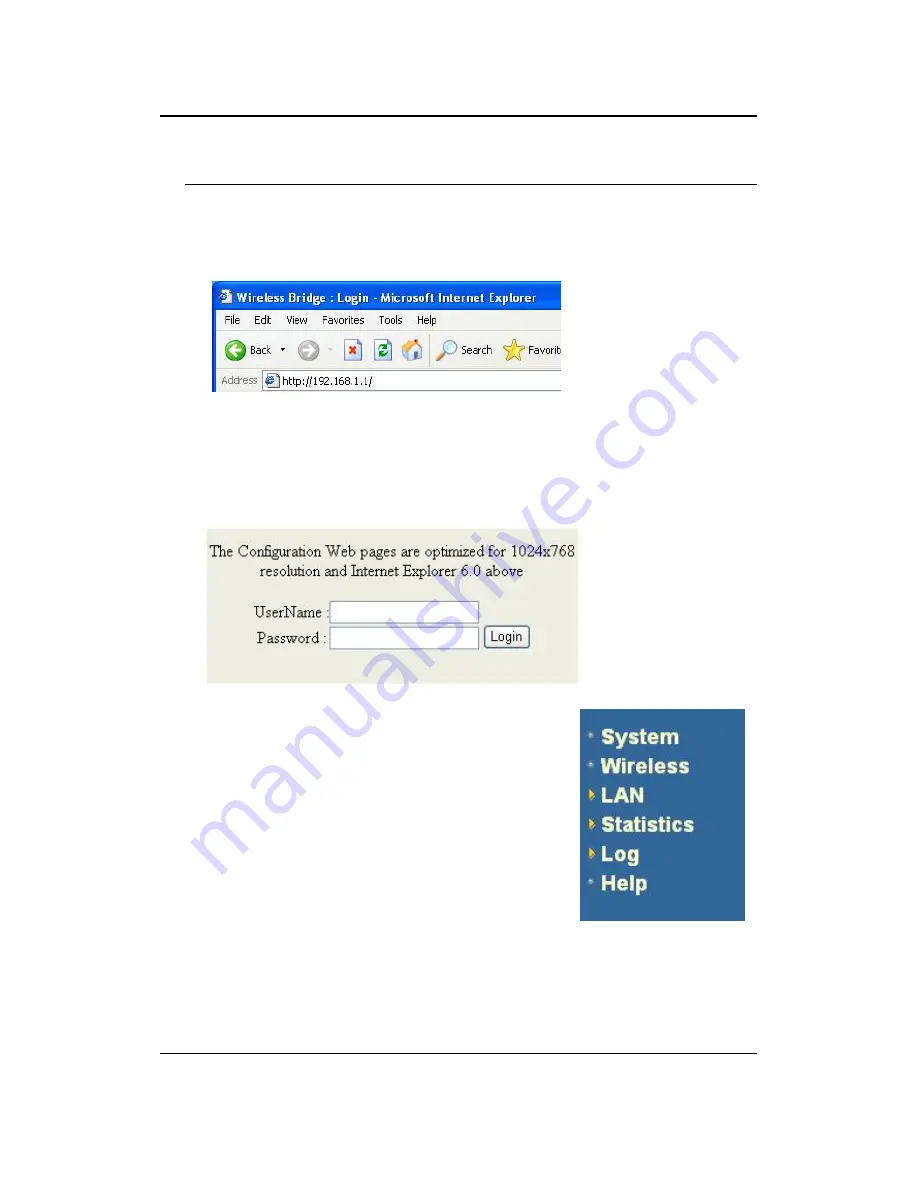
To configure the Bridge through the web-browser, enter the IP address of the Bridge
(default:
192.168.1.1
) into the address bar of the web-browser and press
Enter
.
Make sure that the Bridge and your computers are configured on the same subnet.
Refer to
Chapter 2
in order to configure the IP address of your computer.
After connecting to the IP address, the web-browser will display the login page.
Specify the
User Name
and
Password
. The device does not have a password
configured by default, therefore please leave the password field blank and then click
on the
Login
button.
After logging in you will graphical user interface (GUI)
of the bridge. The navigation drop-down menu on left
is divided into six main sections:
1.
System
: This menu includes the administrator
settings, Also included are other system related
settings such as firmware upgrade, reset to factory
defaults, and system date/time configuration.
2.
Wireless
: This menu includes the settings such as
network type (infrastructure/ad-hoc), data rate, and
security. Advanced wireless settings such as
wireless MAC clone and RTS/fragmentation
threshold. Are also included.
3.
LAN
: This menu includes the configuration of the
LAN port and settings for the LAN IP, subnet mask,
default gateway and DHCP client.
4.
Statistics
: This menu displays the wired and wireless interface statistics.
5.
Log
: This menu displays a log of the critical and informational events that are
triggered on the device.
6.
Help
: This menu describes the features of the device and the parameters for each
setting.


