17
3.
Use [
△
] and [
▽
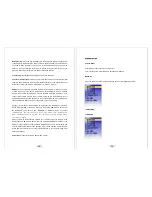
] to select “D.DATE/TIME SET” and press [ENT].
4.
Use [ ] and [ ]
◁
▷
to move the cursor to month, date, year, and time.
5.
Use [
△
] and [
▽
] to change the values for each one.
6.
Use [ ] and [ ]
◁
▷
to move the cursor to “DATE TYPE”.
7.
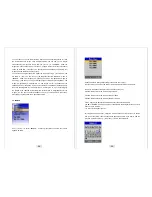
Use [ ] and [ ] to select one from 3 types.
△
▽
(DD/MM/YY, MM/DD/YY, YY/MM/DD)
8.
Press [ENT] to register the settings and exit the setting menu.
(There are 3 ways to arrange the “DATE TYPE” setting, and it varies in different
geographic areas. The types will be changed in a regular sequence of (DD/MM/YY
Æ
MM/DD/YY
Æ
YY/MM/DD) as you press [ ] and [ ].
△
▽
4. To record a moving image
Use [
△
] and [
▽
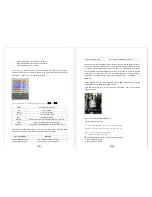
] to select RECORD, and then press [ENT]. Then, it will appear with
the sight that’s being recorded as below and the Self-Guard starts to record images.
18
-
Before you start to record, be sure to check from the LCD that the camera can
capture the sight where you want it to be recorded.
-
Press [ESC] to stop recording and exit from the “RECORD” mode.
-
If you are recording with more than one camera, you can select either a single-
channel mode or a 4 channel mode by pressing [
▽
] button.
z
REC AV: Indication of recording both A (Audio) and V (Video).
Shows “REC V” when recording the video only.
z
C1:
Camera channel number 1 being used for recording.
If it shows C1345, then ‘C’ indicates of camera and 1345 indicates
for camera channel numbers.
If it shows C1B123, then ‘C1’ indicates of camera number 1 and
‘B123’ indicates of Bluetooth channel 1, 2 and 3.
z
13:40:34: current time.
z
(10):
elapsed recording time (10 minutes).
z
39%:
39 percent of the total memory(Built-in, RS-MMC, USB) is being
used for recording.
5. To Playback a Moving image
Use [
△
] and [
▽
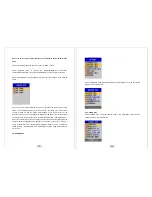
] to select “SEARCH”, and press [ENT]. Then the next screen appears
as below.


