R E C O R D I N G
31
Auto-assembling
◆
When you are recording from another cassette, you will get best results if it is
already playing when you start recording.
◆
After you press the record button, you might need to press the TV/VCR button to
see the picture you are going to join onto the first recording.
◆
At step 6, you can press the
(pause) button to pause the recording. During the
pause you can prepare another video source to assemble or just pause the
cassette to leave out part of the source material. Do not pause for longer than five
minutes (see step 3).
◆
Where the recordings join, you might get slight colour disturbance for a few
seconds during playback.
1 You can use the auto-assembling function in this video recorder
to join separate recordings without any major picture disturbance
between the recordings.
2 Prepare to record from other equipment as described under
‘Recording from other equipment’ on page 30. This is the ‘source’.
3 Play the cassette on which you are assembling the recordings in
this video recorder to search for the position where you want the
next recording to start and then press the
(pause) button. Do
not wait more than five minutes before you start recording,
otherwise the video record will stop and you will have to find the
assembly point again.
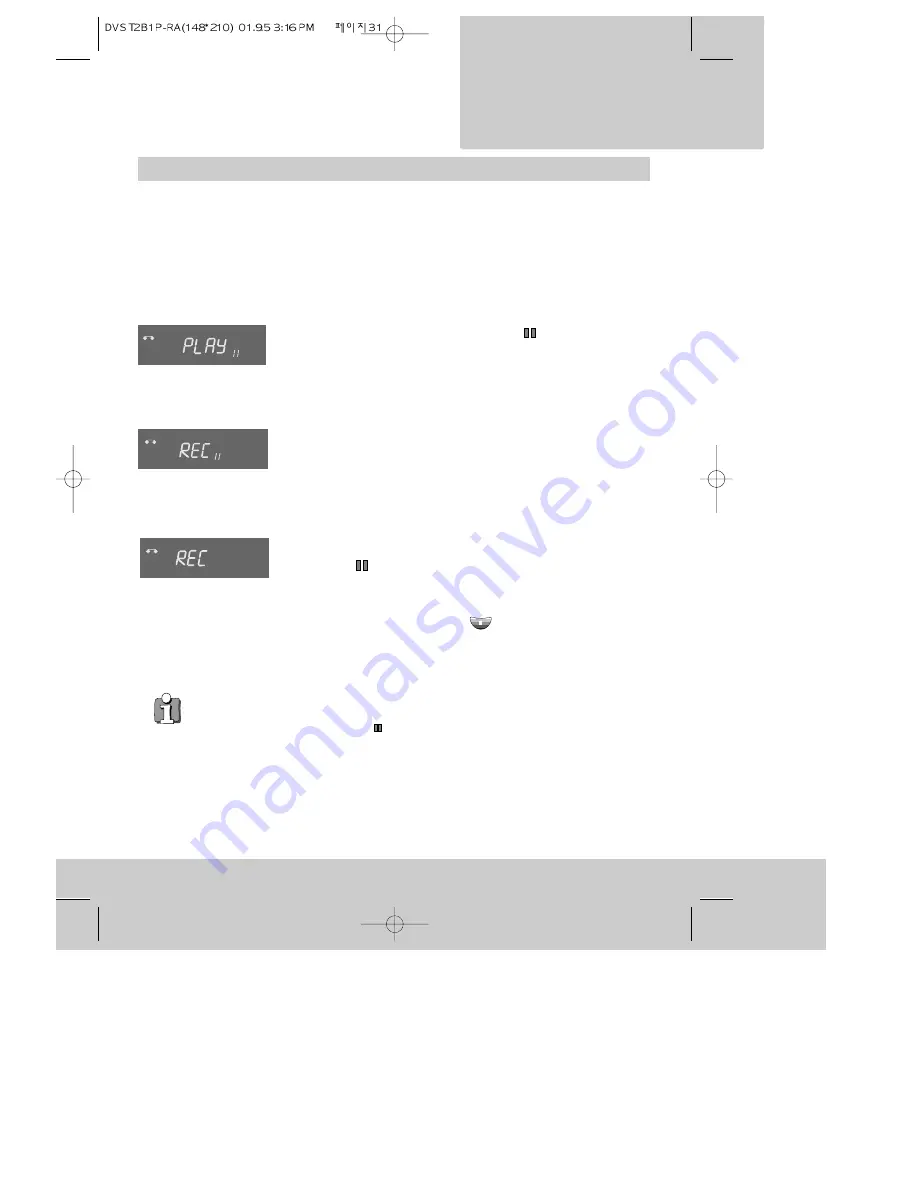
4 Press the RECORD/OTR button on the video recorder or the record
(red dot) button on the remote control. The video is paused, ready
to record. You can check the source picture, change programme
number or select another AV source at this point.
5 Start recording by pressing the RECORD/OTR button on the video
recorder or the record (red dot) button on the remote control
(once). ‘REC’ will light steadily in the video recorder display panel
and the recording will start.
6 Press the
(pause) button while you prepare a fresh source or
leave out a segment of source video, then repeat from step 5. Do
not pause for longer than five minutes (see step 3).
7 Stop recording by pressing the
or STOP/EJECT button.
VCR
VCR
VCR


