10
Examples of Configuration
192.168.2.x
192.168.3.x
192.168.3.x
192.168.2.x
192.168.2.x
192.168.2.x
192.168.2.x
DEV 1
LAN 192.168.2.254/24
WAN PPPoE connection
Wireless Channel: 11 / SSID: ZPlus-G120-DEV1
MAC Address of WLAN (BSSID) 000000042728
DHCP Server enabled (IP Pool 192.168.2.1~253)
DEV 2
LAN 192.168.2.202/24
Wireless Channel: 11 / SSID: ZPlus-G120-DEV2
MAC Address of WLAN (BSSID ) 000000042692
DEV 5
LAN 192.168.2.205/24
DEV 4
LAN 192.168.3.1/24
WAN Dynamic IP address
DHCP Server enabled (IP pool 192.168.3.2~254)
DEV 3
LAN 192.168.2.203/24
Channel: 5
SSID: ZPlus-G120-DEV3
Internet
Broadband
Modem
WISP
Bridge Mode
Bridge Mode
With
AP
Bridge Mode
With
WDS + AP
Router Mode
With
WDS + AP
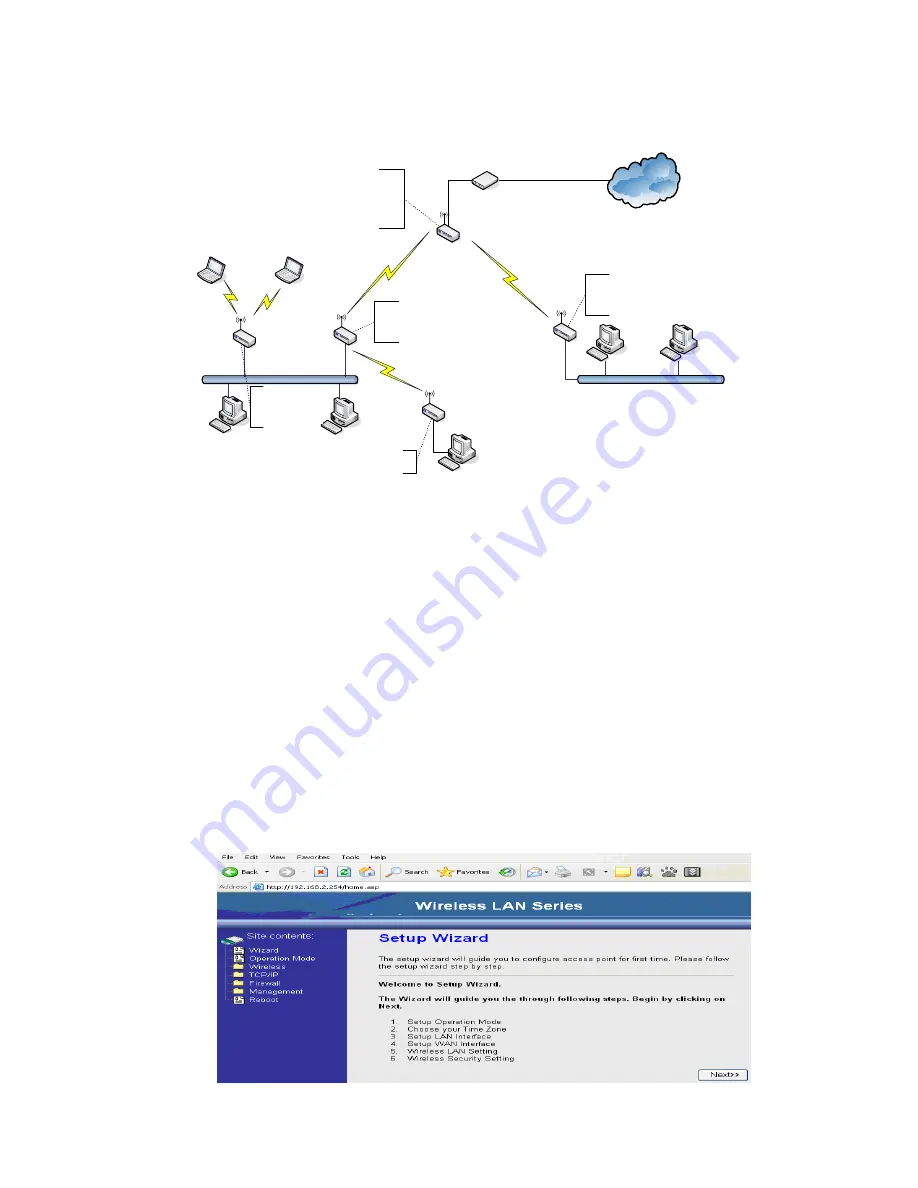
This example demonstrates how to set up a network with different device
configurations. There are 2 DHCP servers (DEV1/DEV4) in the network to control
the IP configuration of 2 domains (192.168.2.x/192.168.3.x). Once the setting is
done, all the PCs can visit Internet through DEV1.
We assume all the devices keep the factory default setting. To make sure that user
can continuing press the rest button for more than 5 seconds to restore the factory
default setting.
The following descriptions show the steps to configure DEV1 to DEV5.
Configure DEV1:
1. Connect the ADSL modem to Ethernet port of device using Ethernet cable.
2. Access the web server (http://192.168.2.254) of device from the wireless
station.
3. Use Wizard page to setup device.


