v1.0 12/15/11
5
h. This camera uses AC power of 100 ~ 240 volts at 0.5A. Using a DC or other
incorrect power supply or source will damage the camera.
i. Only qualified installers are allowed to install, test and disassemble the camera.
j. The camera is a low voltage product. If installed outdoors proper safety and
lightning grounding are required in addition to surge protection.
k. Before installing be sure the grounding, wiring, input power, voltage, DIP
switches, communication protocol and baud rate are correctly set prior to
powering up and using.
4.
CAMERA SETUP
It is advisable to configure the camera’s settings prior to physically installing the unit.
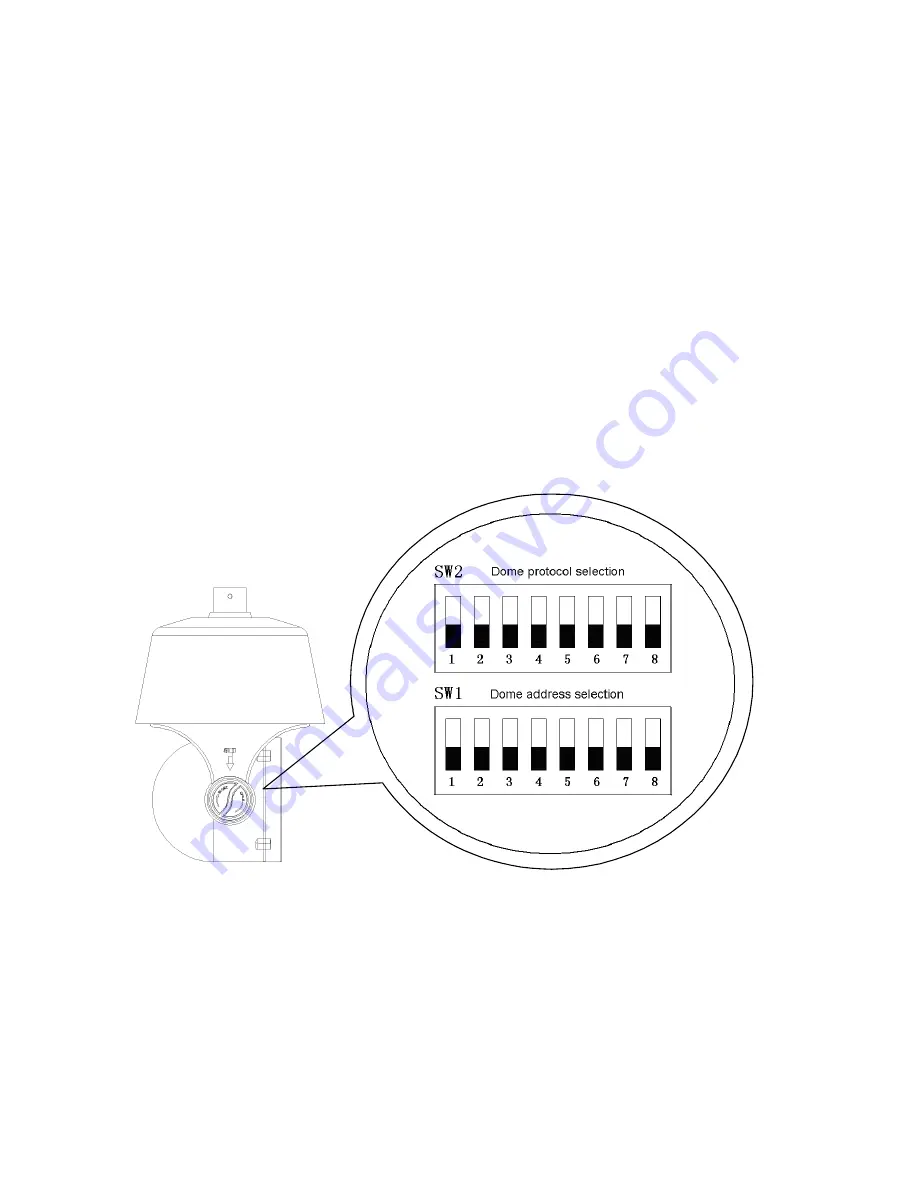
To set the camera’s address and protocol remove the “settings cover” on the side of the
camera. This will expose two sets of 8-bit DIP switches, one each to set the camera’s
protocol and address.
Protocol Set Up
The camera supports PELCO-P and PELCO-D protocols and three baud rates: 9600,
4800 and 2400bps. Using SW2 and the table below:
DIP Switches 1, 2 and 3 set the protocol (“1” means “ON”, “0” means “OFF”)
DIP Switches 4 and 5 set the baud rate (“1” means “ON”, “0” means “OFF”)


