Secure
Evidence
‐
SE
M9
GPS
Operation
Manual
Page
4
Secure
Evidence
Model
‐
SE
‐
M9
‐
GPS
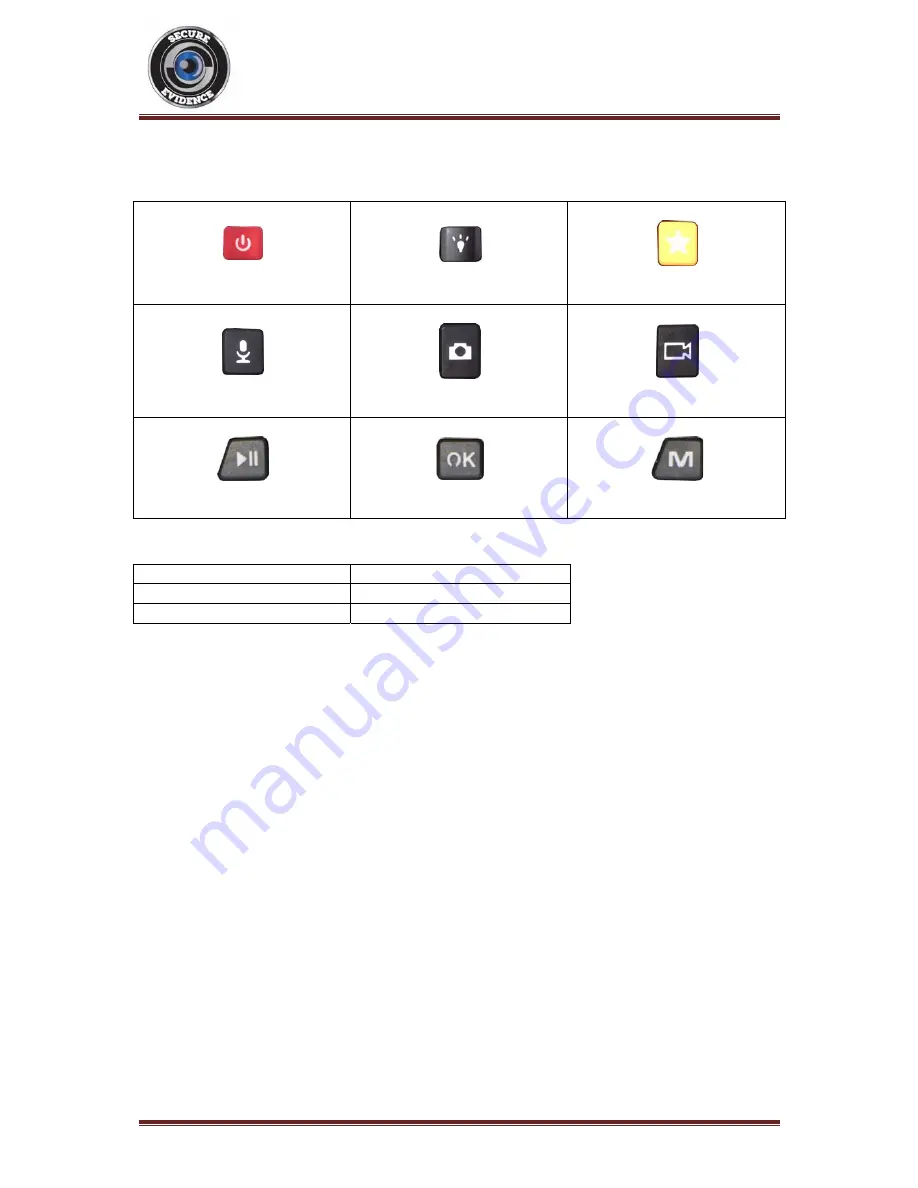
Button
Reference
Chart
Power
Button
Light
Button
Marker
Button
Sound
Button
Photograph
Button
Video
Button
Play/Pause
Button
OK
Button
Menu
Button
Indicator
LEDs
Green
LED
Standby
Indicator
Light
Blue
LED
Charge
Indicator
Light
Red
LED
(Flashing)
Video
Recording
3.
Getting
Started
Recharging
The
camera
can
be
charged
by
either
using
the
supplied
USB
cable
to
connect
the
device
directly
to
an
active
USB
outlet
or
plugging
the
camera
into
an
active
docking
station.
To
rapidly
charge
the
camera
(4
hour
fast
charge),
turn
the
camera
off
prior
to
starting
the
recharge.
To
charge
the
camera
normally,
leave
the
camera
switched
on
while
recharging
‐
this
will
take
longer.
Please
ensure
that
the
battery
is
fully
charged
before
first
use.
Switching
the
Camera
ON
and
OFF
Press
and
hold
the
Power
Button
until
the
unit
vibrates
and
'Welcome'
is
displayed
on
the
screen.
Release
the
Power
Button
and
the
green
LED
will
turn
on
during
the
power
up
process.
The
camera
will
then
begin
recording
automatically
and
display
a
red
flashing
LED.
Press
the
Video
Button
to
stop
the
recording.
To
switch
off
the
camera,
press
and
hold
the
Power
Button
until
the
unit
vibrates
and
displays
'Goodbye'
on
the
LCD
screen.
The
automatic
record
on
power
up
feature
is
pre
‐
set
and
designed
to
assist
the
user
during
stressful
situations.
Standby
Mode
When
the
camera
is
switched
on
and
left
idle,
it
will
begin
to
time
out
according
to
the
screen
saver's
time
setting
(if
enabled).
Once
it
has
timed
out,
the
screen
will
switch
off
and
enter
standby
mode.
The
camera
can
be
brought
out
of
standby
mode
by
pressing
any
button
once.
To
enter
standby
mode
manually,
press
and
release
the
Power
Button.