
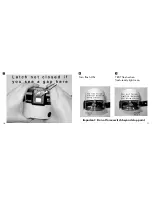


5
Use of a second
External
SeaLife Flash.
10
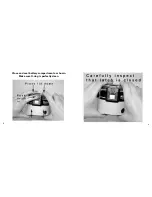
In order to avoid shadows and to further intensify
brightness and color, you may mount a second
identical flash. Remove the attachment knobs from
both flashes. Place the attachment knob through
both base mounting brackets and into camera.
Make sure all set pins and holes are lined up.
Rotate both flash heads to point in the direction of
the subject. This double-flash system can also be
used with the SeaLife Macro lenses at a distance of
8” to 48” (20 cm - 120 cm). At closer distances or
with ambient sunlight, you may overflash. Avoid
reflective, bright objects. A good way to avoid this
is by illuminating the background with the second
flash (aim behind the subject), while the first flash is
aimed directly at the subject.
8
16
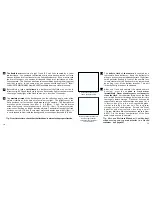
This double-flash system
can also be used with the
Macro 3X Close-up Lens
Attaching two external flash
units is easy and pictures will
be even more colorful!
17
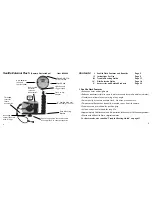
III. Trouble Shooting Guide
1
Flash does not fire when switch is turned from “ON” to “TEST”.
a
Wait until the orange flash-ready light is on. If it does not turn on, check that
batteries are inserted correctly.
b
Test or replace batteries.
c
If a and b above do not correct the problem, send to SeaLife Service Center.
2
Flash fires as tested above, but does not fire when triggered by camera.
a
Turn camera power on and wait until green flash-ready light in camera
comes on, and orange flash-ready light of flash is on.
b
If green camera light does not come on, check camera batteries and instructions.
c
If
built-in
camera flash does not fire, despite correctly inserted, fresh
batteries (also test the camera without housing in a dark place), send
complete camera, housing and flash to SeaLife Service Center.
d
If
built-in
camera flash does fire, but
external
flash does not work, check if
switch on flash is set to ‘ON’ and if orange light is on.
17