background image

During playback, hold down the      or     button to go fast backwards or forwards. 

Release the button once you reach the required section.. Normal playback will 

resume from that point.

Press the 

REPEAT

 button repeatedly to select repeat playback mode: repeat the 

current track (“REPEAT 1” is displayed), repeat the folder (For MP3/WMA files 

only - “REPEAT FOLDER” is displayed), repeat all of the tracks (“REPEAT ALL” is 

displayed) or cancel the repeat function. 

This function allows you to program up to 20 tracks for CD and 99 tracks for 

MP3/WMA files to be played in the desired order.   

Note: Programming can only be performed when playback is stopped.

GB

-

7

Search functions

Skip to next/ previous track

Fast forward/backward

Press the 

FOLDER UP

 button on the unit to skip to next folder or the 

ALBUM/FOLDER


/

   button on the remote control to skip to the next/previous 

folder.

Skip to the next folder (for MP3/ WMA files only)

REPEAT playback

PROGRAM playback

Programming tracks

PLAYING AN iPod AND CHARGING THE INTERNAL iPod

BATTERY

Installing an adapter on the iPod docking station

Press the      button to skip to the next track.

Press the      button to skip to the previous track.

Press the 

CHAPTER/10 TRACK +/-

 button on the remote control to skip 10 

tracks forward/back.

1.

2.

3.

In STOP mode, press the 

MEM/CLK

 button. “PROG” will flash.

Use the      /      buttons to select a track number.

Press the 

MEM/CLK

 button to confirm.

Repeat steps 2 and 3 to program other tracks. 

To play the program, press the      button. 

To clear the program, press the     button twice, remove the CD or go to standby 

mode.

1.

2.

3.

4.

5.

6.

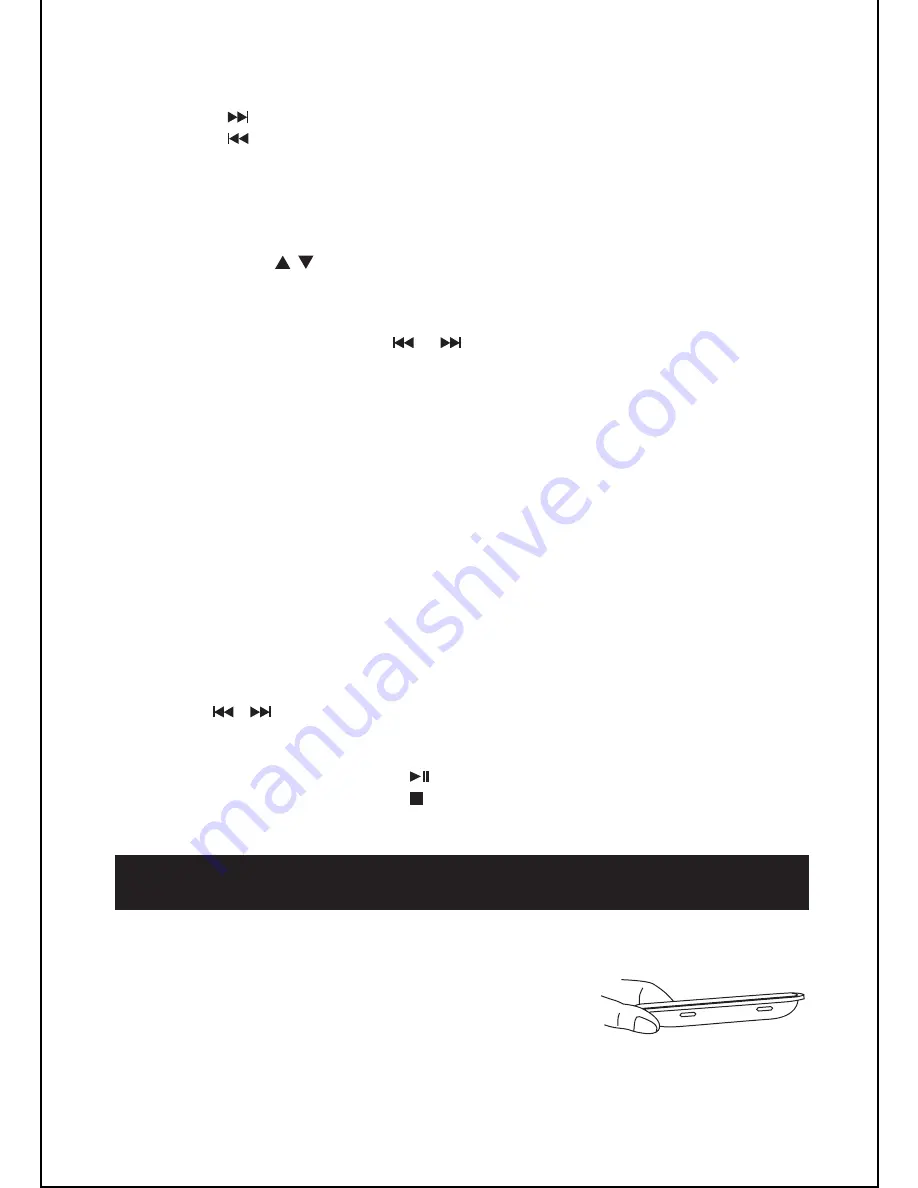
Use the iPod adapter supplied with your iPod . 

Place the adapter on the docking station at the top of 

the unit with the two tabs facing forwards.  

To remove the adapter, press the back of the adapter 

and pull it up. 

1.

2.

3.

Summary of Contents for i-CDX 23

Page 1: ...i CDX 23 CD ALARM CLOCK RADIO WITH iPod DOCKING STATION Instruction Manual...

Page 2: ...ng and disconnecting the AC power adapter take hold of the plug and not the cord Pulling the cord may damage it and may be dangerous The plug must be easily accessible When you are not going to use th...

Page 3: ...Unit 1 2 3 4 5 6 7 8 9 10 11 12 13 14 15 16 17 18 19 20 21 22 23 REPEAT MEM DN Memory Down button MEM CLK DISP Memory Clock Display button FUNCTION button Docking station for iPod AL1 AL2 Alarm set b...

Page 4: ...adapter into a 230V AC 50Hz mains outlet and the other end of the cord into the AC 8V jack at the back of the unit The clock time can be maintained during a power failure by 2 x AAA LR03 batter ies no...

Page 5: ...o a power supply refer to POWER SUPPLY the unit goes to standby mode and the clock time is displayed Press the ON STANDBY button to turn on the unit and press it again to go back to standby mode The u...

Page 6: ...r iPod Press the MUTE button on the remote control to turn off the sound MUTE will flash on the display Press it again or use the VOL buttons to resume the sound Plug your headphones not supplied into...

Page 7: ...k You can store up to 20 FM stations and 20 MW stations 1 2 3 Use the buttons to search for a station Press the MEM CLK button to store that station A preset number will flash Press the MEM UP or REPE...

Page 8: ...button on the remote control to skip to the next previous folder Skip to the next folder for MP3 WMA files only REPEAT playback PROGRAM playback Programming tracks PLAYING AN iPod AND CHARGING THE IN...

Page 9: ...ON Note MAINTENANCE Care and maintenance 1 2 3 4 5 6 7 8 9 Connect a 3 5mm stereo connection cable not supplied to the AUX IN jack at the back of the unit and the line out headphones jack on your exte...

Page 10: ...al and Electronic Equipment Directive Problems 1 2 3 4 5 The player or display is not working properly No sound poor sound The disc does not play Noise or distorted sound in radio mode No sound poor s...

Reviews: