


10
5.1.6 System
Log
y
Press
EVENT
key to display System Log as below.
y
Please refer to ‘SETUP>SYSTEM>System Log’ to be informed
the sorts of Events to be listed up in System Log and how to
delete the Events.
5.1.7 Key
Lock
y
Press
AUDIO
>
FF
>
FORWARD
keys in order to activate Key
Lock function and display an
icon on the bottom of the
screen.
y
Press any key to pop up a Login Window. You are required to
Input password to release Key Lock. If there’s no password
encoded, press
key.
5.1.8
Multi-functions of ARCHIVE Key
y
ARCHIVE
key will be applicable for following operations in Live
screen mode as well as to be used for Backup in Playback
screen mode.
-
Full Screen Mode:
Color Control Menu will be popped up
and you are allowed to control Brightness, Contrast and
Saturation.
-
Split Screen Mode:
Alarm Out Control Menu will be popped
up and you are allowed to select Alarm Out in the system.
5.1.9 Emergency
Record
y
Press
EMERGENCY
key to start emergency record regardless
of previous record setup.
y
Emergency record doesn’t work in SETUP Mode.
y
Press
this key once more to stop Emergency Record
.
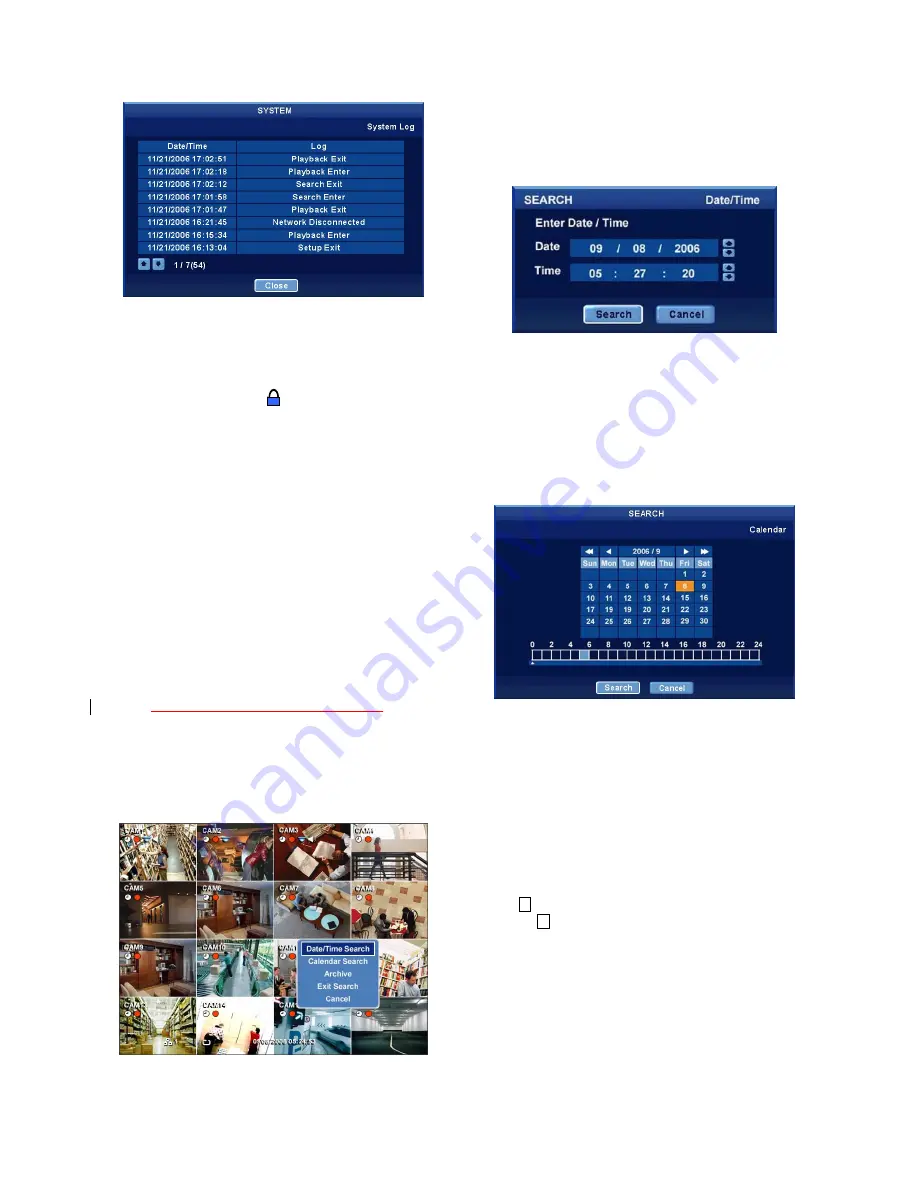
5.2 SEARCH
y
This is to search images prior to process playback for the
recorded data.
y
Press
SEARCH
key or press scroll button of the mouse in
monitoring screen mode. Following screen Menu will be popped
up.
y
The system supports 2 different ways of Search.
-
Date/Time Search:
Search by putting in Date and Time.
-
Calendar Search:
Search by using Calendar dates.
5.2.2 Date/Time
Search
y
Click
(
) Date/Time Search in the pop-up screen to display
following screen Menu.
y
How to set Date and Time will be described below.
①
Click (
) the position in the Date and Time where new set is
required. The selected will be highlighted by square.
②
Change the figures by clicking (
)
▲
,
▼
buttons on the right.
y
Click
(
) Search after new set is completed. Playback will be
started.
y
Search Mode will be continued during the search time selected.
5.2.3 Calendar
Search
y
Click
(
) Calendar Search in the pop-up screen to display
following screen Menu.
y
The date holding recorded data will be highlighted as above.
y
How to set Date and Time will be described below.
①
Select Year and Month by using the arrows on the top of the
calendar.
-
: Search ‘Year’ by forward direction
-
: Search ‘Year’ by backward direction
-
: Search ‘Month’ by forward direction
-
: Search ‘Month’ by backward direction
②
Click (
) the date for playback. The date selected will be
changed to a black highlight.
③
Click (
)
▲
mark in the Time Bar. The date selected will be
changed to an orange highlight and
▲
mark will be changed
to
▲
mark.
④
Move
▲
mark by using
◄
,
►
keys to the time area where
playback is started.
y
Click
(
) Search after new set is completed. Playback will be
started.
y
Search Mode will be continued during the search time selected.


