PAGE 5
© 2015. All rights reserved. Used under license by Schlüter-Systems L.P.
The thermostat has two physical buttons. A ground fault circuit interrupter (GFCI)
test button is located on top of the thermostat, and a power/reset button is located
on the right side of the thermostat.
The GFCI should be tested monthly (all settings, including time and date, will be
remembered).
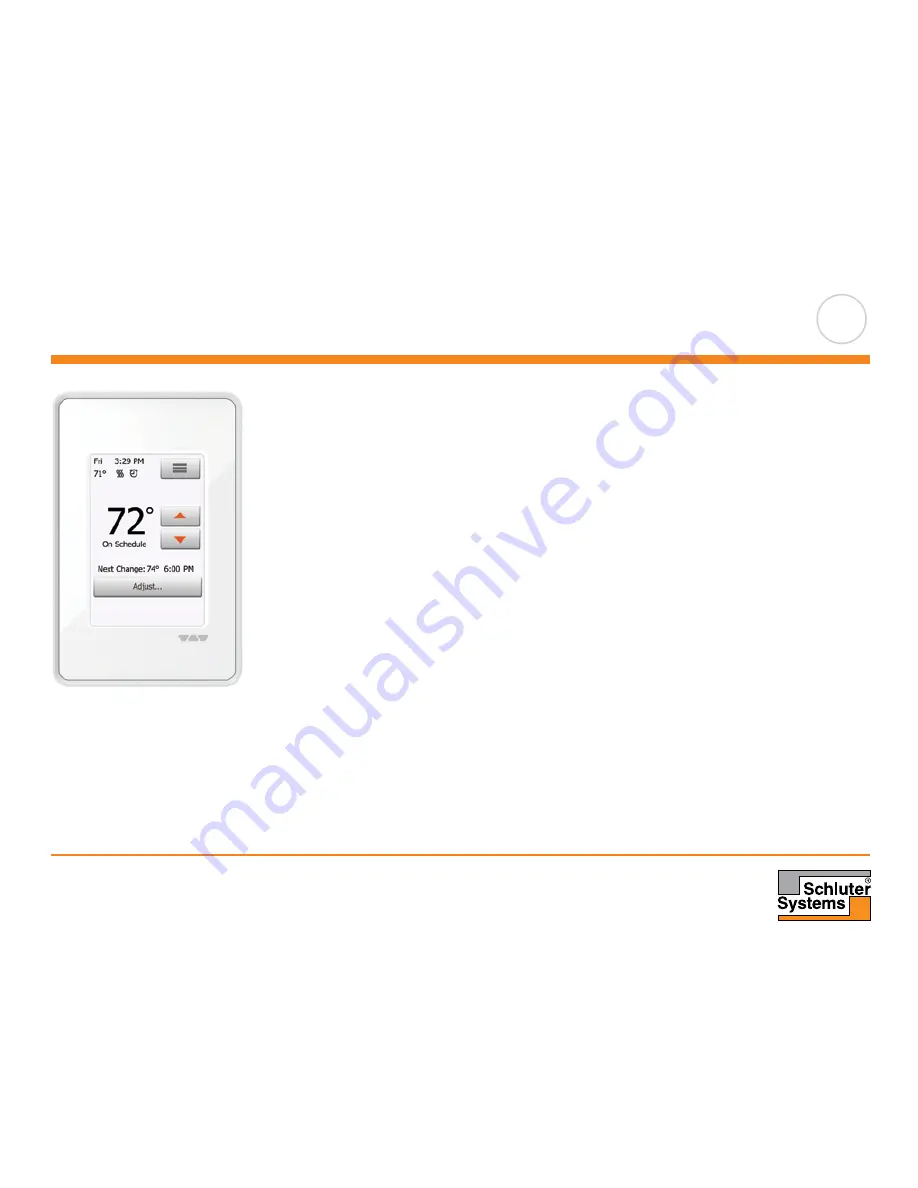
The thermostat is an intuitively operated touch thermostat in which the touchscreen
is used to navigate through the menus and to change the settings.
The function of the buttons and icons on the home screen can be seen below.
4. General Operation