Preface
VIII
Preface
Related Documents
You may also need to consult the following manual for additional information:
User’s Manual on CD/DVD
This describes the notebook PC’s features and the procedures for operating the computer and its ROM-based setup pro-
gram. It also describes the installation and operation of the utility programs provided with the notebook PC.
System Startup
1. Remove all packing materials.
2. Place the computer on a stable surface.
3. Insert the battery and make sure it is locked in position.
4. Securely attach any peripherals you want to use with the
computer (e.g. keyboard and mouse) to their ports.
5. Attach the AC/DC adapter to the DC-In jack at the rear of the
computer, then plug the AC power cord into an outlet, and
connect the AC power cord to the AC/DC adapter.
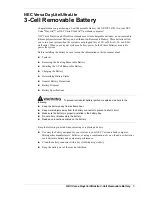
6. Use one hand to raise the lid/LCD to a comfortable viewing angle
(do not exceed 135 degrees); use the other hand (as illustrated in
Figure 1) to support the base of the computer (
Note
:
Never
lift the
computer by the lid/LCD).
7. Press the power button to turn the computer “on”.
Figure 1
Opening the Lid/LCD/
Computer with AC/DC
Adapter Plugged-In
135°
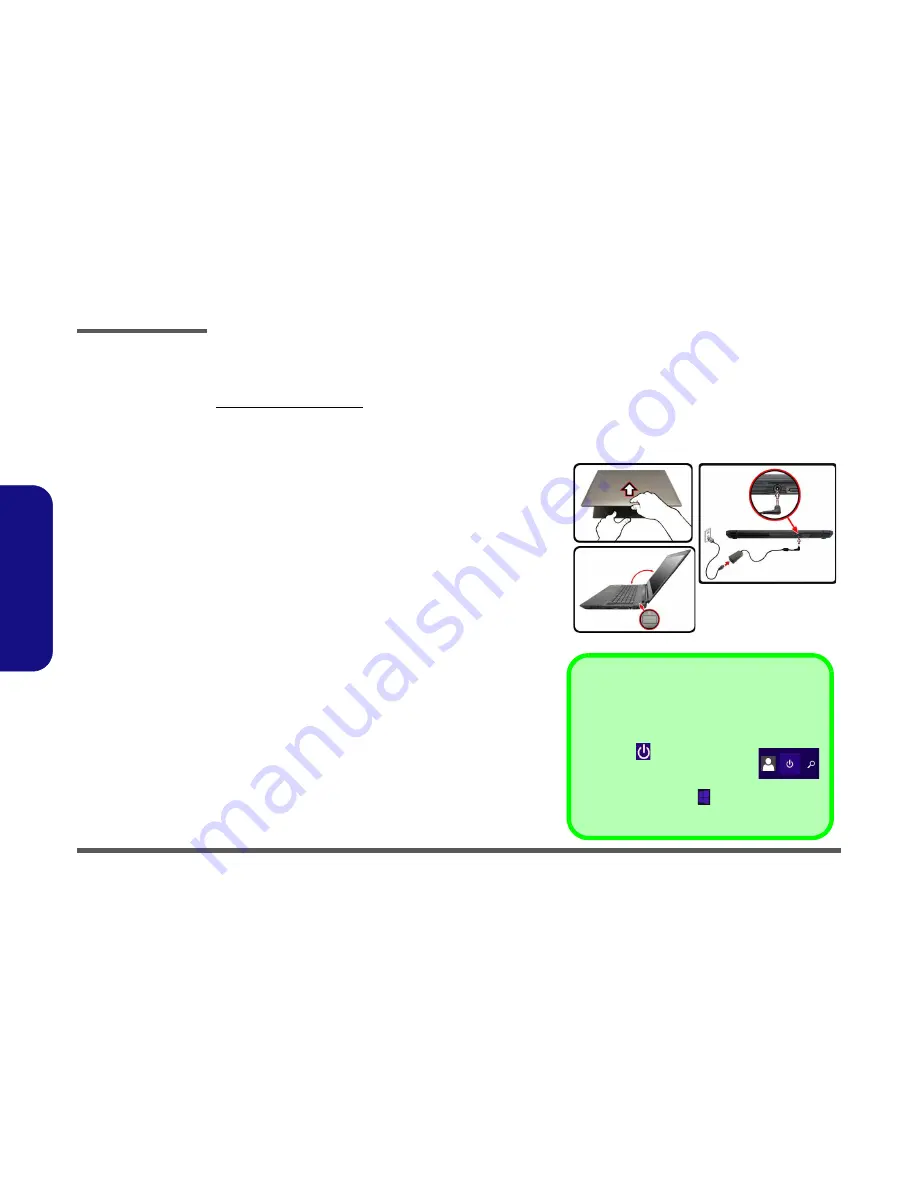
Shut Down
Note that you should always shut your computer down by
choosing the
Shut down
command in
Windows
(see be-
low). This will help prevent hard disk or system problems.
Click the icon
in the
Start Screen
and
choose
Shut down
from the menu.
Or
Right-click the
Start button
at the bottom of the
Start
Screen
or the
Desktop
and choose
Shut down or sign out
> Shut down
from the context menu.
Summary of Contents for XMG P505
Page 1: ......