24
Notes:
–
Do not remove your USB stick while playback is in progress; otherwise the
content of your USB drive could be damaged. Press the
STOP
button to
stop playback and then remove your USB stick.
3.4 Making one or more scheduled recordings (TIMER FUNCTION)
Press the TIMER button to enter the scheduled recording mode.
-
The scheduled recording mode allows you to set the channel to be recorded,
start time and duration. You can also program one or more weekly or monthly
recordings. In order to schedule several recordings on different dates, use
different “event” numbers.
–
While the receiver is on (the power standby indicator light on the front panel
is in green colour), insert a USB stick into the USB port of the receiver.
–
Wait three seconds so that the receiver can recognize and identify the USB
device. Then press TIMER on the remote control to display the scheduled
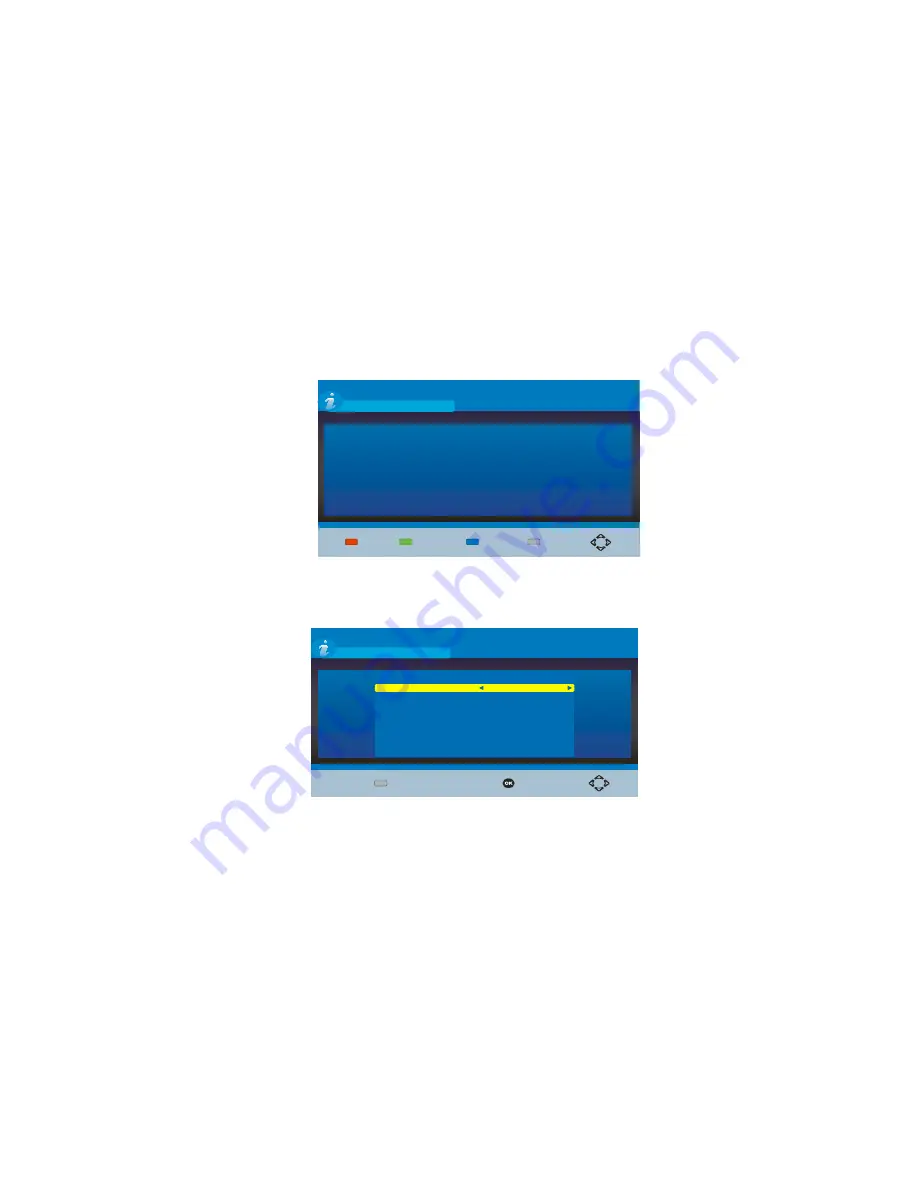
recording screen (see illustration below).
S c h e d u l e
Event
Program
Date
Time
Repeat Status
EXIT
E X I T
E d i t
D e l e t e
A d d
–
Press the remote control red key in order to create a new recording session.
–
A dialog box (pictured below) will then let you decide:
Channel Name
J2
Start Date
M D Y
(
/ / )
09 30 2011
/
/
Start Time
10 37
:
End Time
10 40
:
Repeat
Once
S c h e d u l e
Event
Program
Date
Time
Repeat Status
Event Add
C o n f i r m
EXIT
E X I T
Channel No
.
0800
o
The channel to record,
o
Start time and End time,
o
Set the REPEAT option if you want to trigger recurrent recording
sessions (such as daily or weekly recordings).
–
After the first recording session is finalized, you may create multiple
recording sessions by pressing the red key again,
–
Press the green key in order to modify a recording schedule,
–
Press the blue key to delete a recording session,
–
Press the EXIT key once you are done.
Notes:
–
Please note that you cannot access the TIMER menu on screen if no USB
device has been inserted. This is to help you avoid programming a recording
and forgetting to insert a USB device.


