10
SawGear moves to the end away from the saw until it reaches maximum position.
Then it moves to the end closest to the saw until it reaches minimum position.
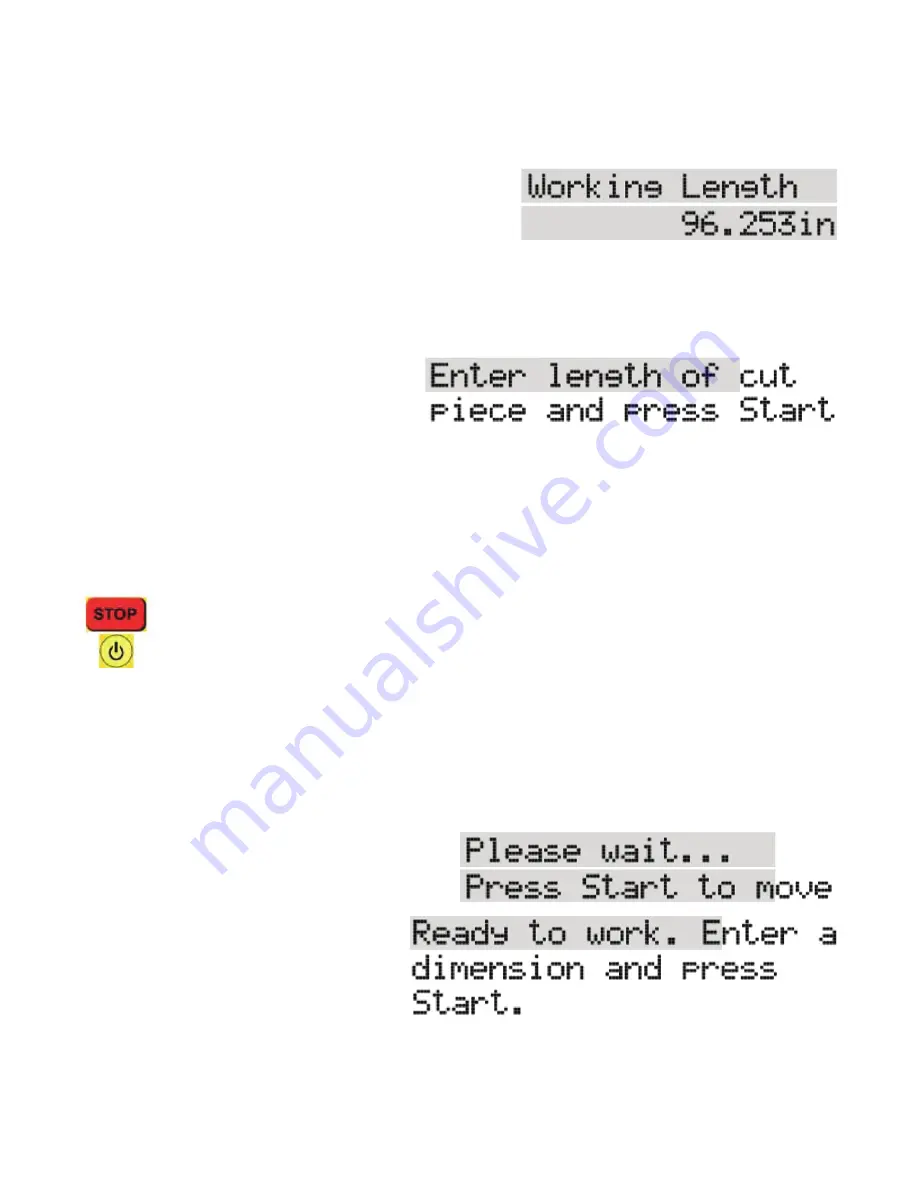
SawGear quickly displays the working length, +/-
0.5 inch. (96.253 is only an example.)
If the working length that displays is NOT the
working length of the machine you are using the power head on, it MUST be changed.
Enter the correct working length found on the back side of the Measuring Bar.
6. Press [Start] to confirm the SawGear working length.
SawGear backs out and stops at 6”. CUT a sample at this length and MEASURE it.
7. Enter the length of the sample and
press [Start].
SawGear is now ready to use!
Repeat a 1st Power Up
If you need to change the interface language, the measurement system, or the saw location, or
if you are moving the SawGear power head to a different measuring bar, you must perform a
1st power up.
Unplug the machine and plug it in again while HOLDING DOWN the [STOP] key.
While still HOLDING DOWN the [STOP] key, press the soft start key until the
active screen displays, and continue at 1st Power Up, step 2.
Normal Power Up
The following routine is followed whenever SawGear is used, AFTER the first time.
The messages shown below SCROLL across the screen if longer than the LCD's 16 char-
acter width.
1. Plug into AC power.
2. Press [Start].
SawGear homes itself and then
scrolls:
3. Enter length and press [Start].
SawGear instantly moves to the length you entered. Make your cut(s) and repeat the
process.
14


