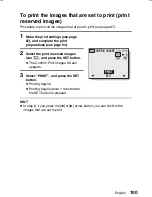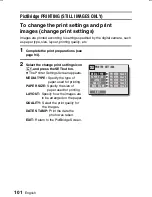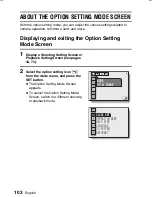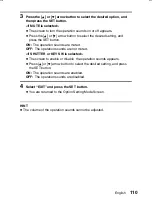
3
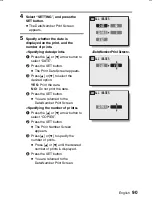
Adjust the printer settings.
1
Press the [
j
] or [
l
] arrow button to
select the printer setting parameter,
and press the SET button.
œ
The screen to set the selected
parameter appears.
2
Press the [
j
] or [
l
] arrow button to
adjust the setting, and press the
SET button.
œ
The selected parameter is set,
and you are returned to the
Printer Settings Screen.
œ
Follow the same procedure to
adjust the other parameters, as
desired.
œ
The contents of the settings that
can be made for each parameter
will differ depending on the
printer.
<When “PRINTER SETTINGS” is
selected>
œ
The images will be printed
according to the setting specified
on the printer side.
4
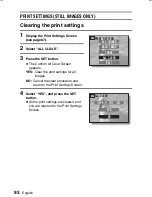
Select “EXIT”, and press the SET
button.
œ
You are returned to the PictBridge
Screen.
HINT
œ
The printer setting parameters will differ depending on the printer that is
connected.
œ
To use printer functions which do not appear on your camera’s Printer
Settings Screen, select “PRINTER SETTINGS”.
œ
If a function set by the camera is not available in the printer, the camera’s
printer setting will automatically change to “PRINTER SETTINGS”.
SX714/EX, GX, U (VPC-S1 GB) Thu. July, 17/2003
English
102
Summary of Contents for Xacti VPC-S1
Page 157: ...SANYO Electric Co Ltd ...


