English
78
4
Press [
n
] or [
o
] on the arrow button
to select the desired type of erase,
and press the SET button.
h
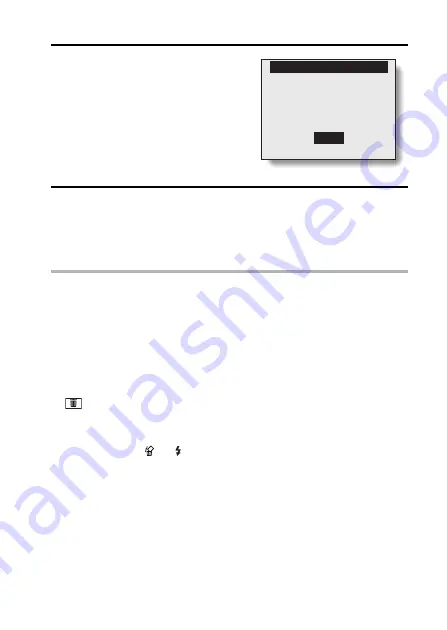
The Erase Confirmation Screen
appears.
YES:
Erases the selected data.
EXIT:
Does not erase the selected
data and returns to the Erase
Screen.
5
Press [
n
] to select “YES”, and press the SET button.
h
“ERASING” is displayed, after which the next image appears. The
data is erased.
h
To erase other data, select “EXIT”, press [
l
] or [
m
] to display the data
that you want to erase and repeat step
5
.
HINT
To select a different data in step 4...
i
If “ONE ERASE” is selected, select “EXIT”, and press [
l
] or [
m
] on the
arrow button to select different data.
HINT
Audio data
i
To erase audio data, follow steps
1
through
3
on page 131 to select the
audio data you wish to erase. If you select “PLAY” and press the SET but-
ton, the selected audio data is played back. If you select the erase icon
, the screen in step
4
above appears. follow steps
4
and
5
to erase the
audio data.
To quickly erase the currently displayed image
1
Display the image you want to erase.
2
Press the flash [
] ([
]) button.
h
The Erase Confirmation Screen appears.
3
Select “YES”, and press the SET button.
h
The displayed image is erased.
YES
EXIT
ONE ERASE?


