BASIC OPERATION
1
Press the POWER button to turn on the
power.
ON: The power is turned on (the POWER indicator is lit).
The signals from the channel (A, B or Y/C) which was
being used when the power was last turned off will be
input.
OFF: The power is turned off (the POWER indicator is off).
Note: If the power for the connected components is not
turned on, or if a problem with operation has
occurred, “VIDEO LOSS” will appear on the screen.
If this happens, check the component connected.
2
Select the audio and video input.
Use the monitor selector buttons (A or B) at the front of the
monitor to select the picture being input to either the A or B
terminals at the rear of the monitor.
If using the S-VIDEO input terminal at the rear of the
monitor, press the monitor Y/C selector button.
Note: If there is no signal being input from the input
terminals selected (A, B or Y/C) at the rear of the
monitor, “NO SIGNAL” will be displayed.
3
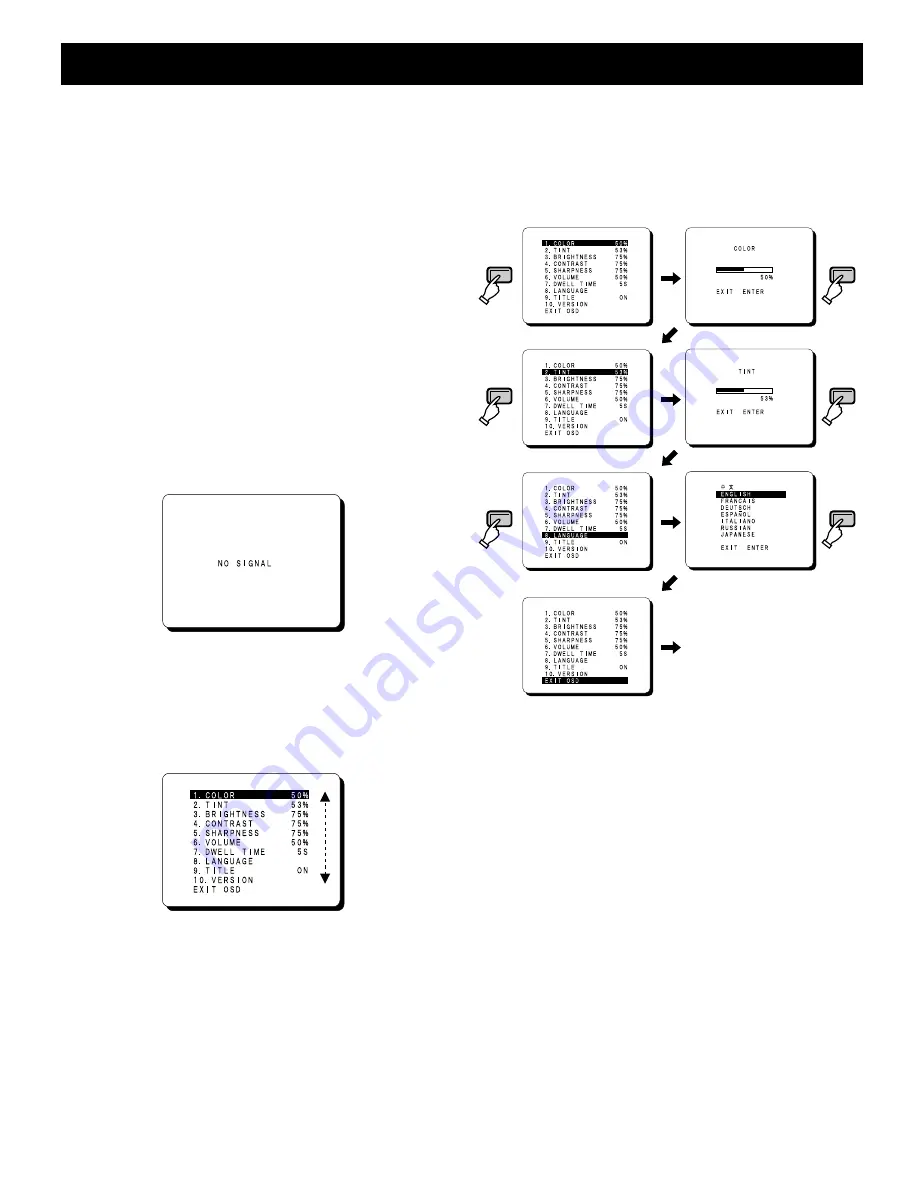
Menu screen operations
1
Press the OSD button.
The menu screen will be displayed.
The menu screen will only be displayed for about 13
seconds.
2
Press the cursor (
l
) or (
j
) button.
The cursor will move up or down, so that you can select
the desired menu item.
To return to the normal monitor screen
•
Press the OSD button once more, or
•
Select “EXIT OSD” and then press the ENTER button.
3
Select the desired menu item and then press the
ENTER button.
If you press the ENTER button repeatedly while the
menu screen is being displayed, the display will
alternately change between the menu screen and the
setting screen. At this time, the menu item will still be
selected.
Note:
During this operation, “9. TITLE” and “10. VERSION” will
be skipped and the screen will go straight to “EXIT OSD”.
OSD
ENTER
ENTER
ENTER
ENTER
ENTER
Normal picture
L8MAG/US (VMC-8614F GB) 2003. 10. 15
6


