TAPE MANAGEMENT
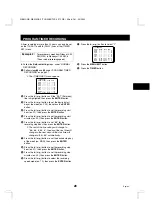
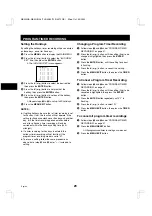
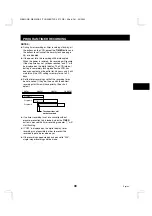
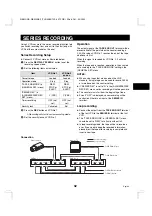
Setting the Tape Management Function
1
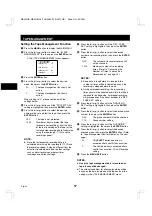
Press the MENU button to display the MAIN MENU.
2
Press the
l
(or
j
) button to select the “6.TAPE
MANAGEMENT” line, then press the ENTER button.
ø
The (TAPE MANAGEMENT) menu appears.
<TAPE@MANAGEMENT>
*TAPE@MANAGEMENT@@@@N
*PROTECT@DAY@@@@@@@30
*REC@PASS@SET@@@@@@10
*[email protected]@@@@@OFF
*OVERRIDE@@@@@@@@@@@N
3
Press the ENTER button.
4
Press the
l
(or
j
) button to select the desired
mode, then press the ENTER button.
N. . . . . . . The tape management function is not
active.
Y. . . . . . . The tape management function is
active.
When setting to “Y”, please continue with the
settings below.
5
Press the
l
(or
j
) button until the “PROTECT DAY”
setting is highlighted, then press the ENTER button.
6
Press the
l
(or
j
) button to select the desired
number of days to protect the tape, then press the
ENTER button.
OFF . . . . The tape is not protected.
1-255 . . . Number of days to protect the tape
(prevent over-recording), from the date
of the last recording on the tape (or the
last expected recording date (calculated
using the tape length (T-120) and the
recording speed)).
NOTE:
œ
Since the last expected recording date is a
calculated date (using the tape length (T-120) and
the recording speed), it may be different from the
actual last recording date, due to other settings
such as alarm recordings, program timer
recordings and holiday settings.
7
Press the
l
(or
j
) button until the “REC. PASS
SET” setting is highlighted, then press the ENTER
button.
8
Press the
l
(or
j
) button to select the desired
number of re-recording times, then press the ENTER
button.
OFF . . . . The number of re-recording times will
not be checked.
1-100 . . . Maximum number of re-recording
times. (Refer to “Concerning the
Number of Times Tapes can be
Rerecorded on” on page 20.)
NOTES:
œ
Since data is read before it is recorded, the
number of times will be incremented even if the
recording is stopped before the end.
œ
During autorepeat recording, the re-recording
times count will be updated every time the tape is
rewound to the beginning. Autorepeat recording
will proceed even if the count exceeds the “REC
PASS SET” setting.
9
Press the
l
(or
j
) button until the “GROUP NO.
SET” setting is highlighted, then press the ENTER
button.
F
Press the
l
(or
j
) button to select the desired group
number, then press the ENTER button.
OFF . . . . The group number will not be checked.
1-15 . . . . Group number setting.
G
Press the
l
(or
j
) button until the “OVERRIDE”
setting is highlighted, then press the ENTER button.
H
Press the
l
(or
j
) button to select the desired
override mode, then press the ENTER button. (Refer
to “Tape Management Conflict Display” on the next
page.)
N. . . . . . . Only EJECT button operation is
accepted after a conflict has occurred.
Y. . . . . . . The next operation is accepted after a
conflict has occurred. This will override
setting.
I
Press the MENU EXIT button.
NOTES:
œ
Once the tape management data is recorded on
tape, it cannot be changed.
œ
The criteria (condition) for allowing recording will be
based on the data recorded on the tape and not the
settings in the (TAPE MANAGEMENT) menu.
NB4Q/NA, NB4Q/NA2 (TLS-4960/TLS-4072 GB) Wed. Oct., 30/2002
English
17


