56
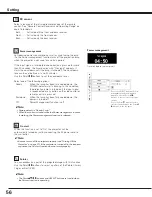
On start
When this function is set to “On,” the projector will be
automatically turned on just by connecting the AC power cord to
the wall outlet.
✔
Note:
• Be sure to turn off the projector properly (see “Turning Off the
Projector” on page 27). If the projector is turned off in the incorrect
sequence, the On start function does not work properly.
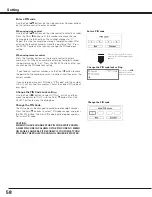
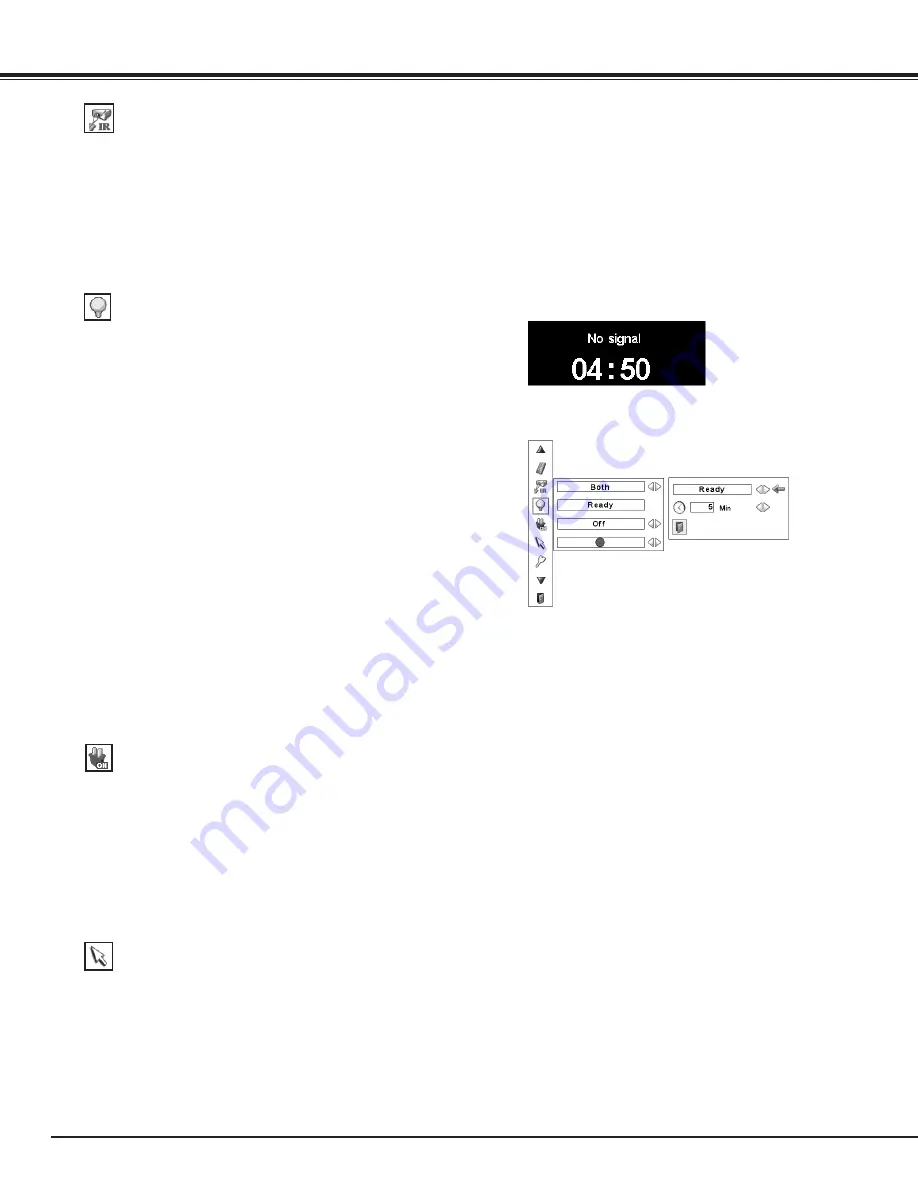
Power management
Time left before the lamp is off
Press the SELECT button at Power
management and the dialog box
appears. Use the Point
7 8
buttons to choose one of the three
options.
Press the Point
d
button to select
the timer, and then use the Point
7
8
buttons to set the timer
For reducing power consumption as well as maintaining the lamp
life, the Power management function turns off the projection lamp
when the projector is not used for a certain period.
If the input signal is interrupted and no button is pressed for more
than 30 seconds, the timer display with “No signal” appears. It
starts the countdown until the lamp is turned off. The countdown
time can be set between 1 and 30 minutes.
Use the Point
7 8
buttons to set the countdown timer.
Select one of the following options:
Ready . . . . When the lamp has been fully cooled down, the
POWER indicator starts blinking. In this condition,
the projection lamp is turned on if the input signal
is reconnected or any button on the side control or
remote control is pressed .
Shutdown. . When the lamp has been fully cooled down, the
power is turned off.
Off . . . . . . . Power Management function is off.
Power management
Pointer
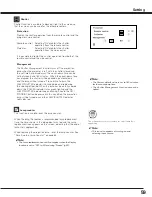
You can emphasize a part of the projected image with this function.
Use the Point
7 8
buttons to select a pattern of the Pointer (Arrow,
Finger, or Dot) (P. 34)
✔
Note:
• Factory default is “Ready: 5 min.”
• When the shutter is closed while the Power management function
is working, the Power management function is released.
Setting
✔
Note:
• The Point
ed7 8
buttons and SELECT button are invalid when
the Pointer function is operating.
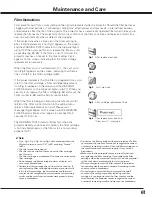
RC sensor
Select a location of the infrared remote receiver of the remote
control. See “Remote Control Receivers and Operating Range” on
page 16 for details.
Both ......... Activate both the front and back receiver.
Front ........ Activate only the front receiver.
Back ......... Activate only the back receiver.

