54
Change the PIN Code
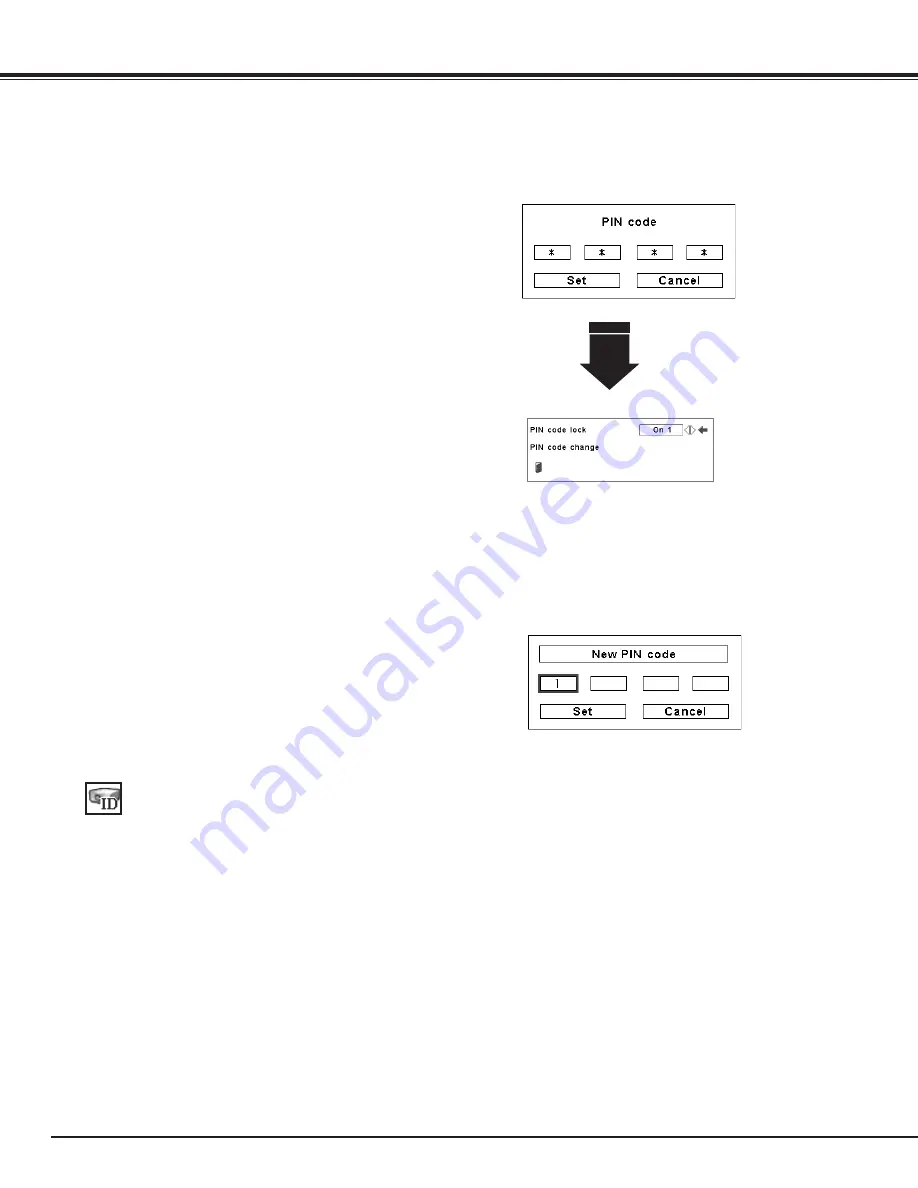
Change the PIN code
CAUTION:
WHEN yOU HAVE CHANGED THE PIN CODE, WRITE
DOWN A NEW PIN CODE IN COLUMN OF THE PIN CODE
NO . MEMO ON PAGE 80, AND KEEP IT SECURELy . IF
yOU FORGET yOUR PIN CODE, THE PROjECTOR CAN NO
LONGER BE STARTED .
The PIN code can be changed to your desired four-digit
number. Press the Point
d
buttons to select “PIN code
change” and press the SELECT button. The New PIN code
input dialog box appears. Set a new PIN code.
Change the PIN Code Lock setting
Change the PIN code lock setting
Use the Point
7 8
buttons to switch
between the options.
Enter a PIN code
Use the Point
7 8
button to select Off, On1, or On2 and then
move the pointer to “Quit” with the Point
d
button. Press the
SELECT button to close the dialog box.
After a correct Logo PIN code is
entered, the following dialog box
appears.
Enter a PIN code
Setting
Use the Point
7 8
buttons to adjust the Projector ID.
●
Projector ID ... 1 - 999. (Factory default setting : Projector ID
1)
This feature allows users to set serial communication
configuration (Projector ID) when several projectors are
connected via the RS-232C terminal (serial port) of the
projector.
Projector ID
Use the Point
ed
buttons on the side control or on
the remote control to enter a number. Press the
Point
8
button to fix the number and move the red
frame pointer to the next box. The number changes
to “
✳
.” Repeat this step to complete entering a four-
digit number. After entering the four-digit number,
move the pointer to “Set.” Press the SELECT button
so that you can change the PIN code lock setting .
If you fixed an incorrect number, use the Point
7
button to move the pointer to the number you want
to correct, and then enter the correct number.
If you entered an incorrect PIN code, “PIN code” and
the number (
✳✳✳✳
) will turn red for a moment. Enter
the correct PIN code all over again.


