23
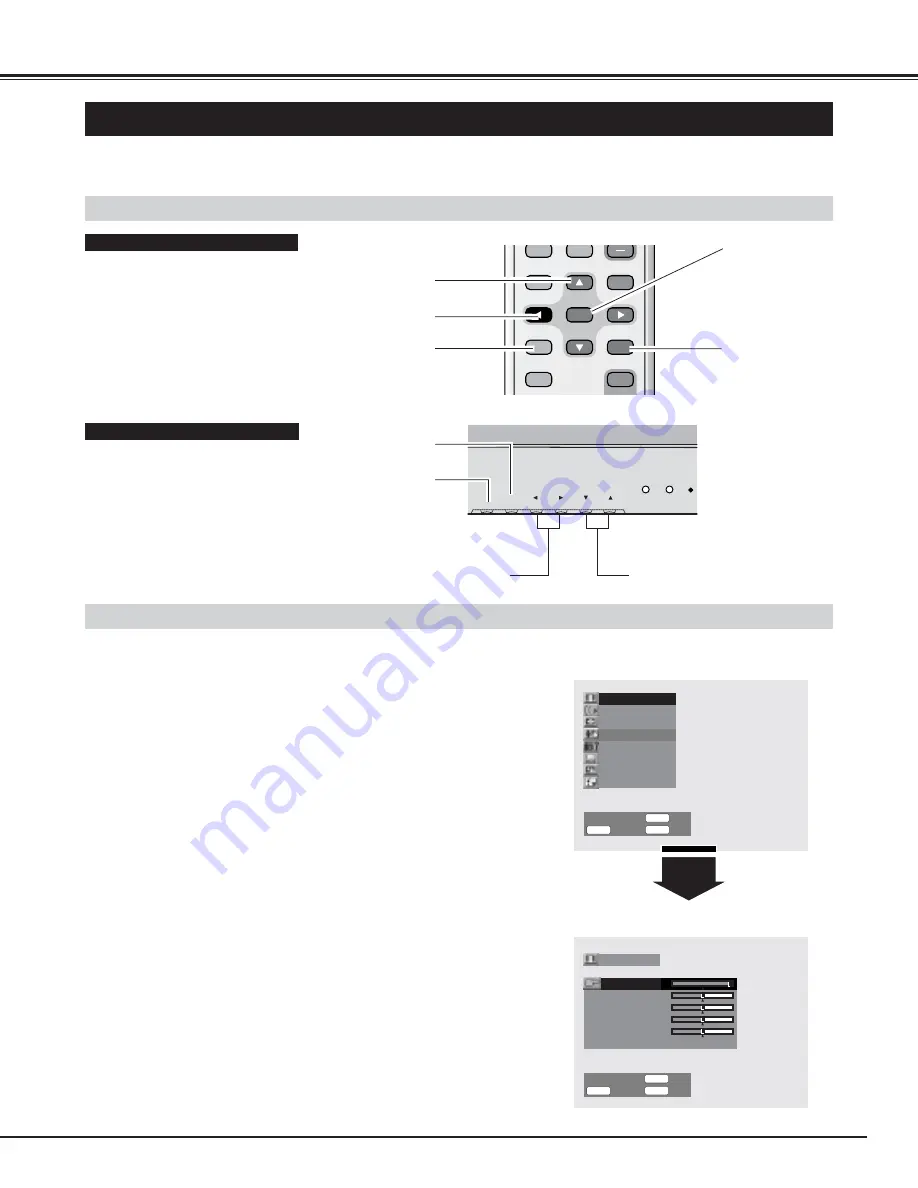
BUTTONS FOR ON-SCREEN MENU OPERATION
FLOW OF ON-SCREEN MENU OPERATION
You can control and adjust this Plasma Monitor through the On-Screen Menu. Refer to the following pages to operate each
adjustment on the On-Screen Menu.
OPERATING ON-SCREEN MENU
Sound adjustment
Screen adjustment
Picture setup
Initial setup
PC mode adjustment
Screen saver
Information
Picture adjustment
Select
Return
OK
Exit
M E N U
STATUS
O K
78
VIDEO
PC/DVI-D
COMPONENT
WIDE
ON-OFF
VOLUME
OFF TIMER
MOVE UP
PICTURE
MUTE
MUTE
STATUS
MOVE DOWN MENU
MENU
POWER
WER
SURROUND
AUTO PC
OK
ON
BASIC OPERATION
REMOTE CONTROL UNIT
VOLUME
–
+
INPUT
MENU
OK
FRONT CONTROL
Press the MENU button on the Remote Control Unit or
the Front Control and the On-Screen Menu will appear.
1
Press the
e
ed
d
buttons to select the menu that you want to
adjust, and then press the OK button. The selected menu
will appear.
2
Press the
e
ed
d
buttons to select the item that you want to
adjust.
3
Adjust the item by pressing the
7
7 8
8
buttons.
4
Press the STATUS button to return to the previous menu
display. Press the MENU button to close the On-Screen
Menu.
5
CURSOR
e
ed
d
button
CURSOR
7
7 8
8
button
MENU button
OK button
STATUS button
CURSOR
e
ed
d
button
CURSOR
7
7 8
8
button
OK button
MENU button
Brightness
Color
Tint
Sharpness
Noise reduction
Off
Contrast
0
0
Picture adjustment
Select
Return
OK
Exit
32
32
62
M E N U
STATUS
O K
78
MAIN MENU
SUB MENU


