English
- 18 -
Preferred Language
By pressing the “ ” or “ ” buttons the preferred audio
description language is being changed. This setting
can be used, only if it is available.
Standby Search (*)
(*) This setting is visible only when the Country option
is set to Denmark, Sweden, Norway or Finland.
Use “
” or “
” button to select Standby Search and
then press “ ” or “ ” button to set this setting as On or
Off. If you change Standby Search to Off, this function
will be unavailable.
To use Standby search please make sure that
you select Standby Search as On.
Active Antenna (*)
Use “
” or “
” buttons to highlight Active Antenna
option. When antenna power option is set as On by
pressing “ ” or “ ” button, +5V will be transmitted to
the antenna output.This feature enables the use of
active antenna.
Note: Antenna power should be “Off” when standard
antenna is used instead of the active antenna.
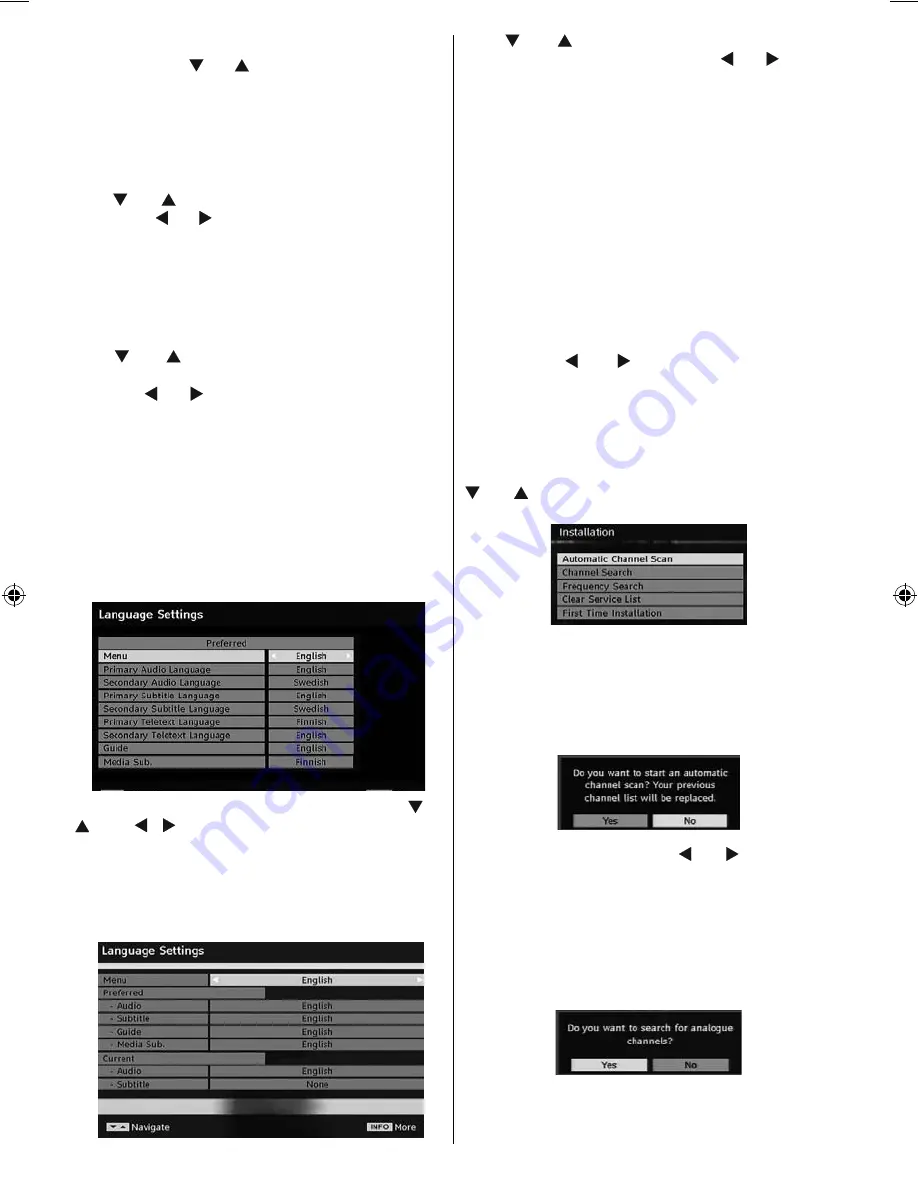
Language Settings
In this menu the user can adjust the preferred language.
Select “Language” item in the Setup menu and press
OK button. Then language settings menu will be
displayed.
You can set the desired language options by using “
” /“
”
and
“ ”/“ ” buttons.
Note: If the Country option is set to Denmark, Sweden,
Norway or Finland, the Language Settings menu will
function as described below:
Language Settings
.
Use “
” or “
” buttons to highlight the menu item
that will be adjusted and then press “ ” or “ ” button
to set.
• Audio Language is used for selecting the soundtrack
of a channels. Primary settings are the fi rst priority
when multiple choices are available on a broadcast.
Secondary settings are the alternatives when the
fi rst options are not available.
• Guide Language: If the received EPG data includes
the selected guide language, EPG data language
will be changed accordingly.
•Teletext language sets the desired teletext
language.
Media Subtitle: In order to display subtitles properly,
use this setting to select a movie subtitle language.
By pressing “ ” or “ ” button, select the desired
language option.
Installation
The Installation menu is mainly intended to help you
for creating a Channel Table in most effi cient way.
Select Installation from the main menu by pressing “
” or “
” buttons.
Automatic Channel Scan
Automatic channel scan is started by pressing
OK
button while Automatic channel scan item is
highlighted.
The following message appears on the screen:
Highlight
Yes
or
No
by using “ ” or “ ” buttons and
press
OK
button to confi rm.
If
Yes
is selected, automatic search starts.
Selecting
No
cancels automatic search.
After search is completed for digital channels, a
message asking whether to search for analogue
channels appears on the screen:
Highlight
Yes
and press
OK
button to search for
analogue channels. The following menu appears on
the screen for analogue channel search:
01_MB37_[GB]_(01_TV)_22890W_1900UK_IDTV_BRONZE13_10065805_5017xxxx.indd 18
01_MB37_[GB]_(01_TV)_22890W_1900UK_IDTV_BRONZE13_10065805_5017xxxx.indd 18
16.08.2010 10:09:42
16.08.2010 10:09:42


