RECORDING SETTING
5
Use the jog dial to change the setting to “ON” , and then turn
the shuttle dial clockwise.
The cursor moves to TOTAL NUMBER.
6
Turn the shuttle dial clockwise, use the jog dial to set the total
number of digital video recorders connected (example: 3),
and then turn the shuttle dial clockwise.
The cursor moves to OVERWRITE.
Note: If NETWORK CONTROL in the NETWORK SET menu has
been set to “ON”, DIGITAL SERIES RECORDING cannot be
selected (See page 78.). Conversely, if DIGITAL SERIES
RECORDING has been set to “ON”, NETWORK CONTROL
cannot be set to “ON”.
Setting NORMAL RECORDING AREA
OVERWRITE and REMAINING DISK
WARNING on the operating display
section
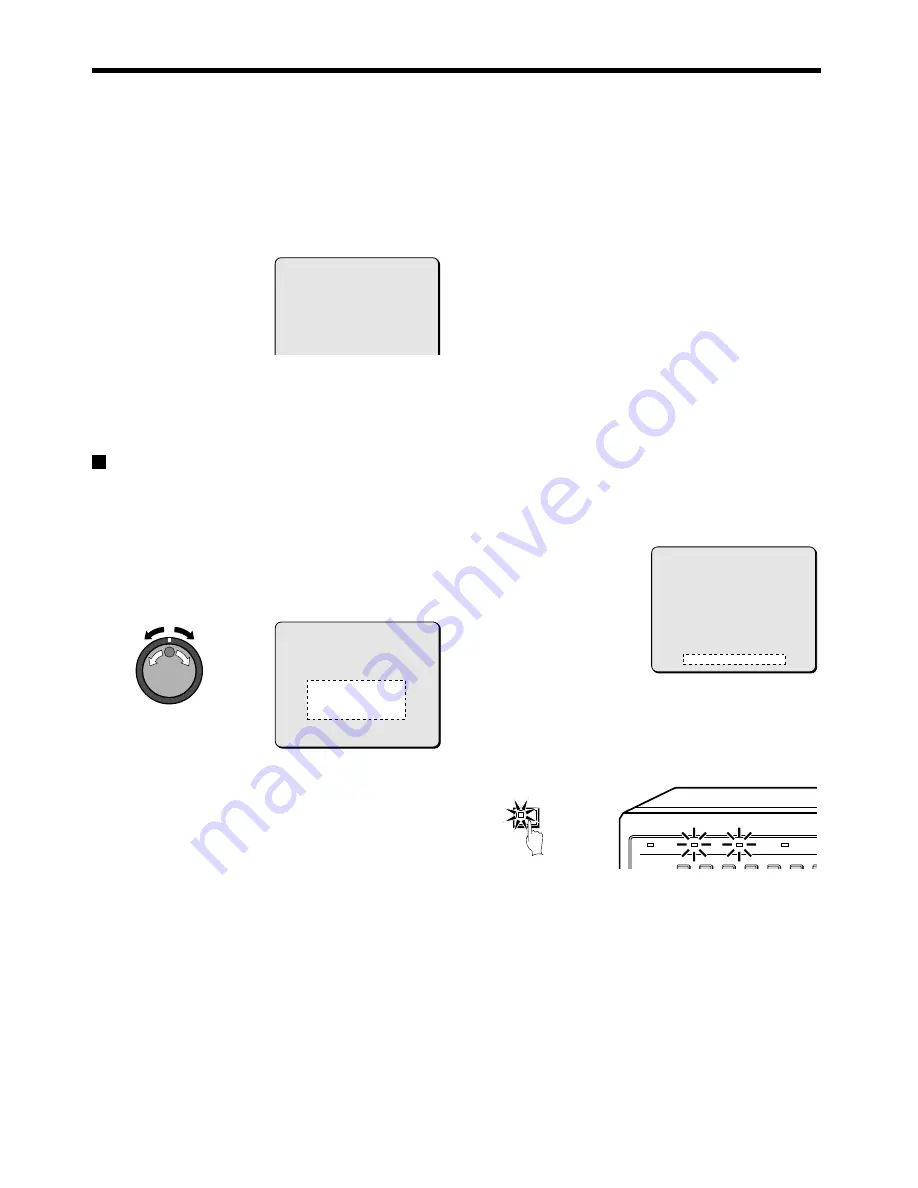
When the recording areas of the hard disk become full, you can set
whether old images are to overwritten, or whether recording should
stop. If recording is set to stop, the current percentage of free space
remaining on the hard disk will appear on the operating display
section. You can use “REMAINING DISK WARNING” to specify the
amount of free space remaining.
1
When the cursor is at the OVERWRITE setting, turn the
shuttle dial clockwise.
“ON” flashes.
2
Use the jog dial to select the setting (example: OFF), and then
turn the shuttle dial clockwise.
REMAINING DISK WARNING changes from
**
to 1%.
Display examples:
•
OFF: When the normal recording area becomes full, recording
stops.
•
ON: When the normal recording area becomes full, images are
overwritten automatically starting from the earliest
recorded images.
Note: If “OFF” is selected, the REMAINING DISK WARNING setting
shows the percentage of hard disk space remaining that
triggers the FULL or ALARM FULL indicator on the front panel
to start flashing.
3
Follow the same procedure to make the setting (OFF) for the
ALARM RECORDING AREA.
Note: Make the settings separately for each item in the menu, even if
making a digital connection. The OVERWRITE settings for
second and subsequent units must match the setting for the
first unit.
4
When the cursor is at the REMAINING DISK WARNING
setting, turn the shuttle dial clockwise, and then use the jog
dial to set the display value for the amount of disk space
remaining (example: “5” ).
Note: The REMAINING DISK WARNING setting can be between 1%
(default setting) and 10%.
5
Press the EXIT/OSD button.
The display returns to the normal screen.
When the remaining disk space in each area reaches 5%, it is
displayed in the operating display section. The FULL (for normal
recording area) or ALARM FULL (for alarm recording area)
indicator on the front of the digital video recorder flashes.
<RECORDING CONDITIONS SET>
DIGITAL SERIES RECORDING : ON
TOTAL NUMBER : 3
NORMAL RECORDING AREA
OVERWRITE : OFF
ALARM RECORDING AREA
OVERWRITE : OFF
<RECORDING CONDITIONS SET>
DIGITAL SERIES RECORDING : OFF
TOTAL NUMBER : 1
NORMAL RECORDING AREA
OVERWRITE : OFF
ALARM RECORDING AREA
OVERWRITE : OFF
REMAINING DISK WARNING : 1 %
<RECORDING CONDITIONS SET>
DIGITAL SERIES RECORDING : OFF
TOTAL NUMBER : 1
NORMAL RECORDING AREA
OVERWRITE : OFF
ALARM RECORDING AREA
OVERWRITE : OFF
REMAINING DISK WARNING : 5 %
1
2
3
4
5
6
POWER
FULL
ALARM FULL
LOCK
EXIT/OSD
English
53


