in the vertical center.
6.4 AV receives Philips circular test signal (NTSC system).
6.5 Press CH
±
button to select NT.V.SIZE option. Use VOL
±
to adjust the value of NT.V.SIZE till the
picture appears in the vertical center.
6.6 Press PROD (FACTORY) till exit.
7 Vertical linearity adjustment
7
.1 Receive Philips circular test signal(PAL system).
7.2 Press PROD (FACTORY) button on the maintenance use remote controller to start adjusting mode.
7.3 Press CH
±
button to select V.LINE option. Use VOL
±
button to adjust the value of V.LINE till the
vertical linearity reaches the best.
7.4 AV receives Philips circular test signal (NTSC system).
7.5 Press CH
±
button to select NT.LINE option. Use VOL
±
button to adjust the value of NT.LINE till the
vertical linearity reaches the best.
7.6 Press PROD (FACTORY) button till exit.
8 Screen character display adjustment
8.1 Receive Philips circular test signal (PAL system).
8.2 Use PROD (FACTORY) button to enter into adjusting mode.
8.3 Press CH
±
button to select OSD.H.POSI option. Use VOL
±
button to adjust the value of OSD.H.POSI
till the characters appear in the horizontal center position.
8.4 Press CH
±
button on the maintenance use remote controller to select OSD.V.POSI option. Use VOL
±
button to adjust the value of OSD.V.POSI to make the characters appear in the vertical center(i.e. make the
caption of characters appear in the center of the caption frame of the Philips circular test signal).
8.5 Press CH
±
button to select OSD.CONT option. Use VOL
±
to adjust the value of OSD.CONT till the
character display achieves proper brightness.
8.6 Press PROD (FACTORY) button till exit.
9 White balance adjustment
9.1 Receive white field signal.
9.2 Press PROD (FACTORY) button to start brightness/darkness balance adjusting mode.
9.3 Press CH
±
button and VOL
±
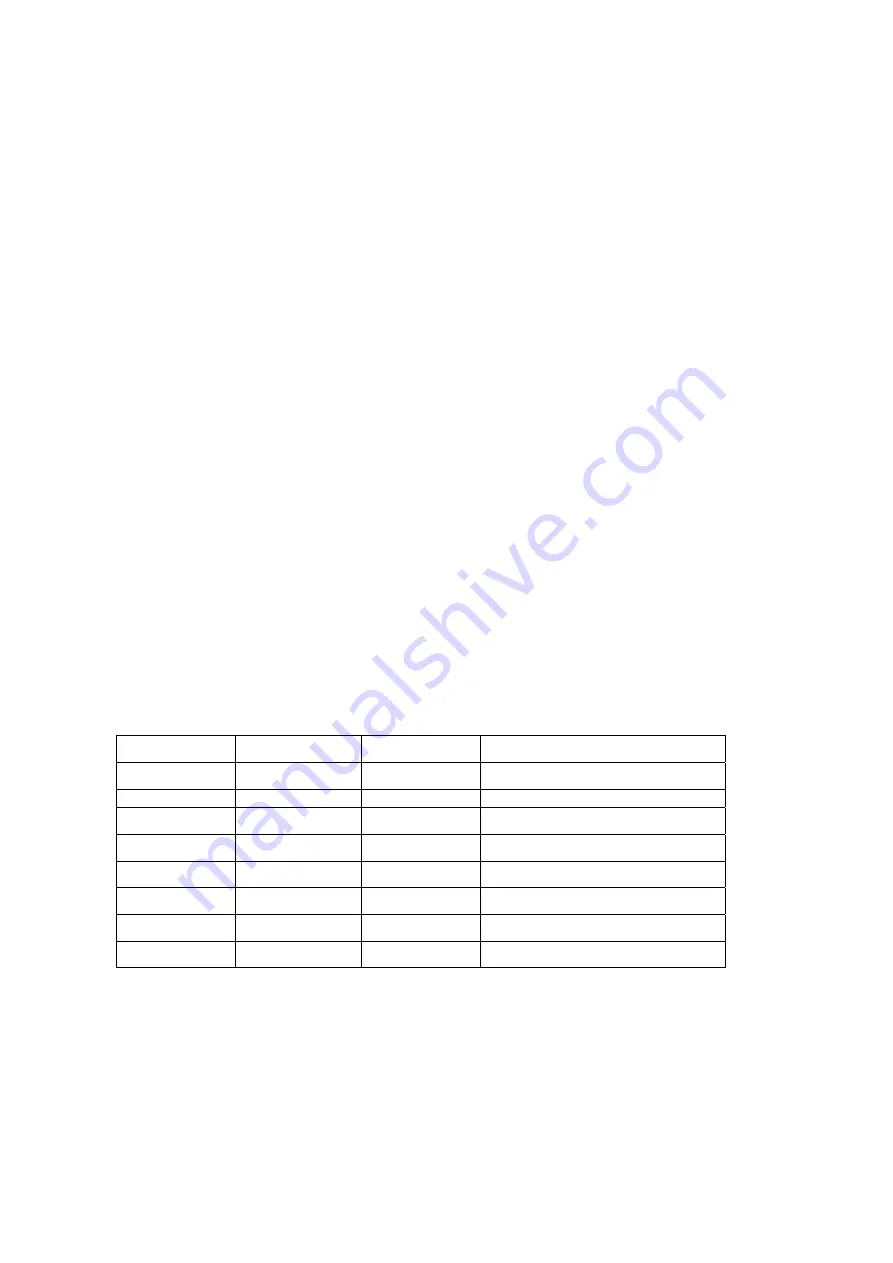
button to adjust the following parameters to their initial status (see table
below
Black/white balance parameters comparison
name
Chinese name
range
Initial status
S-BRI
0--127 Start
from20
R-BIA
0--255
Start from 20
G-BIA
0--255 Start
from20
B-BIA
0--255
Start from 20
R-DRI
0--127
Start from 60
G-DRI
0--15
Start from 8
B-DRI
0--127
Start from 60
C.B/W
0
9.4 Press MUTE button on the remote controller to see a horizontal bright line on the screen. Adjust the
screen grid voltage till only one color just show its brightness.
9.5 Press relevant number buttons to increase the amount of another two colors till the horizontal bright line
turn into white. Then the darkness balance reaches the best(note: in the status of horizontal bright line,
press "2"// "3" and "6" and "7" can decrease and increase respectively the amount of red/green/blue in the
bright line.
9.6Press MUTE button to exit horizontal bright line. Set C.B.\W to 2 brightness balance adjusting signal .
Adjust S-BRT to a proper value (such as 99) to achieve proper brightness. Press CH
±
, VOL
±
button to
adjust R.DRI/G.DRI/B.DRI till the picture turn into white. Then the brightness balance reaches the best.
9.6 Press PROD (FACTORY) button till exit.


