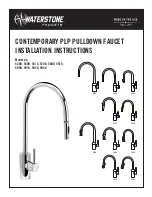
INSTALLATION INSTRUCTIONS
−
From surface of
plate cut #8 so it is
protruding
at least
1-1/4" from plate.
−
From surface of plate c
ut
#5
between 3/8"
-
1/2" so its protruding from the wall.
#4
plate surface
T
OOL NEEDED FOR NEXT STEP
2
FINISHED
WALL
0 3
−
Place #
4
Plate up against wall over valve
.
−
Screw
#6 Nut,
the
#8
all thread
and
broach
extension #
5
onto
the
volume
control / diverter valve until it
stops.
−
Install
#27
SA250
and #
22
PM-5-4x
3


