- 56 -
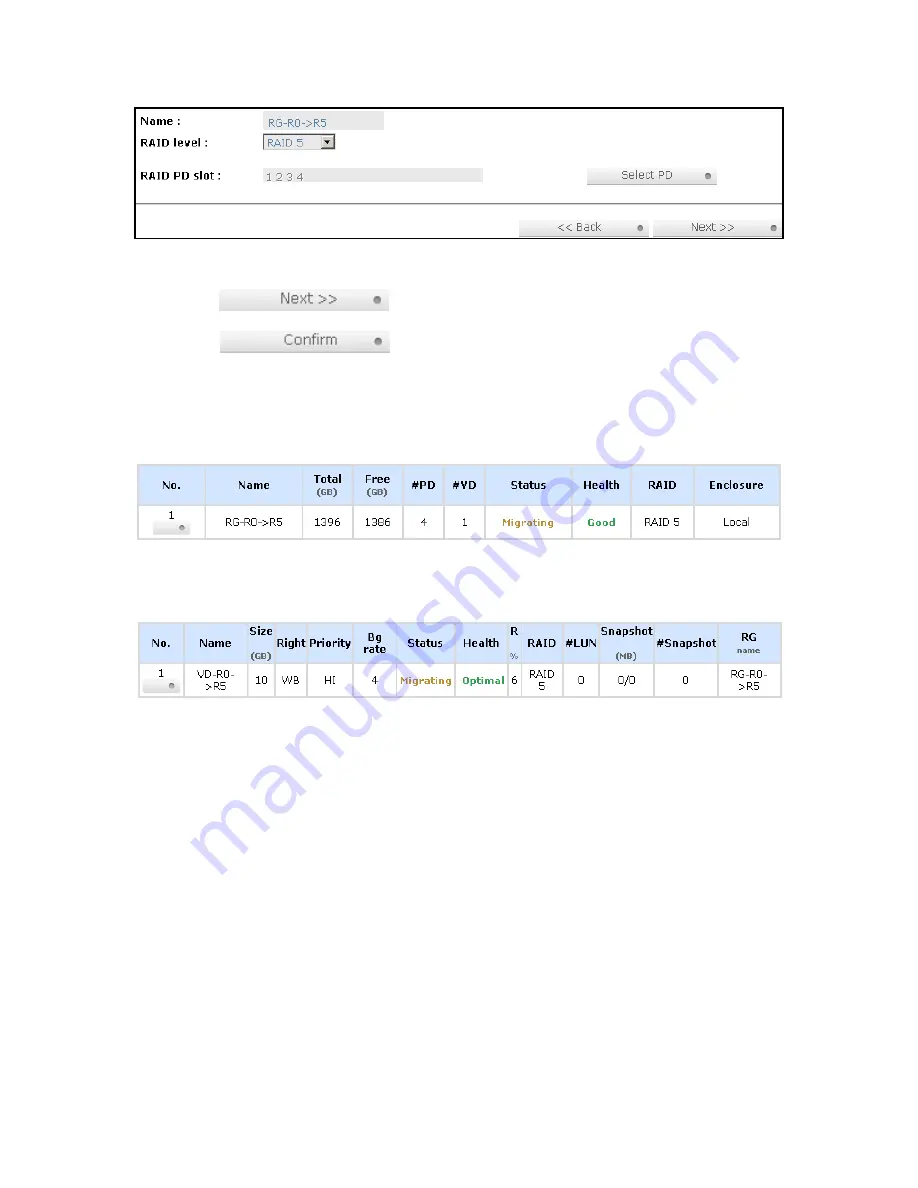
Figure 4.2.1
4.
Double check the setting of RAID level and RAID PD slot. If there is no problem, click
“
“.
5.
Finally a confirmation page shows the detail of RAID information. If there is no problem, click
“
“ to start migration. System also pops up a message of
“Warning: power lost during migration may cause damage of data!” to give user warning.
When the power is abnormally off during the migration, the data is in high risk.
6.
Migration starts and it can be seen from the “status” of a RG with “Migrating”. In “/ Volume
configuration / Virtual disk”, it displays a “Migrating” in “Status” and complete percentage of
migration in “R%”.
Figure 4.2.2
(Figure 4.2.2: A RAID 0 with 4 physical disks migrates to RAID 5 with 5 physical disks.)
Figure 4.2.3
(Figure 4.2.3: A RAID 0 migrates to RAID 5, the complete percentage is 14%.)
To do migration, the total size of RG must be larger or equal to the original RG. It does not allow
expanding the same RAID level with the same hard disks of original RG.
The operation is not allowed when RG is being migrated. System would reject following operations:
1.
Add dedicated spare.
2.
Remove a dedicated spare.
3.
Create a new VD.
4.
Delete a VD.
5.
Extend a VD.
6.
Scrub a VD.
7.
Perform yet another migration operation.
8.
Scrub entire RG.
9.
Take a new snapshot.
10.
Delete an existing snapshot.
11.
Export a snapshot.
12.
Rollback to a snapshot.


