Page 26/67
5.2.1 Camera configuration
Channel
Select desired channel. You can select up to 16 images or select single image to operate.
Name
Give name to the recording image for the convenience of operation and viewing. You can name
every image here or select a already exist name either.
Brightness
Customize the brightness. User can set it according to actual situation.
Contrast
Customize the contrast.
Hue
Customize the saturation.
Sharpness
Customize the sharpness
5.2.2
Mask area setting
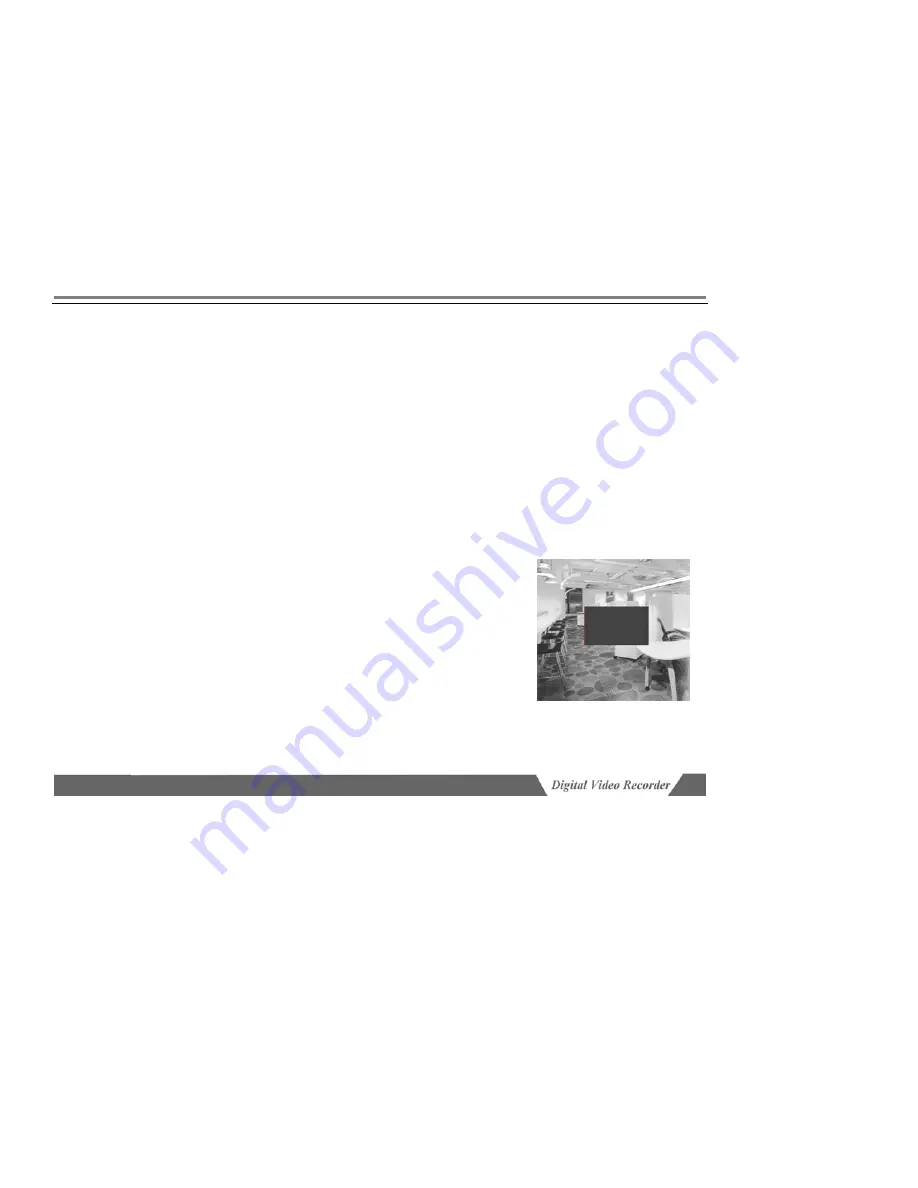
Using a dark rectangle
to cover one part of the monitoring area, this area will turn to dark while monitoring or
recording. It used to envelop the sensitive or privacy area, e.g. the PWD key on ATM machine. This parameter is
only used for setting channel. Each channel can be set 4 mask zone and the setting for each is different.
Step 1: Select channel
Move cursor to “Channel” to select the image to set mask. Press [Menu] to
confirm.
Step 2: Set mask zone
Enter mask setting interface. Press [Menu] key to select “Mask alarm” to activate
Area button. Move cursor to “Mask Area” and press [Menu] to enter mask area
setting interface, as shown right:
In mask area setting interface, red line is used as the direction line of area
selection. Press the same direction to zoom in the area and press the opposite direction to zoom out the area. You can
customize the settings. (One image can cover one area only) Press [Menu], return to “Live” interface after setting.


