


1
Insert a video tape, check the tape speed, and select
the channel you want to record, using the CH/TRK
▼▲
or number buttons.
2
Press the REC button on the remote control or the
front of the VCR the number of times that corre-
sponds to length of record time you desire (see chart
below). The Record length time appears on the
screen.
3
The VCR will turn off automatically at the end of the
recording time. To stop an OTR recording in
progress, press the POWER button on the remote
control or on the front of the VCR.
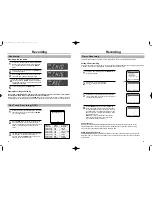
Recording
19
Recording
18
Recording while you watch
1
Insert a video cassette with the record protect safety
tab intact. Check the tape speed. If the VCR indica-
tor on the front panel is not lit, press the TV/VCR
button.
2
Select a channel to record by pressing CH/TRK
▼▲
or the number buttons.
3
Press the REC button on the remote control or the
front of the VCR. The REC indicator will light.
4
If you want to edit out unwanted material during
recording, press the P/STILL button while recording
and the VCR will pause. To resume recording, press
the P/STILL button again.
5
To end recording, press the STOP button.
Separate Recording and Viewing
You can view a different program from the on you’re recording if your VCR is connected to your antenna
or cable system. When using a cable decoder box, use an A/B switch.
While recording on one channel, press the TV/VCR button on the remote control to select TV viewing. The VCR
indicator light on the front display shuts off. Select the channel you want to watch with the TV’s channel buttons.
R e c o r d i n g
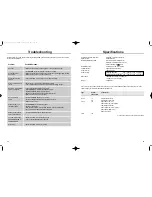
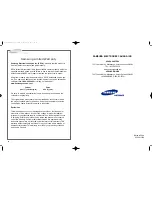
One Touch Recording (OTR)
Record length 0:30 11
SP
R E C O R D
D i s p l a y
Record time
Press once
R e c o r d
Not timed.
Press 2 times
0:30
30mins
Press 3 times
1:00
1 hour
Press 4 times
1 : 3 0
1 hour + 30 mins
Press 5 times
2 : 0 0
2 hours
Press 6 times 3:00
3 hours
Press 7 times
4 : 0 0
4 hours
Press 8 times
R e c o r d
Not timed
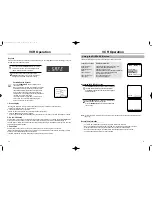
The Timer feature allows you to set the VCR to automatically record up to eight different programs.
Setting a timer recording
Your VCR can record on a specific day, or every day, Monday through Friday. Daily and weekly programs remain
in the timer until erased. A single program is erased after the program records.
1
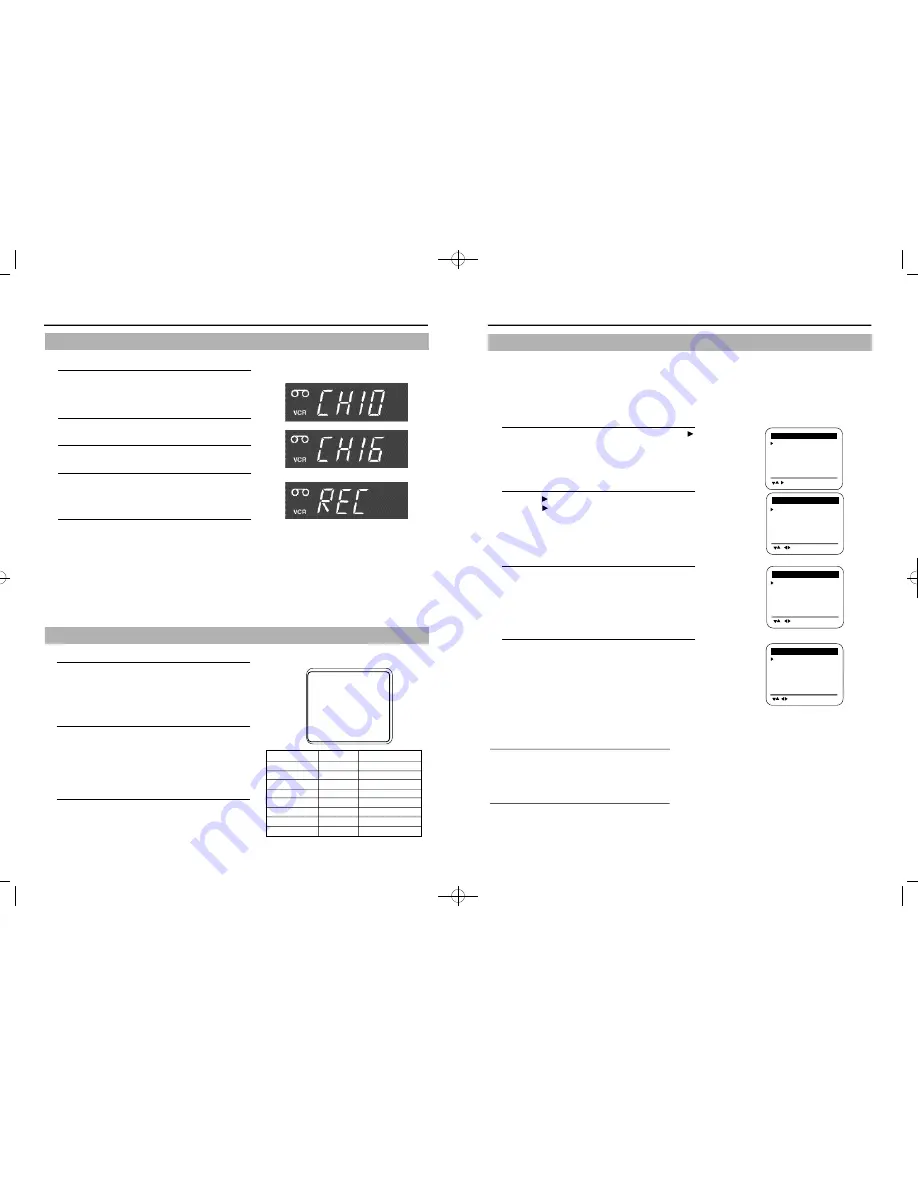
To display a timer recording list, press MENU and
on the remote control.
2
Press
and
▲▼
to set the channel.
Press
to move to the next setting.
3
Repeat step 2 to set start time, end time, date and
record speed. Date can be set for one time, daily or
weekly recording. See below.
4
Press the MENU button to complete programming
the timer recording. Stop the VCR or turn the power
off. The timer indicator comes on the VCR. The VCR
will automatically turn on and begin recording at the
time you have set. To stop a timer recording, press
the VCR power button.
Note: When using a cable decoder box or DSS
®
,
make sure the decoder box is on and set to the
correct channel for timer recording.
CH START END DATE
SPD
- - - : - - - : - - - - -
- -
- - - : - - - : - - - - -
- -
- - - : - - - : - - - - -
- -
- - - : - - - : - - - - -
- -
- - - : - - - : - - - - -
- -
- - - : - - - : - - - - -
- -
- - - : - - - : - - - - -
- -
- - - : - - - : - - - - -
- -
[
/
]
[MENU/CLEAR
]
Auto Speed Select
If you are not sure the tape is long enough for timer program recording in the SPtape speed, set the
recording tape speed to “AUTO”. Recording starts in the SPtape speed. If the tape length is not long
enough, the tape speed automatically changes from SPto SLP.
Daily/Weekly Date Programming
Weekly [SUN’S~SAT’S]: You can record TV programs on the same channel at the same time every week.
Daily [MO ~FR] : You can record TV programs on the same channel at the same time every day Monday
through Friday.
Timer Recording
CH START END DATE
SPD
03 - : - - - : - - - - -
- -
- - - : - - - : - - - - -
- -
- - - : - - - : - - - - -
- -
- - - : - - - : - - - - -
- -
- - - : - - - : - - - - -
- -
- - - : - - - : - - - - -
- -
- - - : - - - : - - - - -
- -
- - - : - - - : - - - - -
- -
[
/
]
[MENU/CLEAR
]
CH START END DATE
SPD
03 7:24 9:24 5/10
AUTO
- - - : - - - : - - - - -
- -
- - - : - - - : - - - - -
- -
- - - : - - - : - - - - -
- -
- - - : - - - : - - - - -
- -
- - - : - - - : - - - - -
- -
- - - : - - - : - - - - -
- -
- - - : - - - : - - - - -
- -
[
/
]
[MENU/CLEAR
]
P
M
P
M
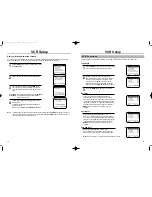
MAIN MENU
Timer recording
Clock set/adjust
Channel setup
VCR function setup
Language/Lengua/Langue
[
/ ]
[MENU/EXIT
]
01063A VR8170C/5170C-ENG 9/8/56 12:16 PM Page 18