15
Operation
C
h
a
p
te
r
2
-.---.-.-.-----.---.-.-.
---..-.---.-..---.----
---.----.---.-.-...---.-.
---..-.---.-..---
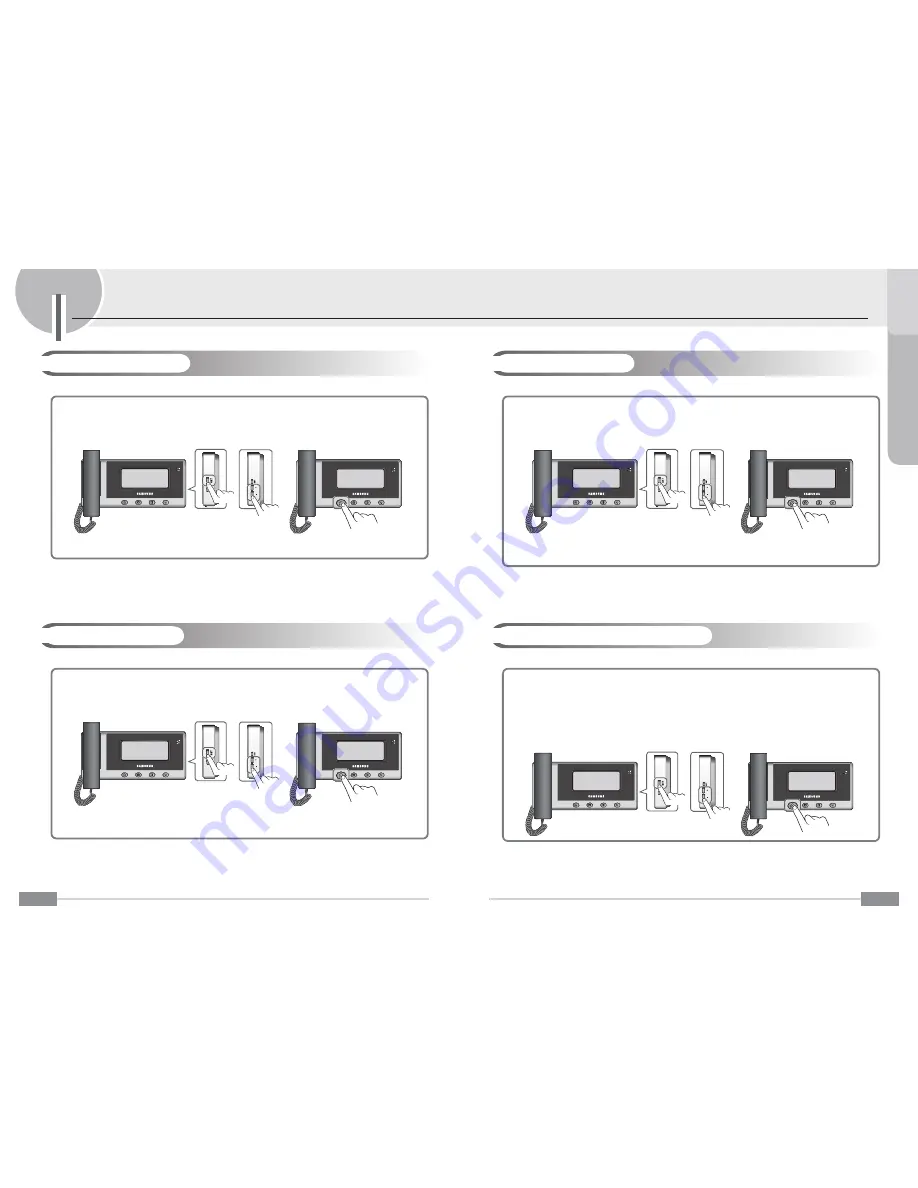
1. During the Supervisor setting mode, press the
SET
button repeatedly to select the
C.DOOR1 TALK TIME
SET
,
D.DOOR2 TALK TIME SET
or
E.SLAVE TALK TIME SET
.
2. Press the
+
/
-
buttons repeatedly to select the
desired time
(
30SEC
~
1HOUR
).
3. Press the
Interphone
button to store your setting.
-.---.-.-.-----.---.-.-.
---..-.---.-..---.----
---.----.---.-.-...---.-.
---..-.---.-..---
Set to the each talk time limit for the Door1/2 or slave port’s.
ⷅ
After connecting to the DOOR1/2 or SLAVE port, be sure set to the talk time limit on the C/D.DOOR1/2 TALK TIME SET
and E.SLAVE CALL TIME SET item.
ⷅ
When the DOOR1 port is connected to door bell, the C.DOOR1 TALK TIME SET is not activated.
-.---.-.-.-----.---.-.-.
---..-.---.-..---.----
---.----.---.-.-...---.-.
---..-.---.-..---
1. During the Supervisor setting mode, press the
SET
button repeatedly to select the
M.NAND BULK
ADJUST
.
2. Press the
+
and
-
buttons repeatedly to select the
YES
or
NO
.
Yes :
Activate the NAND flash bulk check function
No :
Disable the NAND flash bulk check function
3. Press the
Interphone
button to store your setting.
ⷅ
If the M.NAND BULK ADJUST set to YES, the unit will start NAND flash bulk checking
for more than 7 minutes.
-.---.-.-.-----.---.-.-.
---..-.---.-..---.----
---.----.---.-.-...---.-.
---..-.---.-..---
ⶺ
Setting the NAND Flash Bulk Check
Set to the NAND flash bulk check function enable or disable.
ⶺ
Setting the Talk Time
14
These functions are used to customize some product functions in the user’s environment.
4VQFSWJTPSTFUUJOH'VODUJPOT
-.---.-.-.-----.---.-.-.
---..-.---.-..---.----
---.----.---.-.-...---.-.
---..-.---.-..---
1. During the Supervisor setting mode, press the
SET
button repeatedly to select
7.DOOR1 OPEN TIME
SET
or
8.DOOR2 OPEN TIME SET
.
2. Press the
+
/
-
buttons repeatedly to select the
desired time
(
1SEC
~
10SEC
).
3. Press the
Interphone
button to store your setting.
-.---.-.-.-----.---.-.-.
---..-.---.-..---.----
---.----.---.-.-...---.-.
---..-.---.-..---
Set to the door lock open time for the Door1/2 port’s door open function.
ⷅ
After connecting to the door lock to the DOOR1/2 port, be sure set to the door open time on the 7/8.DOOR1/2 OPEN
TIME item.
-.---.-.-.-----.---.-.-.
---..-.---.-..---.----
---.----.---.-.-...---.-.
---..-.---.-..---
1. During the Supervisor setting mode, press the
SET
button repeatedly to select the
9.DOOR1 CALL TIME
SET
,
A.DOOR2 CALL TIME SET
or
B.SLAVE CALL TIME SET
.
2. Press the
+
and
-
buttons repeatedly to select the
desired time
(
15SEC
~
10MIN
).
3. Press the
Interphone
button to store your setting.
-.---.-.-.-----.---.-.-.
---..-.---.-..---.----
---.----.---.-.-...---.-.
---..-.---.-..---
ⶺ
Setting the Call Time
Set to the each call time limit for the Door1/2 or slave port’s.
ⷅ
After connecting to the DOOR1/2 or SLAVE port, be sure set to the call time limit on the 9/A.DOOR1/2 CALL TIME
SET and B.SLAVE CALL TIME SET item.
ⷅ
If a call is not made within the DOOR1/2’s call time limit, the visitor’s image is recorded/stored automatically.
ⶺ
Setting the Open Time
Summary of Contents for SVD-4332
Page 1: ...Z6806140601A GC68 01539A ED 02 ...
Page 2: ......


