● MENU SETUP
NETWORK
Network setting via Ethernet
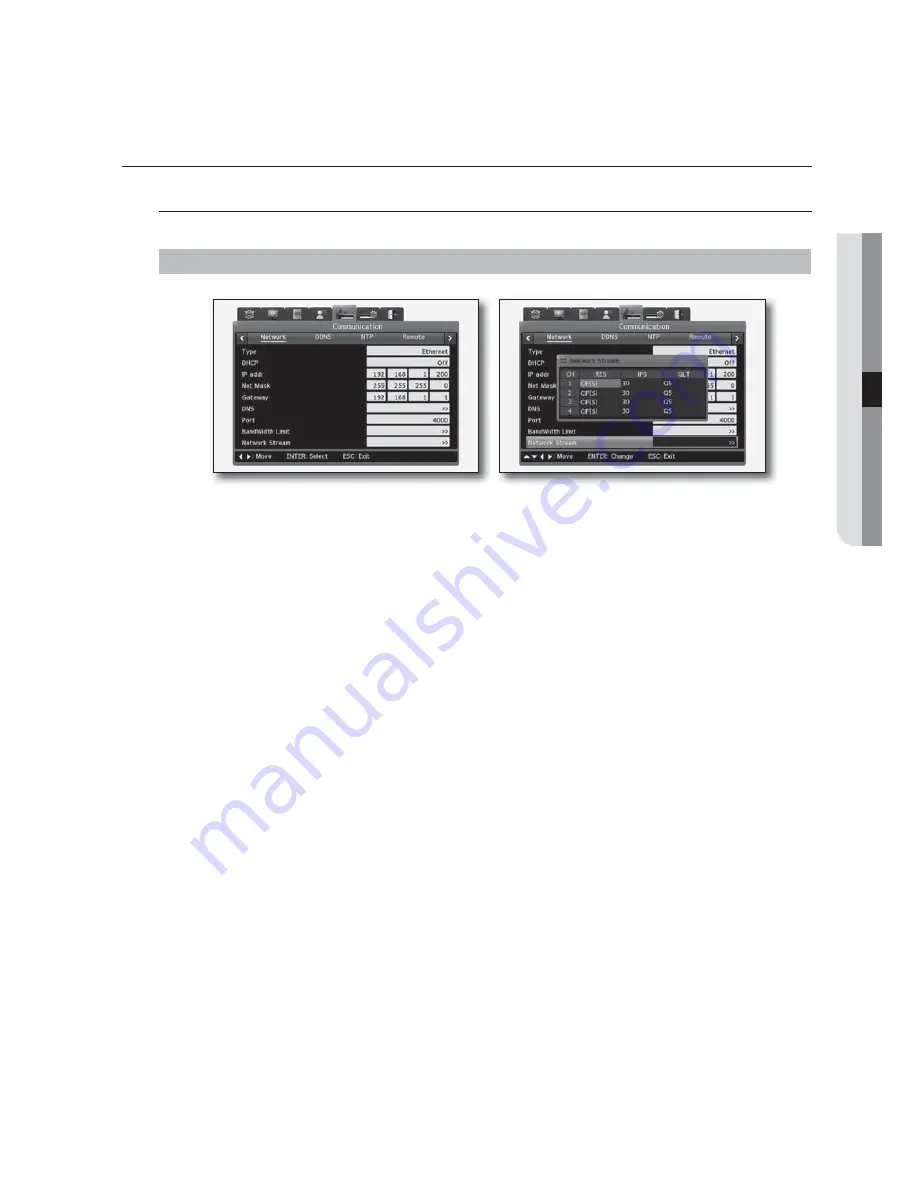
This is a menu where you can configure the network settings for connecting to the network via the Ethernet.
MENU - ► - ► - ► - ► - ENTER - ENTER
•
Type : Set the type of network line (connected to the DVR) to <
Ethernet
>.
This is suitable if the DVR is connected to the DVR-dedicated line, cable modem or LAN.
•
DHCP : The use of DHCP depends on how to share the IP addresses of the network. DHCP server assigns
public IPs to the DVR so set this option to <
On
> in a LAN environment using the DHCP server.
•
IP addr : Used to communicate between DVR and Smart Viewer, or try to access DVR the web viewer.
If you set <
DHCP
> to <
Off
>, this item will be active. Enter the static IP.
•
Net Mask : Specify the IP range. Any IP within the range is valid in mutual communications.
•
Gateway : This is a required field for communications.
•
DNS : You must enter the DNS if you want to register DVR with DDNS.
M
For information about Net Mask, gateway and DNS1, contact the network administrator.
•
Port : Enter the port number that you use to register the DVR with DDNS, or try to access Smart Viewer or
Web Viewer.
J
The default port number is 4000. You should be careful when entering the port number if using PPPoE modem and
Broadband router.
•
BandWidth Limit : Specify the maximum transfer rate that the DVR can produce. You don't need to specify
the limit manually because this is specified by the network admin.
•
Network Stream : Specify the quality of video that is transferred from the DVR via the network.
In the following cases, the video may be played at a lower frame rate than requested:
- Insufficient bandwidth, below the PC recommended specifications, 3 or more concurrent users, or the
server is in operating for playback/backup
English
_43


