64_
main menu
main menu
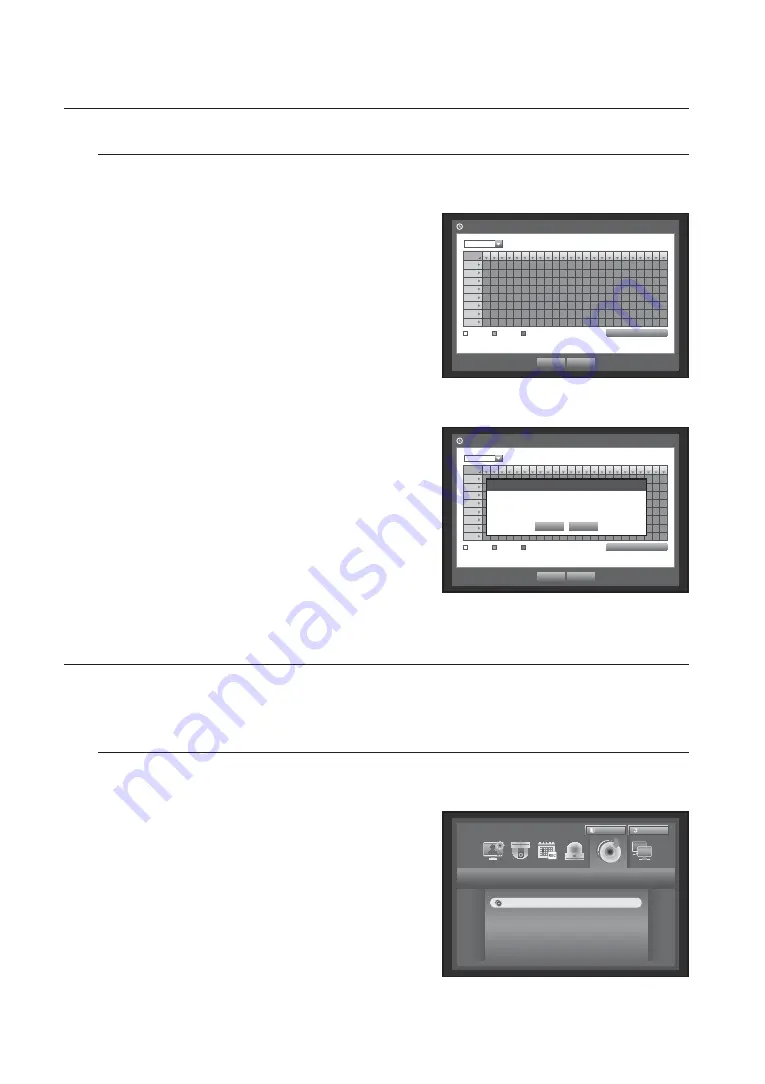
Alarm Schedule
You can set the conditions and operating hours for scheduled alarms.
Using the mouse may help make setup easier.
1.
Use the up/down buttons (
) in <
Event
> window to
move to <
Alarm Schedule
>, and press [
ENTER
] button.
2.
Use direction buttons (
◄►
) to move to a desired item,
and set the value.
• Alarm : Sets the alarm output method.
For further information on alarm output, refer to “
HDD Alarm
>
Alarm
”. (Page 53)
• ON : Marked in orange, and always generates alarm on
scheduled time.
• OFF : Marked in white, no alarm is generated even if an event occurs.
• Event Sync : Marked in Blue, generates alarm only when an event occurs.
• Apply to All Alarm : Applies the configured schedule to all
alarms.
M
When the alarm is generated on the scheduled time, you can
stop the alarm by canceling the schedule.
3.
When the Alarm Schedule setup is done, press <
OK
>.
BACKUP
You can check the backup device and set the backup schedule by channel or by time.
The product only supports external HDD of USB memory, CD/DVD and USB/SATA type. (Page 120)
Setting the Backup
You can backup the desired data to a connected device.
Using the mouse may help make setup easier.
1.
Press the [
MENU
] button on the remote control or front
panel.
2.
Use the left/right button (
◄ ►
) to select <
Backup
>.
Backup menu is selected.
Backup
Logout
Return
Backup
All
00 01 02 03 04 05 06 07 08 09 10 11 12 13 14 15 16 17 18 19 20 21 22 23
Sun
Mon
Tue
Wed
Thu
Fri
Sat
Hol
OFF ON Event
Sync
Apply to All Alarm
OK
Cancel
Alarm Schedule
Alarm1
All
00 01 02 03 04 05 06 07 08 09 10 11 12 13 14 15 16 17 18 19 20 21 22 23
Sun
Mon
Tue
Wed
Thu
Fri
Sat
Hol
OFF ON Event
Sync
Apply to All Alarm
OK
Cancel
Alarm Schedule
Alarm1
Apply to All Alarm
OK
Cancel
Apply the alarm scheduling to all?


