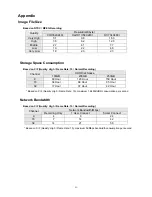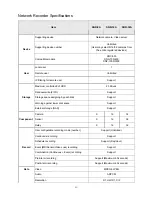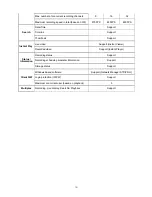
6.4. Connecting NAS (Network Attach Storage) System to PC
6.4.1. ReadyNAS (NETGEAR)
Installing RAIDar Utility
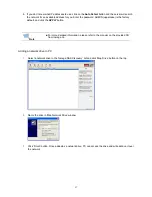
1. Load the CD and double-click on ‘Setup_Win.exe’ file to start the installation.
2. Install RAIDar following the Wizard direction.
Detecting ReadyNAS Device
1.
Connect ReadyNAS to network and start the system. It takes about 2 minutes to boot up.
When a PC accesses NAS directly over the crossover cable, PC should be
assigned an IP address. ReadyNAS system uses 192.168.168.168 as default
IP address. PC should be assigned an IP address on the same network.
(192.168.168.xxx but not 192.168.168.168 that is already taken by
ReadyNAS). After assigning an IP to PC, open IE Browser and enter
Note
https://192.168.168.168/admin
2.
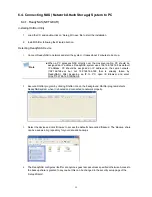
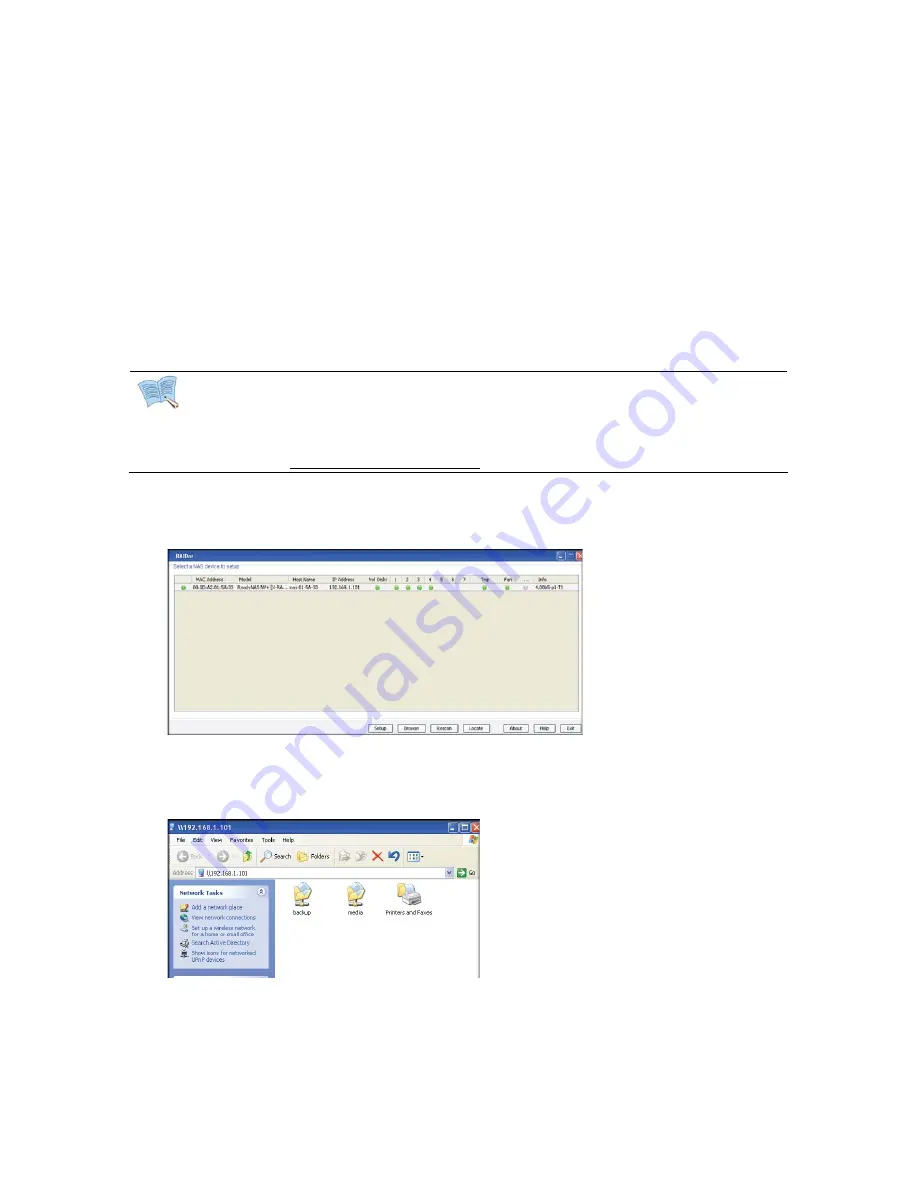
Execute RAIDar program by clicking RAIDar icon on the background. RAIDar program detects
ReadyNAS system when it is booted and connected to network properly.
3.
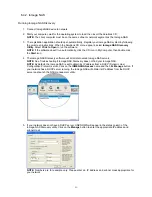
Select the device and click ‘Browse’ to access the default share called ‘Backup’. The ‘Backup’ share
can be used as a big repository for your data and backups.
4.
The ReadyNAS configures itself for anonymous guest access unless specified otherwise. Access to
the backup share is granted to anyone but this can be changed in the security setup page of the
‘Setup Wizard’.
44
Summary of Contents for SNR-32A
Page 1: ......
Page 42: ...Recorder program Total hard disk space and free space 42 ...
Page 51: ...51 ...

