56
_ English
using the menu items
White Balance
This HD camcorder automatically adjusts the color of subject.
Change the white balance setting depending on the recording conditions.
Settings
Contents
On-screen
display
Auto
This option is generally used to control the white balance automatically.
None
Daylight
This controls the white balance according to the outdoor ambience, especially for
close up and when the subject is of one dominant color.
Cloudy
This option is used when you make a recording in cloudy weather.
Fluorescent
This option is used when you make a recording under white fluorescent lights.
Tungsten
This option is for when there is less than 3200K of tungsten light being used.
Custom WB
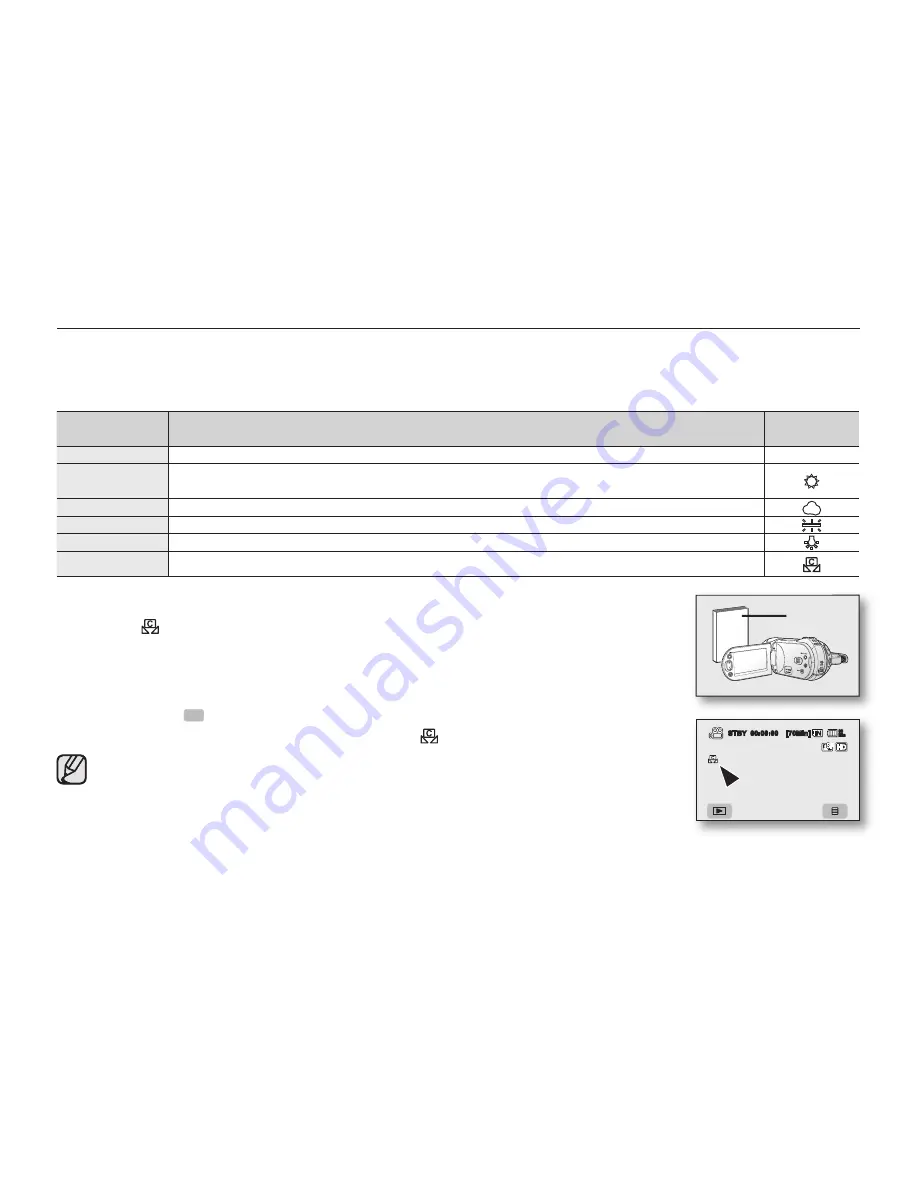
You can manually adjust white balance to match the light source or situation
Setting white balance manually;
1.
Touch “
Custom WB.
”
• The “
Set White Balance
” indicator is displayed.
2.
Frame a white object such as a piece of white paper so that it fills the screen.
• Use an object that is not transparent.
• If the object that fills the screen is not focused, correct the focus using “
Focus :
Manual
”
page 59
3.
Touch the
OK
(
OK
) tab.
• The white balance setting will be applied and (
) indicator is displayed.
• A subject can be shot under various types of lighting conditions indoors (natural, fluorescent,
candlelight, etc.). Because the color temperature is different depending on the light source,
the subject tint will differ depending on the white balance settings. Use this function for a more
natural result.
• It is recommended that you specify “
Digital Zoom: Off
” (
page 67) before setting white
balance.
• Do not use a colored object when setting white balance: The appropriate tint cannot be set.
• This function will be set to “
Auto
” in the EASY Q mode.
• Reset the white balance if lighting conditions change.
• During normal outdoor recording, setting to auto may provide better results.
STBY 00:00:00 [70Min]
80
Min
White thick
paper


