32
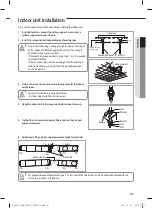
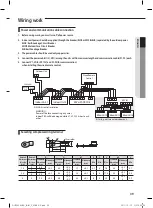
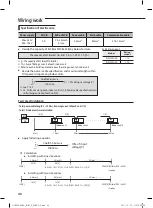
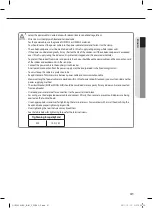
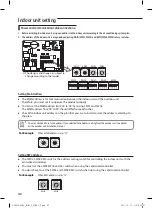
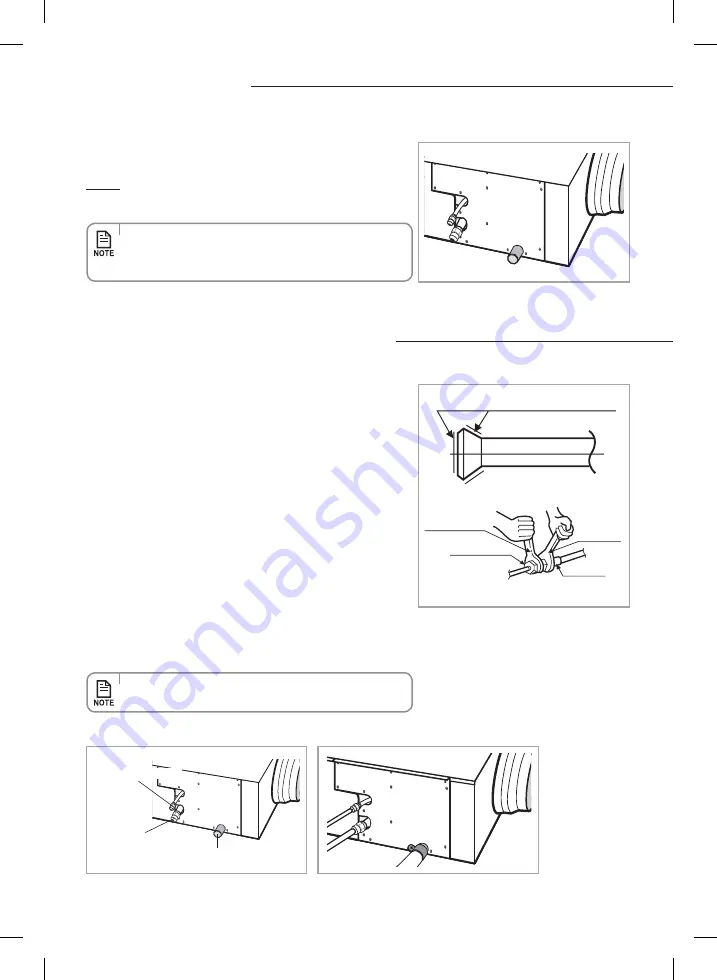
Purging the unit
Unscrew the pinch pipe at the end of each refrigerant pipe.
Result:
All inert gas escapes from the indoor unit.
On delivery, the indoor unit is loaded with inert gas. All this gas must therefore be purged before connecting the
assembly piping. To purge the inert gas, proceed as follows.
•
T
o prevent dirt or foreign objects from getting into the pipes
during installation, do NOT remove the pinch pipe completely
until you are ready to connect the piping.
The designs and shape are subject to change
according to the model.
Connecting the refrigerant pipe
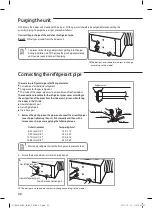
1. Remove the pinch pipe on the pipes and connect the assembly pipes
to each pipe, tightening the nuts, first manually and then with a
torque wrench, a spanner applying the following torque.
Outer Diameter
Torque (kgf•cm)
6.35 mm (1/4")
145~175
9.52 mm (3/8")
333~407
12.70 mm (1/2")
505~615
15.88 mm (5/8")
630~769
2.
Ensure there are no kinks or cracks on pipe bends.
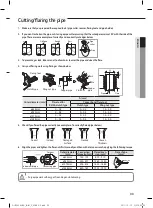
There are two refrigerant pipes of differing diameters:
A smaller one for the liquid refrigerant
A larger one for the gas refrigerant
The inside of the copper pipe must be clean, dry and free from debris.
The connection procedure for the refrigerant pipes varies according to
the exit position of the pipes from the indoor unit, as seen when facing
the indoor in the “A” side.
Liquid refrigerant port
Gas refrigerant port
Drain hose port
The designs and shape are subject to change according to the model.
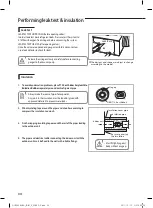
Refrigerant oil
Torque wrench
Flare nut
Union
Spanner
• Must apply refrigerant oil on the flaring area to prevent a leak.
Drain hose connection port
Gas refrigerant port
Liquid refrigerant port
A
RHF050KHEA_IB,IM_E_32885-3.indd 32
2011-10-12 오후 5:30:32

