56
CD rIPPING
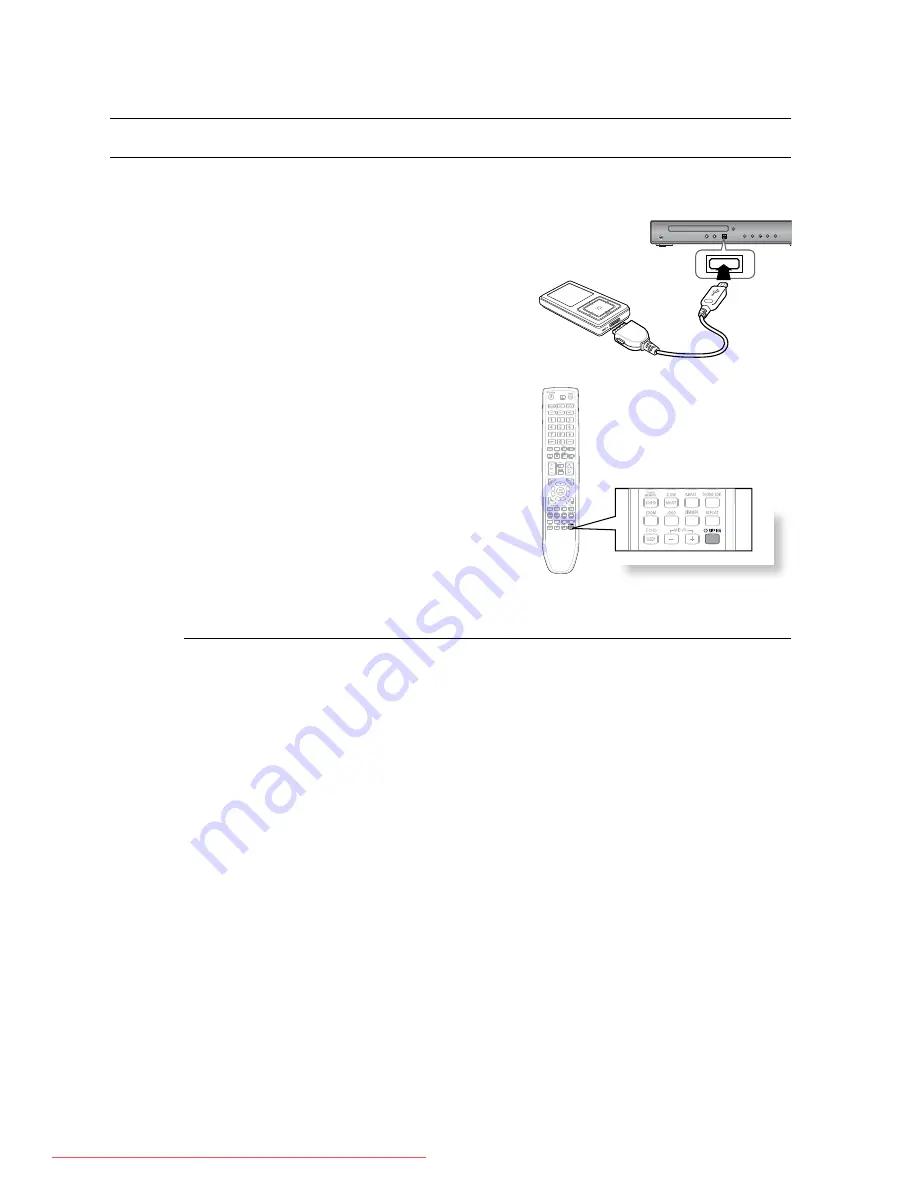
Converts audio sound of the CD into a MP3 file format before sending to a USB storage device.
B
Connect the USB device.
1.
Insert the audio CD into the CD tray.
2.
Press the
3.
CD RIPPING
button.
To start ripping the current track, press the
•
CD
RIPPING
button on the remote control while the
system is playing a track or stopped temporarily.
To rip the entire CD, press and hold the
•
CD RIPPING
button on the remote control.
-"FULL CD RIPPING" appears on the display and
ripping starts.
Press the
4.
STOP
(
@
) button to stop ripping.
When the CD ripping is done, a directory named
•
"RIPPING" will be created in the USB device and
the ripped file will be saved in a format of "SAM-
XXXX”.mp3".
M
Do not disconnect the USB connection or the power cable during the CD ripping.
`
Otherwise, it may cause damage to the data. To stop CD ripping, press the
STOP
button
and disconnect the USB device after the system stops playing the CD completely.
If you disconnect the USB connection during the CD ripping, the system will turn off and you will not
`
be able to delete the ripped file.
If you connect the USB device to the system while it is playing a CD, the system stops
`
playing and will resume playing when the USB connection initialization is completed.
(The initialization time may differ depending on the type of the USB device.)
DTS-CDs cannot be ripped.
`
If the ripping duration is less than 5 seconds, a ripping file may not be created.
`
CD ripping works only if the USB device or the HDD is formatted in the FAT file system.
`
(The NTFS file system is not supported.) For a list of compliant devices, refer to the
specification of the USB host.
Ripping is performed at a normal speed of x1. The ripping time may be longer with some
`
USB devices.
While the system is ripping a CD, the audio sound will not be output.
`
Do not put touch or move the system while it is ripping a CD.
`
Convenient function
STEP
FUNC.
MIC 2
MIC 1
Downloaded From TheatreSystem-Manual.com Manuals


