English _
51
Viewing on a TV screen
1.
Open the LCD screen to turn on the power and press the
MODE
button to set Play (
).
page 20
• You can also turn the HD camcorder on by pressing the
Power
( ) button.
2.
Turn on the TV and set the input source on the TV to the input connection the HD camcorder is connected to.
• Refer to the TV’s instruction manual to see how to switch the TV input.
3.
Perform playback.
pages 42, 45
• The image on the HD camcorder appears on the TV screen.
• You can also monitor the image on the LCD screen of the HD camcorder.
• You can also perform play, recording or editing in play mode while viewing on a TV screen.
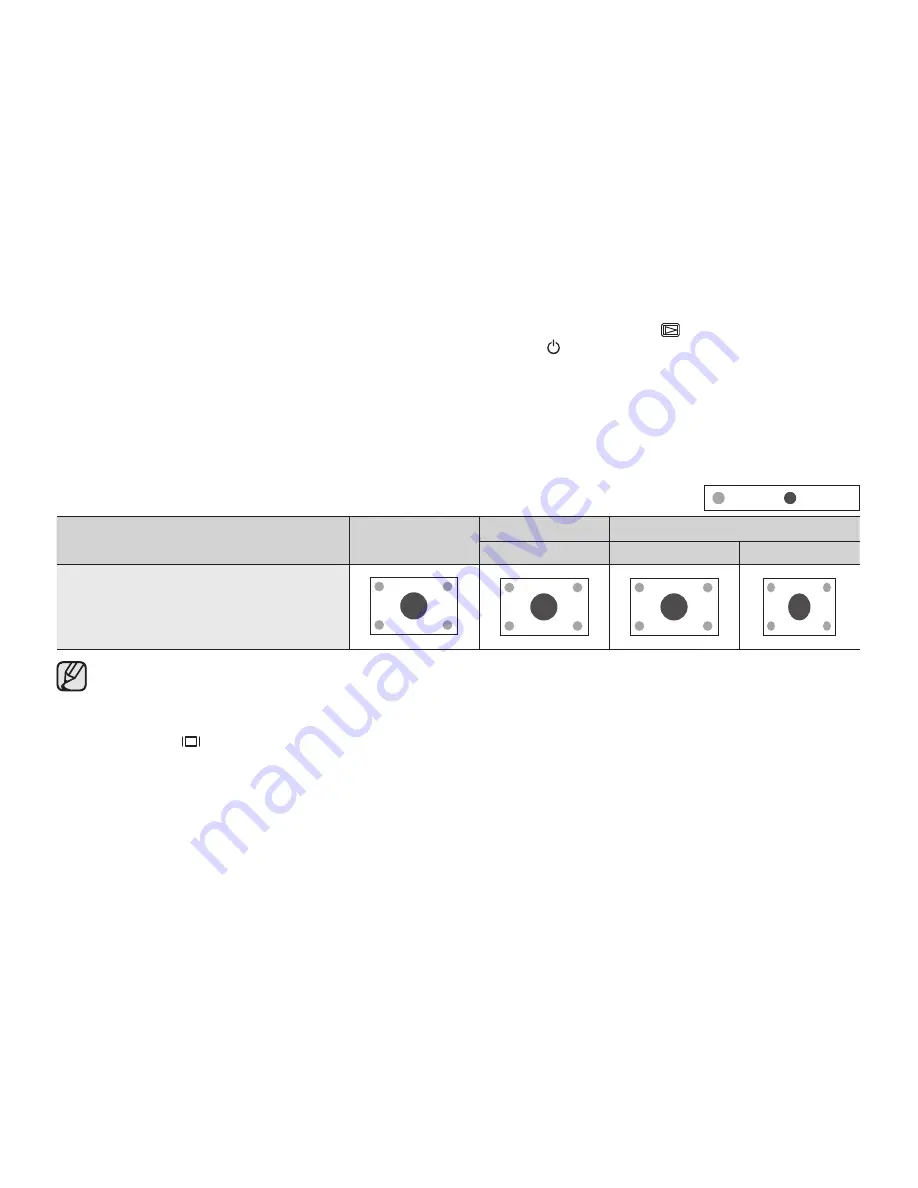
Image display depending on TV screen ratio
Recording type
Recording
LCD
TV
16:9
16:9
4:3
Images recorded in 16:9 ratio
• Movie images
• Photo capture images
• Adjust the sound volume on the TV.
• The remote control is useful when operating the HD camcorder while viewing an image on a TV screen.
• Information that the HD camcorder is recording will appear on the TV screen: You can switch between the
on-screen information display modes. Refer to “Switching the information display mode” and press the
Display
(
)
button to switch the display status.
page 24
• When “
TV Display
” is set to off, OSD (On-Screen-Display) does not appear on the TV screen.
page 90
• The default setting for Analog TV Output is Component 1080i.
If you have used any other Analog TV output mode, your TV may not display correctly. In this case, set
the Analog TV Output again. Even if the Analog TV Output is correctly set and the corresponding cable is
connected, when your TV does not display correctly, check the Input setting of your TV. (Refer to your TV
manual.)
Icon
Subject


