English - 62
Setting up the TV with your PC
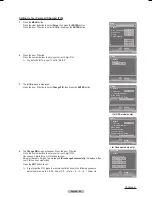
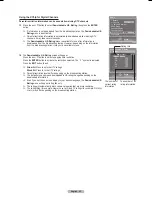
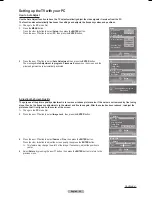
How to Auto Adjust
Use the Auto Adjust function to have the TV set automatically adjust the video signals it receives from the PC.
The function also automatically fine-tunes the settings and adjusts the frequency values and positions.
➢
Change to the
PC
mode first.
1
Press the
MENU
button.
Press the ◄ or ► button to select
Setup
, then press the
ENTER
button.
Press the ▲ or ▼ button to select
PC
, then press the
ENTER
button.
2
Press the ▲ or ▼ button to select
Auto Adjustment
, then press the
ENTER
button.
The message
Auto Adjustment in progress. Please wait.
appears on the screen and the
picture adjustments are automatically activated.
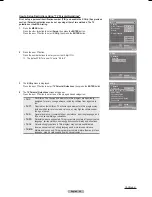
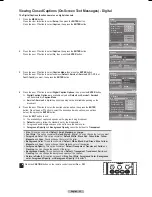
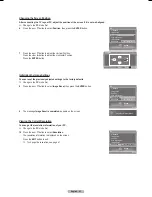
Ad justing the Screen Quality
The purpose of the picture quality adjustment is to remove or reduce picture noise. If the noise is not removed by fine tuning
alone, then do the frequency adjustments to the utmost and fine tune again. After the noise has been reduced, re-adjust the
picture so that it is aligned on the center of the screen.
➢
Change to the
PC
mode first.
3
Press the ▲ or ▼ button to select
Image Lock
, then press the
ENTER
button.
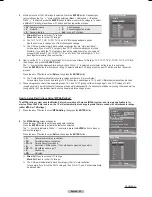
4
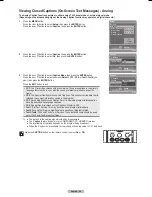
Press the ▲ or ▼ button to select
Coarse
or
Fine
, then press the
ENTER
button.
Press the ◄ or ► button to adjust the screen quality, then press the
ENTER
button.
➢
This feature may change the width of the image. If necessary, adjust the position to
center.
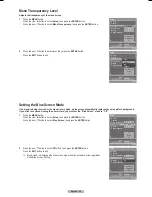
5
Select
Return
by pressing the ▲ or ▼ button, then press the
ENTER
button to return to the
previous menu.
Continued...
Setup
Enter
PC
Image Lock
Position
Auto Adjustment
Image Reset
Resolution
1152x864 @60Hz
Return
Auto Adjustment in progress.
Please Wait.
Setup
Enter
PC
Image Lock
►
Position
Auto Adjustment
Image Reset
Resolution
1152x864 @60Hz
Return
Setup
Image Lock
Coarse
50
Fine
31
Return
Enter
Adjust
Setup
Enter
Blue Screen
Melody
Color Weakness
PC
►
Home Theater PC
HDMI Black Level
Film Mode
Function Help
SW Upgrade
Setup
Off
Off
Normal
Medium
Off
On
BN68-00630D-Eng_3.indd 62
2007-04-09 ソタネト 7:01:01

