background image

47

46

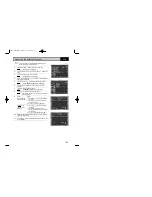
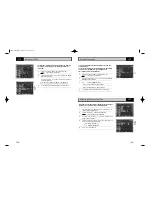
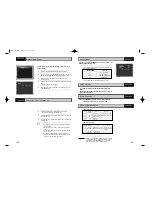
Setting Up the Display Options

1

With the unit in Stop mode, press the 

菜单(MENU)

button.

2

Select DVD using 

,

buttons, then 

确定(OK)

or 

button.

3

Select  Display Setup using 

,

buttons, then press the 

确定

(OK)

or  button.

4

Use the 

,

buttons to select the desired item. Then press the

确定(OK)

or  button.

• TV Aspect 

Depending on the type of television you have, you may want to 
adjust the screen setting (aspect ratio).

1. 4:3 Letter Box :
Select when you want to see the total 16:9 ratio screen DVD 
supplies, even though you have a TV with a 4:3 ratio screen. 
Black bars will appear at the top and bottom of the screen.

2. 4:3 Pan Scan :
Select this for conventional size TVs when you want to see the 
central portion of the 16:9 screen. (Extreme left and right side of 
movie picture will be cut off.)

3. 16:9 Wide : 
You can view the full 16:9 picture on your widescreen TV.

• Black Level

Adjusts the brightness of the screen.(On/Off)

•  NTSC Disc Output

“NTSC” if the screen only has one NTSC-video entrance. If this 
is not the case, you can choose to leave “ PAL 60Hz” as is.

•  DVD Out  

Component :  Sends COMPONENT signal (Y, Pb, Pr) to the

component video out JACK. 

S-Video :  Sends S-VIDEO signal to the S-VIDEO OUT JACK.

Video :  Sends COMPOSITE VIDEO signal to the Scart JACK.

DVD

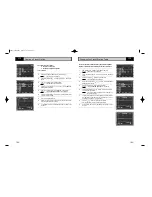
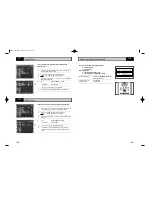
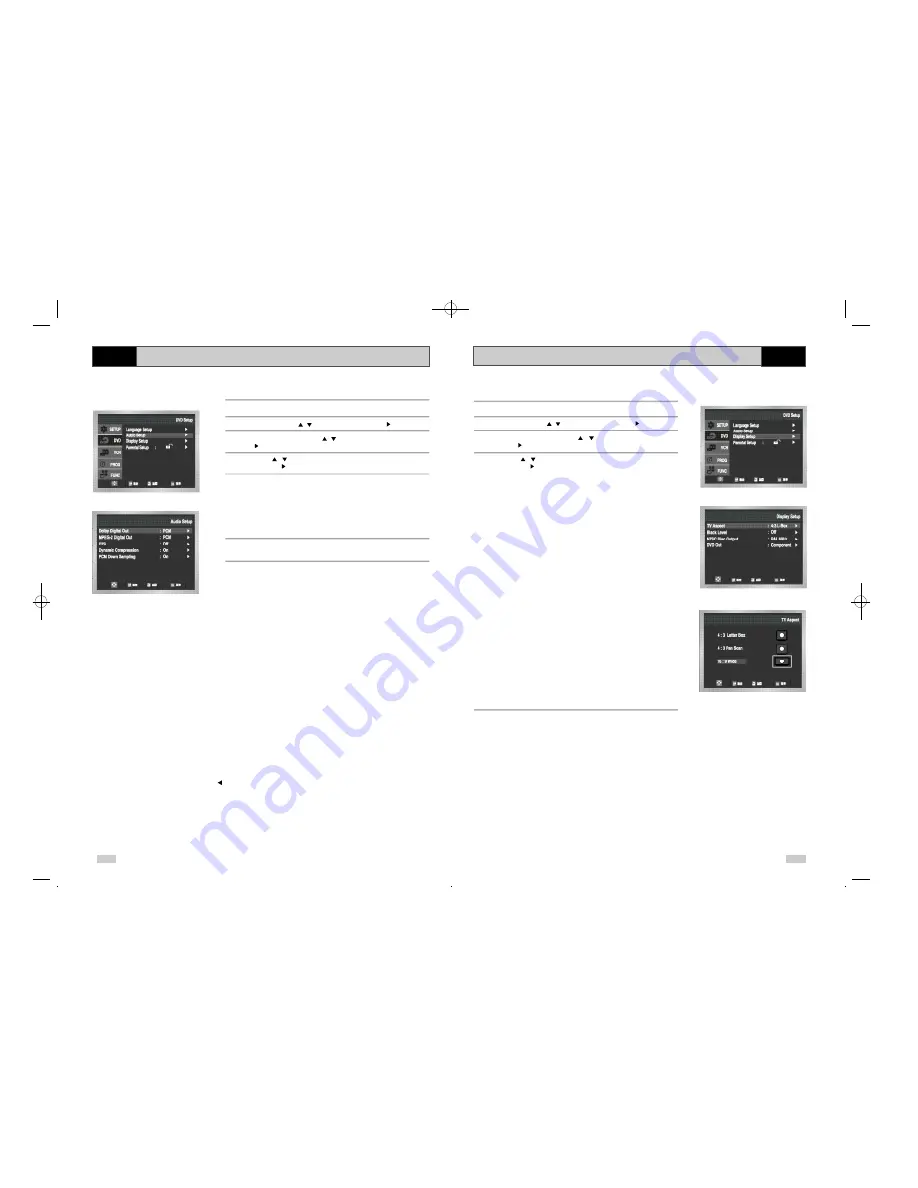
Setting Up the Audio Options

1

With the unit in Stop mode, press the 

菜单(MENU)

button.

2

Select DVD using 

,

buttons, then 

确定(OK)

or  button.

3

Select Audio Setup using 

,

buttons, then press the 

确定(OK)

or  button.

4

Use the 

,

buttons to select the desired item. Then press the

确定(OK)

or 

button.

•  Dolby Digital Out

1. PCM:
Converts to PCM(2CH) audio.
Select PCM when using the Analog Audio Outputs.

2. Bitstream : 
Converts to Dolby Digital Bitstream (5.1CH). 
Select Bitstream when using the Digital Audio Output.

Be sure to select the correct Digital Output or no audio will be

heard.

•  MPEG-2 Digital Out

1PCM :  Converts to PCM(2CH) audio. 

Select PCM when using the Analog 
Audio Outputs.

2Bitstream : Converts to MPEG-2 Digital Bitstream(5.1CH or 
7.1CH).Select Bitstream when using the Digital Audio Output.

•  DTS

1. Off : Doesn’t output digital signal.
2. On : Outputs DTS Bitstream via digital output only.

Select DTS when connecting to a DTS Decoder.

•  Dynamic Compression

1. On : To select dynamic compression.
2. Off : To select the standard range.

•  PCM Down Sampling

1. On : Select this when the amplifier connected to the player is not

96KHz compatible. 
In this case, the 96KHz signals will be down converted to
48KHZ.

2. Off : Select this when the amplifier connected to the player is

96KHz compatible. 
In this case, all signals will be output without any changes.

DVD

• How to make the SETUP menu disappear or return to menu screen during set up; 

Press 

返回(RETURN)

or  button.

• Manufactured under license from Dolby Laboratories.

“Dolby” and the double-D symbol are trademarks of Dolby Laboratories.

• “DTS” and “DTS Digital Out” are trademarks of Digital Theater Systems, Inc.

 DVD-90K_CHN-GB3.q  2003.4.11 11:16 AM  页面46

Summary of Contents for DVD-V 90K

Page 1: ...DVD VCR DVD V90K Instruction Manual www samsungvcr com PAL NTSC DVD 90K_CHN GB1 q 2003 4 11 11 14 AM 页面1 ...

Page 2: ...e Camera Angle 54 Selecting the Subtitle Language 54 Repeat Play 55 Selecting the Audio Language 56 Using the Mark Function 57 MP3 WMA Play 58 Program Play Random Play 60 Picture CD Playback 61 Contents FOREWORD Safety Instructions 5 Disc Type and Characteristics 6 DVD VCR OVERVIEWS Front View of the DVD VCR 7 Rear View of the DVD VCR 7 Infrared Remote Control 8 Display Indicators 9 Accessories 9 ...

Page 3: ... remove the batteries and store it in a cool dry place The following illustrations represent precautions This product incorporates copyright protection technology that is protected by method claims of certain U S patents and other intellectual property rights owned by Macrovision Corpration and other rights owners Use of this copyright protection technology must by authorized by Macrovision Corpor...

Page 4: ...ECT EZ VIEW BUTTON RECORDBUTTON OPEN CLOSE BUTTON ECHO BUTTONS VOLUME BUTTON DVD DECK STANDBY ON BUTTON MIC JACK 12 Cm 8 Cm Single sided 240 min Double sided 480 min Single sided 80 min Double sided 160 min Audio Video Audio Video Audio DVD contains excellent sound and video due to Dolby Digital and MPEG 2 system Various screen and audio functions can be easily selected through the on screen menu ...

Page 5: ... A DVD CD VCD or SVCD is loaded 3 The time counter position time remaining or current deck status is displayed 4 VHS tape is inserted 5 The VCR Deck is active 6 A DVD with a DTS soundtrack is loaded 7 The Hi Fi track of a VHS tape is playing The current TV show or video is broadcast in Stereo 8 A Timer Recording is programmed or in progress 8 Infrared Remote Control 1 2 3 4 5 6 7 8 9 10 11 12 13 1...

Page 6: ...D VCR is switched off Make sure that both the television and the DVD VCR are switched off before connecting the cables 1 Connect the coaxial cable as indicated in the above section 2 Connect one end of the RCA Audio Video cable to the Video output and Audio L R output socket on the rear of the DVD VCR 3 Plug the other end into the appropriate connector on the television TV 4 Aerial RF coaxial cabl...

Page 7: ...ected highlight 5 Press the or buttons to increase or decrease the value Result The day of the week is displayed automatically You can hold the or buttons down to scroll more quickly through the values 6 On completion press 返回 RETURN to exit the menu Auto preset can be performed by pressing STOP on the VCR continuously for 5 seconds or more with no tape inserted Connecting DVD VCR to a Satellite R...

Page 8: ...mote control to select and watch DVD 1 1 2 3 4 Tuning Your Television for the DVD VCR 2 4 You must tune your television for the DVD VCR only if you are not using a RCA cable To view pictures from your DVD VCR when a RCA cable is used the television must be set to the audio video mode AV 1 Switch on the television 2 Switch on the DVD VCR by pressing 待机 STANDBY ON on the front of the DVD VCR or 待机 S...

Page 9: ...me when You purchase the DVD VCR Do not forget to reset the time when you change clocks from winter to summer time and vice versa 1 After pressing the 菜单 MENU press the 确定 OK or Result The Setup menu is displayed 2 Press the corresponding buttons to select the Clock option 3 Press the 确定 OK or to select this option Result The Clock Set menu is displayed 4 Press or to select the hour minutes day mo...

Page 10: ...hat any channels already preset on your DVD VCR will be deleted 5 Press 确定 OK button Result A message appears indicating that any channels already preset on your VCR will be deleted 6 Press 确定 OK to start the auto scanning Result The Please Wait indication highlight on the television screen The first frequency band is scanned and the first station found is displayed and stored The DVD VCR then sea...

Page 11: ...t The MANUAL TUNING menu is displayed 8 Press the or buttons to start scanning channel Result The frequency band is scanned and the first station found is displayed 9 If you Then Wish to store the Press the or buttons until the MFT station displayed is selected Press the or buttons to adjust the picture if necessary Press 确定 OK to store the station Do notwish to Press the or buttons until the CH s...

Page 12: ... 3 8 Press the or buttons to select required position And then press 确定 OK again to swap the position 9 On completion press the 返回 RETURN button four times to exit the menu Changing the Preset Station Table VCR Clearing a Preset Station If you have stored a TV station That you do not require At the wrong programme position you can cancel it 1 After pressing the 菜单 MENU press the 确定 OK or Result Th...

Page 13: ...r from interference or if your TV cannot find the pictures Also you can change the DVD VCR output channel to adjust the frequency in which information is displayed on the screen 1 After pressing the 菜单 MENU press the 确定 OK or Result The Setup menu is displayed 2 Press the corresponding buttons to select the Install option 3 Press the 确定 OK or to select this option Result The Install menu is displa...

Page 14: ...e Control option ON and OFF When Intelligent Picture Control mode is ON the sharpness of the image is adjusted automatically 3 To adjust the sharpness manually select Intelligent Picture Control mode OFF The horizontal picture adjusting appears 4 Press the or buttons until the picture is displayed according to your preferences If you do not press a button within ten seconds the PICTURE menu disapp...

Page 15: ...ing the 菜单 MENU press the corresponding buttons to select the VCR option 2 Press the 确定 OK or buttons to select this option Result The VCR Setup menu is displayed 3 Press the corresponding or buttons until the Tape Select option is selected 4 Press the 确定 OK or buttons as many times as required until the correct cassette length is displayed E180 E240 E 300 E260 5 Press twice to exit the menu E180 ...

Page 16: ...K or buttons to select this option Result The VCR Setup menu is displayed 3 Press the corresponding or buttons until the Repeat Play option is selected 4 To Press 确定 OK or until Repeat play On is displayed Do not wish to repeat play Off is displayed 5 On completion press 返回 RETURN twice to exit the menu The DVD VCR allows you to playback high quality S VHS tapes 1 During S VHSplay mode after press...

Page 17: ...4 4 5 LENGTH 2 30 SET LENGTH PRESS 录像 VCR Protecting a Recorded Cassette Recording a Programme Immediately Video cassettes have a safety tab to prevent accidental erasure When this tab has been removed you cannot record on the tape 1 If you wish to protect a cassette break off the tab using a small screwdriver 2 To re record over a protected cassette safety tab broken cover the hole with adhesive ...

Page 18: ...ult The TIMER PROGRAMMING menu is displayed 2 Press to select the input source 3 Select the required station by pressing the buttons or 输入选择 INPUT SEL to select the LINE input sources 4 Press to select the recording day 5 Select the required day by pressing the or buttons 6 Press to select the recording start time 7 Select the required hour value by pressing the or buttons 8 Press to select the mi...

Page 19: ...button twice 2 When playing back in slow motion picture interference may occur Press the 磁迹跟踪 TRK or buttons to minimize this effect When you have been using the Slow Motion function for more than about two minutes the DVD VCR will automatically play to protect the Cassette Video heads 2 2 1 1 VCR VCR This function allows you to play back any pre recorded cassette 1 Switch on both the television a...

Page 20: ...arch the tape will be ejected 1 After pressing the SEARCH press the corresponding or buttons until the EndSearch option is selected 2 Press the 确定 OK or 2 1 1 2 etc Prev Seq Seq being played Next Seq etc VCR 1 Playing a Sequence Frame by Frame Playing a Sequence at Variable Speeds You can Stop the cassette at a given frame image Advance one frame at a time No sound is heard when playing back frame...

Page 21: ...our times to clear the display 0 00 00 2 VCR Searching for a Specific Sequence Intro Scan 1 After pressing the SEARCH press the corresponding or buttons until the Intro Scan option is selected 2 Press the 确定 OK or 3 Press the or buttons depending on the direction where your desired programme is located 4 When an Index mark is found the DVD VCR will playback the tape for 5 seconds after which it wi...

Page 22: ...the pre recorded cassette in the other video source VCR or camcorder 4 Press the 输入选择 INPUT SEL button to select the appropriate input on your DVD VCR LINE IN for the RCA input 5 Start playing back the cassette to be copied 6 Hold 录像 REC down for a while to start recording on your DVD VCR 7 When you have finished recording press on bothVCR and DVD VCR If you wish to view the cassette being copied ...

Page 23: ...e remote control Press the or button to select KARAOKE mode ON 3 To adjust the Mic volume and ECHO level press the VOLUME and ECHO or keys front pannel 4 To sing with accompaniment 1 Press the 卡拉OK KARAOKE button on the remote control 2 Press the corresponding or buttons to select the SCORE mode 3 Press the or buttons to select the SCORE mode ON 4 Score will pop up whenever a song is completed 1 P...

Page 24: ...s the language selected as the audio preference Select Others if the language you want is not listed Some discs may not contain the language you select as your initial language in that case the disc will use its original language setting 6 Press the 确定 OK button English is selected and the screen returns to DVD menu Using the Audio Language Using the Subtitle Language 44 Setting Up the Language Fe...

Page 25: ... then 确定 OK or button 3 Select Audio Setup using buttons then press the 确定 OK or button 4 Use the buttons to select the desired item Then press the 确定 OK or button Dolby Digital Out 1 PCM Converts to PCM 2CH audio Select PCM when using the Analog Audio Outputs 2 Bitstream Converts to Dolby Digital Bitstream 5 1CH Select Bitstream when using the Digital Audio Output Be sure to select the correct Di...

Page 26: ...es There are up to 8 rating levels on a disc 1 With the unit in Stop mode press the 菜单 MENU button 2 Select DVD using buttons then 确定 OK or button 3 Select Parental Setup using buttons then press the 确定 OK or button 4 Use 确定 OK or to select Yes if you want to use a password The Enter Password screen appears 5 Enter your password The Re Enter Password screen appears to confirm the password 确定 OK yo...

Page 27: ...hrough disc chapters tracks Skip Forward will jump to the next chapter track Skip Back will jump to the beginning of the current chapter track Press Skip Back again to jump to the beginning of the previous chapter track Search Forward Back While a disc is in Play mode press and hold the Forward Back buttons on the remote control or front panel to visually search forward backward at 2X 4X 8X 16X 32...

Page 28: ...creen will disappear The picture will look vertically stretched Depending on the type of disc the black bars may not disappear completely Zoom Fit The top bottom left and right of the screen are cut off and the central portion of the screen is enlarged For 4 3 aspect ratio discs Normal Wide Displays the content of the DVD title in 16 9 aspect ratio The picture will look horizontally stretched Scre...

Page 29: ...ly divided into chapters similar to tracks on an audio CD What is a Title A DVD may contain several different titles For example if a disc contains four different movies each might be considered a title When Playing a DVD VCD CD 1 When in VCD 2 0 mode MENU ON mode this function does not work Adjusting the Aspect Ratio EZ View DVD If you are using a 4 3 TV For 16 9 aspect ratio discs 4 3 Letter Box...

Page 30: ...DVD Selecting the Subtitle Language DVD You can select a desired subtitle quickly and easily with the 字幕 subtitle button 1 Press the 字幕 SUBTITLE button 2 Use the buttons to select the desired subtitle language 3 Use the buttons to determine whether or not the subtitle will be displayed Initially the subtitling will not appear on screen The subtitle languages are represented by abbreviations This f...

Page 31: ...to delete a mark number Press the 书签 MARK button to turn off the display Up to three scenes may be marked at a time When in VCD 2 0 mode MENU ON mode this function does not work Depending on the disc the mark function may not work Using the Mark Function DVD VCD Recalling a Marked Scene Clearing a Mark 1 Selecting the Audio Language You can select a desired language quickly and easily with the 声音 ...

Page 32: ... Inc and SDMITM registered trade mark of The SDMI Foundation You cannot copy such files Important The above recommendations cannot be taken as a guarantee that the DVD player will play MP3 recordings or as an assurance of sound quality You should note that certain technologies and methods for MP3 file recording on CD Rs prevent optimal playback of these files on your DVD player degraded sound qual...

Page 33: ...ictures change automatically with about an 6 second interval The pictures change automatically with about an 12 second interval The pictures change automatically with about an 18 second interval Depending on the file size each interval between images may take longer or shorter than the manual suggests When the banner is being appeared press the 返回 RETURN button to return to the album screen If no ...

Page 34: ...er can be played Picture discs other than Kodak Picture CD may take longer to start playing or may not play at all If a number of files in 1 Disc is over 500 only 500 JPEG file can be played If a number of folders in 1 Disc is over 300 only JPEG files in 300 folders can be played CD R JPEG Discs 1 Select the Keycon using the or buttons 2 By use of the or buttons change to the desired tone To let 7...

Page 35: ...e The function to make the music only sound by cancelling vocal when playing a Karaoke disc VOCAL FADER Remark V1 CH1 Vocal Cancel V2 CH2 Vocal Cancel V1 V2 CH1 CH2 Vocal Cancel OFF Vocal Fader Off In VCD CVD or CD you can select only the L R OFF To guide melody through xylophone and piano help you sing easily This function works only on the DVD Karaoke disc on which the guide melody is recorded P...

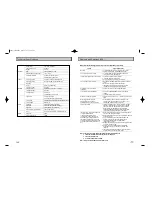
Page 36: ... the pattern when found suffers 2 Carry out the instructions Tuning Your Television for the DVD from interference it may be due to the VCR see page 14 DVD VCR output channel clashing with 3 Carry out the instructions Setting the DVD VCR output the normal TV transmissions in your area Channel see page 22 move the channel number To prevent this you will need to change the several channels down from ...

Page 37: ...e is not available at the moment 4 You ve requested a title or chapter number or search time that is out of range Some of the functions selected in the Setup Menu may not work properly if the disc is not encoded with the corresponding function The Screen Ratio is fixed on your DVDs Make sure you have selected the correct Digital Output in the Audio Options Menu Press power on from a cold start wit...

Reviews: