ENG 7
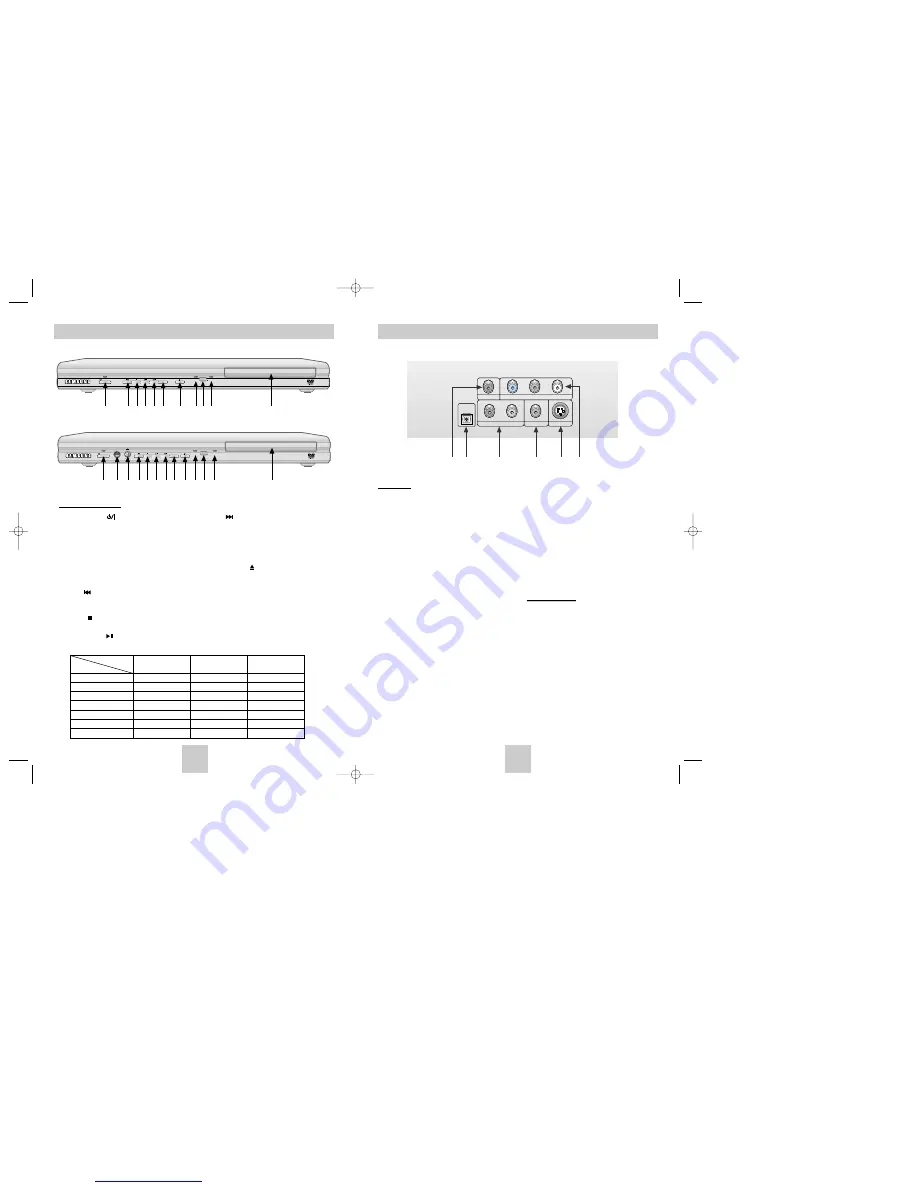
Description-Rear Panel
OPT CAL
COAXIAL
R
Pr
Pb
Y
L
S VIDEO OUT
VIDEO OUT
ANALOG AUDIO OUT
COMPONENT V DEO OUT
Rear Panel
1. DIGITAL AUDIO OUT JACKS
•
Use e ther a coaxial dig tal cable to connect to a
compatible Do by Digital receiver
Use to connect to an A/V Amplifier that contains
a Dolby Digital MPEG 2 or DTS decoder
2. DIGITAL AUDIO OUT JACKS (DVD P420K only)
•
Use e ther an optical cable to connect to a
compatible Do by Digital receiver
Use to connect to an A/V Amplifier that contains
a Dolby Digital MPEG 2 or DTS decoder
3. ANALOG AUDIO OUT JACKS
•
Connect to the Aud o nput jacks of your
telev sion aud o/video rece ver
4. VIDEO OUT JACK
•
Use a v deo cable to connect to the Video input
jack on your televis on
•
The V deo Output in Setup Menu must be set to
the Component(I SCAN) or S Video
5. S VIDEO OUT JACK
•
Use the S Video cable to connect this jack to
the S Video jack on your television for a higher
picture quality
•
The V deo Output in Setup Menu must be set to
the S Video
6. COMPONENT VIDEO OUT JACKS
•
Use these jacks if you have a TV with
Component Video in jacks These jacks provide
Pr Pb and Y v deo Along with S Video
Component Video prov des the best picture
qual ty
•
If Component(P SCAN) Video Output is select
ed in Setup Menu progressive scan mode will
work
•
If Component(I SCAN) Video Output is selected
n Setup Menu interlaced scan mode will work
mp
Important Note
•
Consult your TV User
’
s Manual to find out if your
TV supports Progressive Scan
If Progressive Scan is supported follow the TV
User
’
s Manual
’
s instructions regard ng Progressive
Scan settings in the TV
’
s menu system
•
If Component(P SCAN) Video Output is selected
in Setup Menu Video and S V deo will not work
•
See page 31 to get more information on how to
use the Setup Menu
1
2
3
4
5
6
ENG 6
Description-Front Panel
OA I G
P AY
1
4 5 6 7 8
9
1011 12
13
Front Panel Controls
1. STANDBY/ON ( )
•
When the player is plugged in the Power LED
lights If you press the STANDBY/ON button to
turn on the player the LED goes out
2. MIC
•
Connect Microphone for karaoke functions
3. MICROPHONE VOLUME / DIGITAL ECHO
•
Use to adjust microphone volume level and
echo delay
4. SKIP ( ) / SEARCH
•
Allows you to search backward through a disc
Use to sk p the title chapter or track
5. STOP ( )
•
Stops d sc play
6. PLAY/PAUSE ( )
•
Beg n or pause disc play
7. SKIP ( ) / SEARCH
•
A lows you to search forward through a disc
Use to skip the title chapter or track
8. EZ VIEW
•
Easy View can convert Letter Box images to fu l
screen viewing on your convent onal TV
9. OPEN/CLOSE ( )
•
Press to open and close the disc tray
10. PLAY LED
•
When playing the disc the Play LED lights
11. REMOCON RECEIVER
12. LOADING LED
•
When loading the d sc the Loading LED lights
13. DISC TRAY
•
Place the disc here
Power LED
Play LED
Loading LED
(Red)
(Green)
(Orange)
Power off/Standby
O
X
X
No d sc
X
X
O
Stop
X
X
O
Loading
X
X
Bl nks
Play/Skip
X
O
X
Search/Pause
X
Blinks
X
Error
Blinks
Blinks
Bl nks
Function
LED
DVD-P410
TA D Y ON
EZ I W
M
M C
O UM
G T L CHO
M X
L AD NG
P AY
DVD-P420K
1
2
4
3
5 6 7 8
9 10 11 12
13
00412Z-P410-CDM 2/17/04 12:04 PM Page 6


