background image

ENG-31

ENG-30

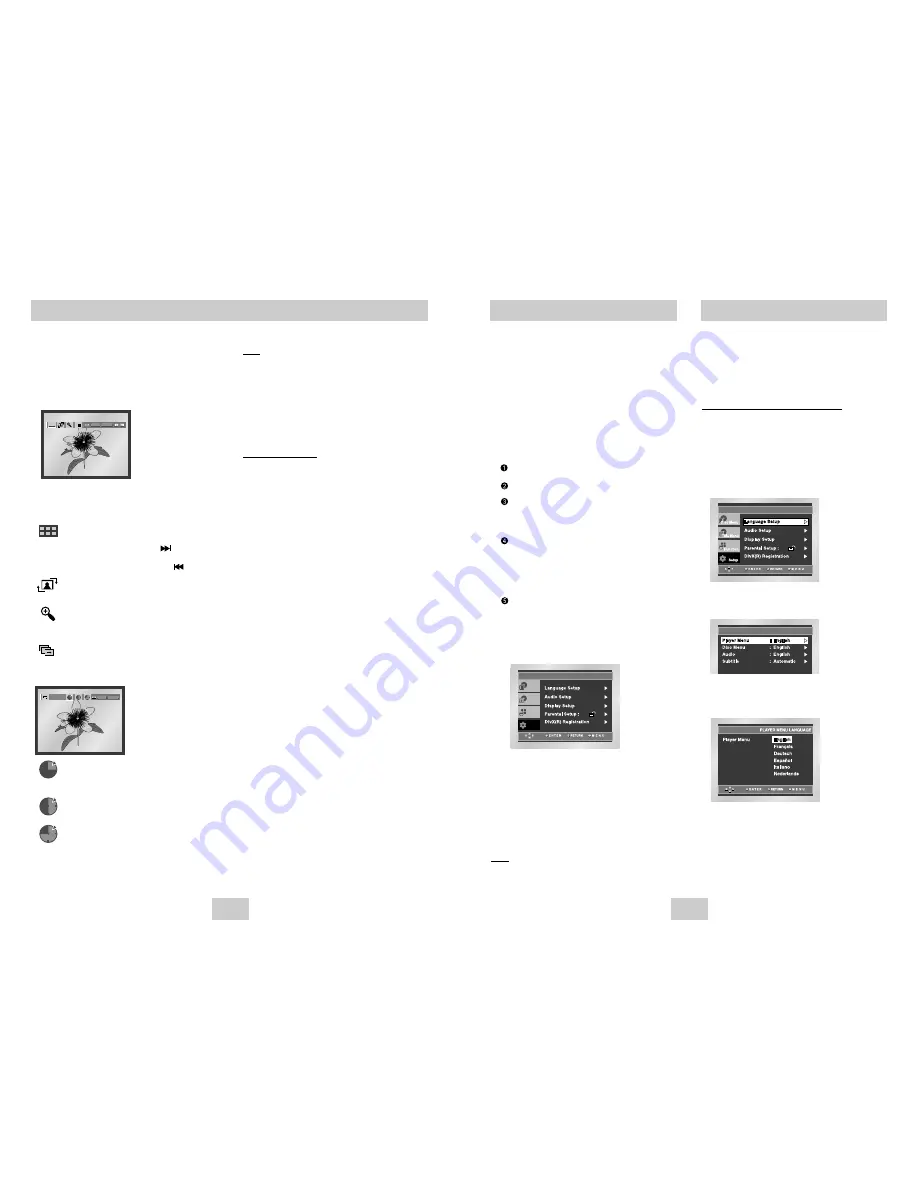
Picture CD Playback

1. Select the desired folder. (See page 27 to select

the folder)

2. Use the UP/DOWN buttons to select a Picture file in

clips menu and then press the ENTER button. You
should get a screen that looks like the one below.

• Use the INFO button on the remote control to select

the menu you want to view and then press the ENTER
button.

•           : Returns to the Album Screen.

• To see the next 6 pictures, press the       button.

• To see the previous 6 pictures, press the       button.

•           : Each time the ENTER button is pressed, the

picture rotates 90 degrees clockwise.

•           : Each time the ENTER button is pressed, the

picture is enlarged up to 4X.
(Normal 

2X 

4X 

2X 

Normal)

•          : The unit enters slide show mode.

*Before beginning the Slide Show, the picture interval

must be set.

•           : When this icon is selected and ENTER is

pressed, the pictures change automatically
with about a 6 second interval.

•           : The pictures change automatically with about

a 12 second interval.

•           : The pictures change automatically with about

a 18 second interval.

*Depending on a file size, the amount of time between

each picture may be different from the manual.

*If you don’t press any button, the slide show will start

automatically in about 10 seconds by default.

ENTER RETURN

ENTER

TIMER:

RETURN

Note

• If no buttons on the remote control pressed for 10

seconds, the menu will disappear.
Press the INFO button on the remote control to
display the menu again.

• Press the STOP button to return to the clips menu.
• When playing a Kodak Picture CD, the unit 

displays the Photo directly, not the clips menu.

CD-R JPEG Discs

• Only files with the ".jpg" and ".JPG" extensions can

be played.

• If the disc is not closed, it will take longer to start

playing and not all of the recorded files may be
played.

• Only CD-R discs with JPEG files in ISO 9660 or Joliet

format can be played.

• The name of the JPEG file may not be longer than 8

characters and should contain no blank spaces or
special characters (. / = +).

• Only a consecutively written multisession disc can be

played. If there is a blank segment in the multisession
disc, the disc can be played only up to the blank
segment.

• A maximum of 3000 images can be stored on a single

CD.

• Kodak Picture CDs are recommended.

• When playing a Kodak Picture CD, only the JPEG

files in the pictures folder can be played.

• Kodak Picture CD : The JPEG files in the pictures

folder can be played automatically.

• Konica Picture CD : If you want to see the Picture,

select the JPEG files in the clips menu.

• Fuji Picture CD : If you want to see the Picture, select

the JPEG files in the clips menu.

• QSS Picture CD : The unit cannot play QSS Picture

CD.

• If the number of files in 1 Disc is over 3000, only 3000

JPEG files can be played.

• If the number of folders in 1 Disc is over 300, only

JPEG files in 300 folders can be played.

Setting Up the Language Features

If you set the player menu, disc menu, audio
and subtitle language in advance, they will
come up automatically every time you watch a
movie.

Using the Player Menu Language

1. With the unit in Stop mode, press the MENU

button.

2. Select Setup using UP/DOWN buttons, then

press the RIGHT or ENTER button.

3. Select Language Setup using UP/DOWN

buttons, then press the RIGHT or ENTER button.

4. Select Player Menu using UP/DOWN buttons,

then press the RIGHT or ENTER button.

5. Use the UP/DOWN buttons to select the desired

language.

6. Press the ENTER button.

- The language is selected and the screen returns to

Language Setup menu.

- To make the SETUP menu disappear, press the

RETURN or LEFT button.

LANGUAGE SETUP

The Setup menu lets you customize your DVD 
player by allowing you to select various 
language preferences, set up a parental level,
even adjust the player to the type of television
screen you have.

1. With the unit in Stop mode, press the MENU

button on the remote. Select Setup using
UP/DOWN buttons, then press the RIGHT or
ENTER button.

Language Setup : Setup of the Language.

Audio Setup : Setup of the Audio Options.

Display Setup : Setup of the Display Options.
Use to select which type of screen you want to
watch and several display options.

Parental Setup : Setup of the Parental Level.
Allows users to set the level necessary to
prevent children from viewing unsuitable
movies such as those with violence, adult
subject matter, etc.

DivX(R) Registration : Please use the
Registration code to register this player with
the DivX(R) Video on Demand service.
This will allow you to rent and purchase videos
using the DivX(R) Video On Demand format.
To learn more go to www.divx.com/vod.

2. Use the UP/DOWN buttons on the remote to

access the different features.

3. Press the ENTER or RIGHT button to access the

sub features.

To make the setup screen disappear after setting
up, press the MENU button again.

Note

Depending on a disc, some Setup Menu selections
may not work.

Using the Setup Menu

Setup

Disc Menu

Title Menu

Function

Summary of Contents for DVD-HD945/

Page 1: ...DVD Player Lecteur DVD DVD Speler DVD HD945 AK68 00422G DEU FRA NL ENG ...

Page 2: ...ff Be sure to remove the disc and turn off the player after use especially if you don t use it for a long time 2 For your safety This product utilizes a laser Use of controls or adjustments or performance of procedures other than those specified herein may result in hazardous radiation exposure Do not open covers and do not repair yourself Refer servicing to qualified personal 3 Caution Your playe...

Page 3: ...e with violence adult subject matter etc Various On Screen Menu Functions You can select various languages Audio Subtitle and screen angles while enjoying movies EZ VIEW DVD Easy View can convert Letter Box images to full screen viewing on your conventional TV Digital Photo Viewer JPEG You can view Digital Photos on your TV Repeat You can repeat a song or movie simply by pressing the REPEAT button...

Page 4: ...ed to the HDMI Jack is a HDMI device 18 Displays various messages concerning operations such as PLAY STOP LOAD no DISC No disc loaded OPEN The disc tray is open LOAD Player is loading disc information ENG 6 Description Front Panel STANDBY 1 2 3 4 5 8 9 6 7 Front Panel Controls 1 STANDBY ON When the unit is first plugged in the red indicator lights When STANDBY ON button is pressed on the blue ligh...

Page 5: ...rmation on how to use the setup menu 1 2 3 4 5 1 7 6 8 This remote control can also control most TVs See page 39 8 SEARCH Buttons Allow you to search forward backward through a disc 9 STOP Button 10 MENU Button Brings up the DVD player s menu 11 RETURN Button Returns to a previous menu 12 ZOOM Button Enlarges DVD picture 13 AUDIO Button Use this button to access various audio functions on a disc 1...

Page 6: ... Choosing a Connection Connection to a TV For Video TV Normal Widescreen Projection etc 1 Connect a cable with the desired method 2 Turn on your TV and DVD Player 3 Set your TV the correct video input by pressing TV VIDEO button on See page 39 4 Select the video output according to the cable connection If you use the VIDEO SEL button you can change easily video output in no disc mode Method 1 DVD ...

Page 7: ... the HDMI output resolution The specific resolution of HDMI output may not work depending on your TV Refer to the TV users manual Important Note HDMI High Defintion Multimedia Interface HDMI is an interface to enable the digital transmission of video and audio data with just a single connector Using HDMI the DVD player transmits a digital video and audio signal and displays a vivid picture on a TV...

Page 8: ...t 5 minutes in pause mode it will stop If the player is left in the stop mode for more than about 30 minutes the power will automatically shut off Automatic Power Off Function If the player is left in the stop mode for more than one minute without any user interaction a screen saver will be activated Press the PLAY PAUSE button to resume normal play This icon indicates an invalid button press ENG ...

Page 9: ...r Time Audio Subtitle ENG 16 Repeat Play Repeat the current track chapter title a chosen section A B or all of the disc 1 Press the REPEAT button on the remote Repeat screen appears 2 Select Chapter Title or A B using the LEFT RIGHT buttons Chapter repeats the chapter that is playing Title repeats the title that is playing A B repeats a segment of the disc that you select A B REPEAT Press ENTER at...

Page 10: ... menu To ensure correct operation of the EZ VIEW button you should set the correct aspect ratio in the initial setup See page 35 If you are using a 16 9 TV 1 For 16 9 aspect ratio discs Wide Screen Displays the content of the DVD title in 16 9 aspect ratio Screen Fit The top and bottom of the screen are cut off When playing a 2 35 1 aspect ratio disc the black bars at the top and bottom of the scr...

Page 11: ...ded on the disc and may not work A DVD disc can contain up to 8 audio languages How to have the same audio language come up whenever you play a DVD Refer to Setting Up the Language Features on page 32 Selecting the Subtitle Language ENG DOLBYDIGITAL 5 1CH AUDIO Stereo AUDIO DVD DVD MPEG4 VCD CD MPEG4 Off SUBTITLE None Using the Instant Replay Skip Function Changing the Camera Angle When a DVD cont...

Page 12: ...g the Zoom Function DVD VCD 1 During play or pause mode press the ZOOM button on the remote A Zoom mark will be displayed on screen 2 Use the UP DOWN or LEFT RIGHT buttons to select the part of the screen you want to zoom in on 3 Press the ENTER button During DVD play press ENTER to zoom in 2X 4X 2X Normal in order During VCD play press ENTER to zoom in 2X Normal in order Super Audio CD Playback 1...

Page 13: ...and disc plays Using the Display Function 1 During play press the INFO button on the remote 2 Use the UP DOWN buttons to select the desired item 3 Use the LEFT RIGHT buttons to make the desired setup and then press ENTER You may use the number buttons of the remote control to directly access a Group Track Page or to start the playback from the desired time 4 To make the screen disappear press the ...

Page 14: ...ent Folder icon 00 00 23 1_m p3 O f f B e c a u s e Yo u C a c t u s S a d D a y Wo n d e r f u l Parent Folder Current Folder and Peer Folders Folders and Files in Current Folder Folder Selection The folder can only be selected in the Stop mode To select the Parent Folder Press the RETURN button to go to parent folder or use the UP DOWN buttons to select and press ENTER to go to the parent folder...

Page 15: ... player will play MP3 recordings or as an assurance of sound quality You should note that certain technologies and methods for MP3 file recording on CD Rs prevent optimal playback of these files on your DVD player degraded sound quality and in some cases inability of the player to read the files This unit can play a maximum of 3 000 files and 300 folders per disc MP3 WMA Playback MPEG4 Function De...

Page 16: ...s in the pictures folder can be played automatically Konica Picture CD If you want to see the Picture select the JPEG files in the clips menu Fuji Picture CD If you want to see the Picture select the JPEG files in the clips menu QSS Picture CD The unit cannot play QSS Picture CD If the number of files in 1 Disc is over 3000 only 3000 JPEG files can be played If the number of folders in 1 Disc is o...

Page 17: ...item Then press the RIGHT or ENTER button Dolby DTS Digital Out 1 PCM Converts to PCM 2CH audio 2 Bitstream Outputs Dolby Digital or DTS Bitstream via digital output Select Bitstream when connecting to a Dolby digital and DTS Decoder Note There is no analog audio output when you play DTS sound disc MPEG 2 Digital Out 1 PCM Converts to PCM 2CH audio 2 Bitstream Outputs MPEG 2 Bitstream via digital ...

Page 18: ...Then press the ENTER button Surround Sound Speaker Setup AUDIO SETUP Dynamic Compression On PCM Down Sampling On Speaker Setup Dolby DTS Digital Out PCM MPEG 2 Digital Out PCM SPEAKER SETUP On 1 With the unit in Stop mode press the MENU button 2 Select Setup using UP DOWN buttons then press the RIGHT or ENTER button 3 Select Display Setup using UP DOWN buttons then press the RIGHT or ENTER button ...

Page 19: ...only has PAL Video input you must choose PAL When you choose PAL Interlace output format is PAL 60 Hz output If your TV system only has NTSC input you must choose NTSC Output If you set up the NTSC TV system HDMI output frame rate is 60 Hz 2 PAL Disc In case of using PAL disc If your TV system only has NTSC Video input you must choose NTSC Output If your TV system only has PAL input you must choos...

Page 20: ...rns off setup is complete Enter other codes of the same brand if the first code does not work 5 To operate the TV use the TV Function Buttons described on page 9 Important Note The remote may not be able to control every model TV of the brands listed If you replace the remote control s batteries set the brand code again ENG 38 Setting Up the Parental Control 5 Select Rating Level using UP DOWN but...

Page 21: ...SEARCH SKIP button on the front panel for 5 second The SELECT MENU LANGUAGE display will appear Select the number button of the desired language Press the MENU button and then press DOWN button to select Setup then press RIGHT or ENTER Press Up or Down to select Parental Setup The Parental Setup is now unlocked as indicated on the display You can change your password Go to the contents and find th...

Page 22: ...gnal 0 3 Vp p 75 Ω load Y 1 0 Vp p 75 Ω load Pr 0 70 Vp p 75 Ω load Pb 0 70 Vp p 75 Ω load Luminance Signal 1 0 Vp p 75 Ω load Chrominance Signal 0 3 Vp p 75 Ω load High Definition Multimedia Interface 2 Channel L 1 L R 2 R L 1 L R 2 R F L F R R L R R C T S W 48 kHz Sampling 4 Hz to 22 kHz 96 kHz Sampling 4 Hz to 44 kHz 110 dB 100 dB 0 004 General Disc Video Output Audio Output Samsung Electronics...

Reviews: