


18
2) AWB adjustment.
a. Contact to our website www.ssa.net.
b. Connect the card reader to PC and format the CF card.
※ Please use the CF card unber the 16MB.
c. Download the program[sktest05.bin] to CF card.
※ It will be changed the file name after downloading, please rename to the sktest05.bin.
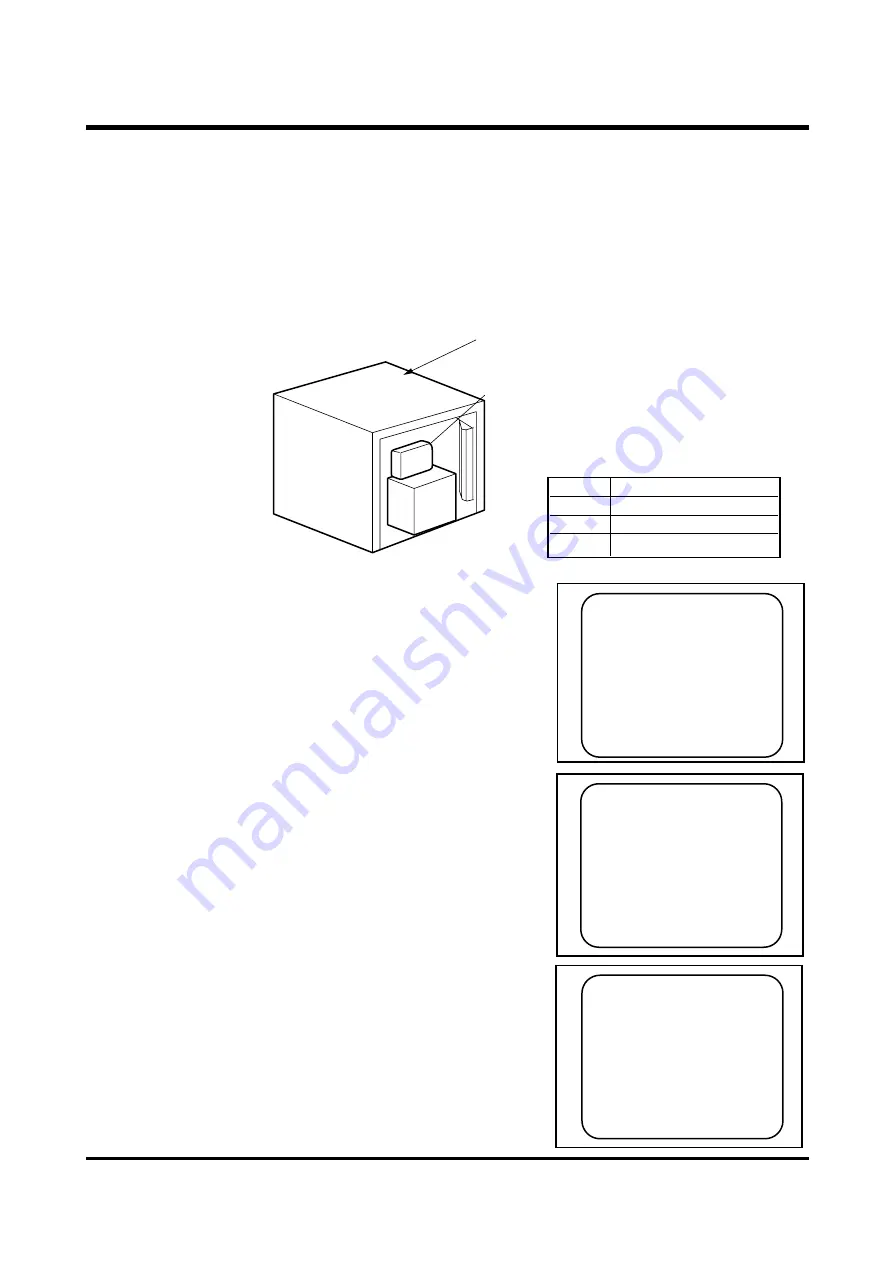
d. Set the camera as fig. no. 2.
[Fig. No. 2]
e. Set the mode dial to PC mode.
f. Turn on the power of the camera after inserting the CF card.
g. Place the camera in the AWB Light Box .
Make the room as dark as a darkroom.
h. When the message on the right appears,
Set the Light Source to A. Press the “OK”button.
i. Set the Light Source to C. Press the “OK”button.
j. Set the Light Source to FL1. Press the “OK”button.
If displayed the "FINISH", please turn off the camera.
Camera
AWB light box
SWITCH TO A LIGHT
PRESS ENTER TO START
SWITCH TO C LIGHT
PRESS ENTER TO START
SWITCH TO FL1 LIGHT
PRESS ENTER TO START
Ⅲ
Ⅲ.. A
A D
D JJ U
U S
S T
T M
M E
E N
N T
T
ITEM
COLOR
A
Tungsten(2856。K)
C
Daylight(6500。K)
FL1
Fluorescent/(4100。K)
Summary of Contents for DIGIMAX 230
Page 23: ...23 BOTTOM Ⅳ Ⅳ P PR RO OD DU UC CT T C CO ON NS ST TR RU UC CT TI IO ON N ...
Page 25: ...25 Ⅳ Ⅳ P PR RO OD DU UC CT T C CO ON NS ST TR RU UC CT TI IO ON N BOTTOM ...
Page 30: ...SAMSUNG Service Manual Service Manual SAMSUNG photo smart 230 ...
Page 33: ...SX 23 Service Manual Ver 1 0 Function Button Status LCD Tripod hole Battery door 2 ...
Page 34: ...SX 23 Service Manual Ver 1 0 Strap hole CF door A1 2 Camera Disassembly 3 ...
Page 35: ...SX 23 Service Manual Ver 1 0 STEP 1 Disassembly 7scerw STEP 2 4 ...
Page 37: ...SX 23 Service Manual Ver 1 0 6 ...
Page 38: ... B EXPLODED 7 ...
Page 39: ......
Page 40: ... C PCB C 1 1 CIRCUIT DIAGRAM 8 ...
Page 57: ... C 1 2 PCB DIAGRAM 9 ...
Page 58: ......
Page 59: ......
Page 60: ... D PARTS LIST D 1 1 ELECTRON ...
Page 74: ...24 ...
Page 76: ...D1 2 MECHANISM 25 ...
Page 109: ......


