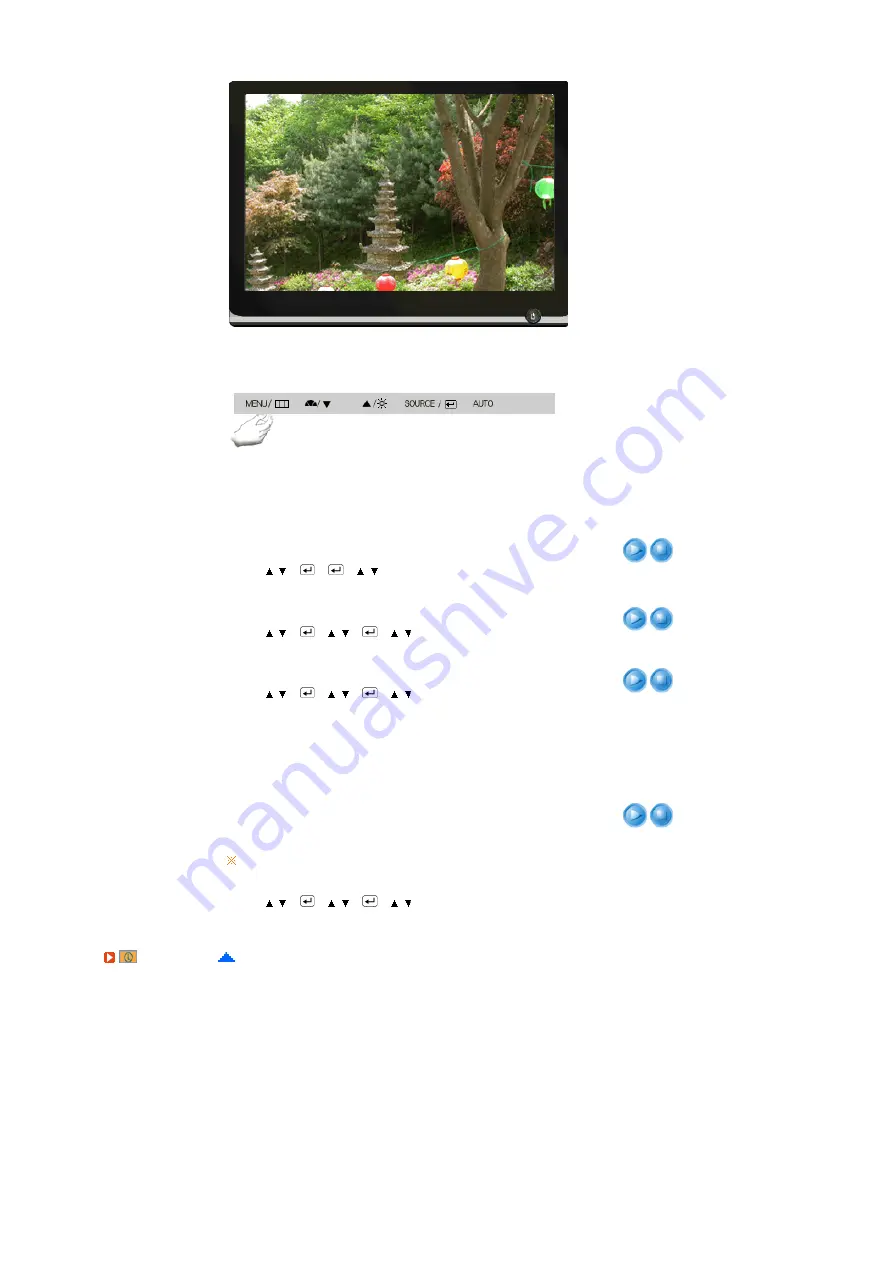
background image


Menu

Description

Play/Stop

Auto Source

Select Auto Source for the monitor to automatically select the 
signal source.  
 

MENU 


,  


,  

 MENU

Image Reset 

Image parameters are replaced with the factory default values.  
 

MENU 


,  


,  


,  

 MENU

Color Reset

Color parameters are replaced with the factory default values.  
 

MENU 


,  


,  


,  

 MENU

RTA

RTA (Response Time Accelerator)  
A function that accelerates the response speed of the panel so 
as to provide a sharper and more natural video display.  


MENU 


,  


,  


,  

 MENU

RTA On : Activates the RTA function so that the panel operates 

at a higher response speed than its original speed.

RTA Off : Deactivates the RTA function so that the panel 

operates at its original response speed.

If you turn the power off and on again after switching RTA off, 
the RTA function is automatically switched On (Factory Setting)

Information 

Summary of Contents for 906BW - SyncMaster - 19" LCD Monitor

Page 1: ...Install drivers SyncMaster 906BW...

Page 2: ...read and understand at all times Do not disassemble Disconnect the plug from the outlet Do not touch Ground to prevent an electric shock Power When not used for extended period of time set your compu...

Page 3: ...ug and wire nor place heavy objects upon them which could cause damage This may cause electric shock or fire Do not connect too many extension cords or plugs to one outlet This may cause fire Do not d...

Page 4: ...t or the person carrying it Install the monitor base in a showcase or shelf so that the end of the base does not protrude from the showcase or shelf Dropping the product may cause damage to the produc...

Page 5: ...vice specified in the owner s manual When installing the product make sure to keep it away from the wall more than 10 cm 4 inches for ventilation purposes Poor ventilation may cause an increase in the...

Page 6: ...as wax benzene alcohol thinners insecticide air freshener lubricant or detergent Contact the SAMSUNG customer care center or Customer Center for interior cleaning once a year Keep the product s inter...

Page 7: ...ng period of time Failure to do so may cause electric shock or fire Do not try to move the monitor by pulling only the wire or the signal cable This may cause a breakdown electric shock or fire due to...

Page 8: ...nitor for an extended period of time Adjust the resolution and frequency to the level appropriate for the model An inappropriate resolution may cause undesirable picture quality 19 inch Wide 48 cm 144...

Page 9: ...or cause personal injury Good Postures When Using the Monitor Try to maintain a good posture when using the monitor z Keep your back straight z Keep a distance of about 45 50 cm between your eyes and...

Page 10: ...es of wastes and recycle it responsibly to promote the sustainable reuse of material resources Household users should contact either the retailer where they purchased this product or their local gover...

Page 11: ...Mode Ex z Turn the power off when using a stationary pattern z Use a Screen saver if possible z Set the Monitor to power off with the PC Display Properties Power Scheme Turn the power off for 4 hours...

Page 12: ...atterns When the LCD panel is operated for a long time with a fixed pattern over 12 hours there may be slight difference in voltage between electrodes that work the liquid crystal LC in a pixel The vo...

Page 13: ...an its original speed RTA OFF Deactivates the RTA function so that the panel operates at its original response speed If you turn the power off and on again after switching RTA off the RTA function is...

Page 14: ...tor Simple stand Manual Quick Setup Guide Warranty Card Not available in all locations User s Guide Monitor Driver Cable Power Cord D sub Cable Others Cleaning Cloth Sold separately DVI Cable Your Mon...

Page 15: ...settings by simply pressing MagicBright control button 1 Custom Although the values are carefully chosen by our engineers the pre configured values may not be comfortable to your eyes depending on yo...

Page 16: ...e this button for turning the monitor on and off Power indicator This light glows blue during normal operation and blinking blue once as the monitor saves your adjustments See PowerSaver described in...

Page 17: ...n the video card Connect the signal cable to the 15 pin D sub port on the back of your monitor RGB IN Using the DVI Digital connector on the video card Connect the DVI Cable to the DVI Port on the bac...

Page 18: ...r monitor and unplug its power cord Lay the LCD monitor face down on a flat surface with a cushion beneath it to protect the screen Remove three screws and then remove the stand from the LCD monitor A...

Page 19: ...r program file at the Internet web site shown below Internet web site http www samsung com Worldwide http www samsung com monitor U S A http www sec co kr monitor Korea http www samsungmonitor com cn...

Page 20: ...the Monitor Driver Manual Windows XP Windows 2000 Windows ME Windows NT Linux Microsoft Windows XP Operating System Insert the CD into the CD ROM drive Click Start Control Panel then click the Appear...

Page 21: ...click the Next button If you can see following Message window then click the Continue Anyway button Then click the OK button This monitor driver is under certifying MS logo and this installation doesn...

Page 22: ...click the Next button Choose Display a list of the known drivers for this device so that I can choose a specific driver then click Next and then click Have disk Click the Browse button then choose A D...

Page 23: ...there is no Mode at All Display Modes select the level of resolution and vertical frequency by referring to the Preset Timing Modes in the user guide Linux Operating System To execute X Window you ne...

Page 24: ...return to the previous menu These buttons allow you to adjust items in the menu Press this button to activate a highlighted menu item AUTO When the AUTO button is pressed the Auto Adjustment screen ap...

Page 25: ...he values of fine coarse and position are adjusted automatically Available in Analog mode only To make the automatic adjustment function sharper execute the AUTO function while the AUTO PATTERN is on...

Page 26: ...gs Locked Hold down the menu button for more than five 5 seconds to activate the OSD adjustment lock function Unlock Hold down the menu button for more than five 5 seconds to deactivate the OSD adjust...

Page 27: ...right button to circle through available preconfigured modes seven different modes Custom Text Internet Game Sport Movie Dynamic Contrast Brightness Menu Description Brightness When OSD is not on the...

Page 28: ...alog Digital OSD Function Picture Brightness Contrast Color MagicColor Color Tone Color Control Gamma Image Coarse Fine Sharpness H Position V Position OSD Language H Position V Position Transparency...

Page 29: ...preference Direct Access Feature When OSD is not on the screen push the button to adjust brightness Click here to see an animation clip MENU MENU Contrast You can use the on screen menus to change th...

Page 30: ...ly vivid natural color but also more realistic natural skin color with clearness Intelligent Displays vivid natural color with clearness Color Tone The tone of the color can be changed and one of four...

Page 31: ...se such as horizontal stripes If the noise persists even after fine tuning repeat it after adjusting the frequency clock speed MENU MENU Sharpness Changes the clearance of image Not available in Magic...

Page 32: ...e the OSD menu appears on your monitor MENU MENU V Position You can change the vertical position where the OSD menu appears on your monitor MENU MENU Transparency Change the transparency of the backgr...

Page 33: ...A Response Time Accelerator A function that accelerates the response speed of the panel so as to provide a sharper and more natural video display MENU MENU RTA On Activates the RTA function so that th...

Page 34: ...Menu Description Information Shows a video source display mode on the OSD screen MENU...

Page 35: ...n which can be seen If the initial screen the login screen appears boot the computer in the applicable mode the safe mode for Windows ME XP 2000 and then change the frequency of the video card Refer t...

Page 36: ...he video card manual The screen suddenly has become unbalanced Have you changed the video card or the driver Adjust screen image position and size using the OSD Have you adjusted the resolution or fre...

Page 37: ...river If problems repeatedly occur contact an authorized service center Q A Question Answer How can I change the frequency The frequency can be changed by reconfiguring the video card Note that video...

Page 38: ...ere is something wrong with the input signal a message appears on the screen or the screen goes blank although the power indicator LED is still on The message may indicate that the monitor is out of s...

Page 39: ...440 X 900 60 Hz message comes up disconnect the cable from the computer while the monitor is still powered on If there is a message coming up on the screen or if the screen goes white this means the m...

Page 40: ...Synchronization Horizontal 30 81 kHz Vertical 56 75 Hz Display Color 16 7M Colors 8bit Resolution Optimum resolution 1440 X 900 60 Hz Maximum resolution 1440 X 900 75 Hz Input Signal Terminated RGB An...

Page 41: ...o be bright sometimes or some of black pixels could be seen This is not from bad quality and you can use it without uneasiness For example the number of TFT LCD sub pixels that is contained in this pr...

Page 42: ...ng Modes Display Mode Horizontal Frequency kHz Vertical Frequency Hz Pixel Clock MHz Sync Polarity H V IBM 640 x 350 31 469 70 086 25 175 IBM 640 x 480 31 469 59 940 25 175 IBM 720 x 400 31 469 70 087...

Page 43: ...zontally is called Horizontal Cycle and the inverse number of the Horizontal Cycle is called Horizontal Frequency Unit kHz Vertical Frequency Like a fluorescent lamp the screen has to repeat the same...

Page 44: ...LE 800 726 7864 SAMSUNG http www samsung com cl COLOMBIA 01 8000 112 112 http www samsung com co COSTA RICA 0 800 507 7267 http www samsung com latin ECUADOR 1 800 10 7267 http www samsung com latin E...

Page 45: ...amsung com uk SLOVAKIA 0850 123 989 http www samsung com sk SPAIN 902 10 11 30 http www samsung com es SWEDEN 08 585 367 87 http www samsung com se U K 0870 SAMSUNG 7267864 http www samsung com uk CIS...

Page 46: ...e bottom sequentially is called the Non Interlace method while showing odd lines and then even lines in turn is called the Interlace method The Non Interlace method is used for the majority of monitor...

Page 47: ...need to be away from the monitor for an extended period of time Authority Information in this document is subject to change without notice 2007 Samsung Electronics Co Ltd All rights reserved Reproduct...

Reviews: