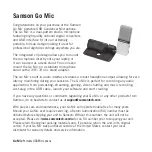
Go Mic
Portable USB Microphone
Follow this simple quick start for a typical set-up to start recording.
Using the Go Mic with a computer
1.
Unfold the Go Mic, press the clip in and set the microphone on the top of your
laptop screen. If you prefer, you can position the Go Mic on your desktop by using
back of the clip as a desk stand.
2.
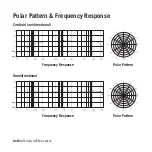
Set the Go Mic’s pattern switch. If you are recording a single person, set the switch
to the Cardioid position and be sure to face the front side, with the Samson logo. If
recording multiple subjects, set the switch to the Omni position.
3.
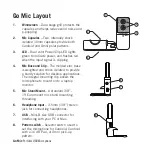
Connect headphones to the Headphone output located on the side of the microphone.
4.
Plug the mini-B (small) end of the USB cable to the Go Mic and plug the other end of the
cable into an available USB port on your computer.
5.
Launch your recording software, turn down the main output level and select the Go Mic for
the input and outputs.
6.
Set up a mono record track in your software.
7.
Set the level of the microphone following the instructions in “Connecting to a Computer” .
8.
Set the level of your headphones to a comfortable listening level by following the steps in
the section “Connecting to a Computer”.
9.
Press the record button and start creating.
Quick Start
Summary of Contents for Go Mic
Page 1: ...Owner s Manual...
Page 2: ......


