Revised A
49
6301
6. Assembly and disassembly (continued)
6.1 Aluminium cover and shaping air shroud 65EC version (continued)
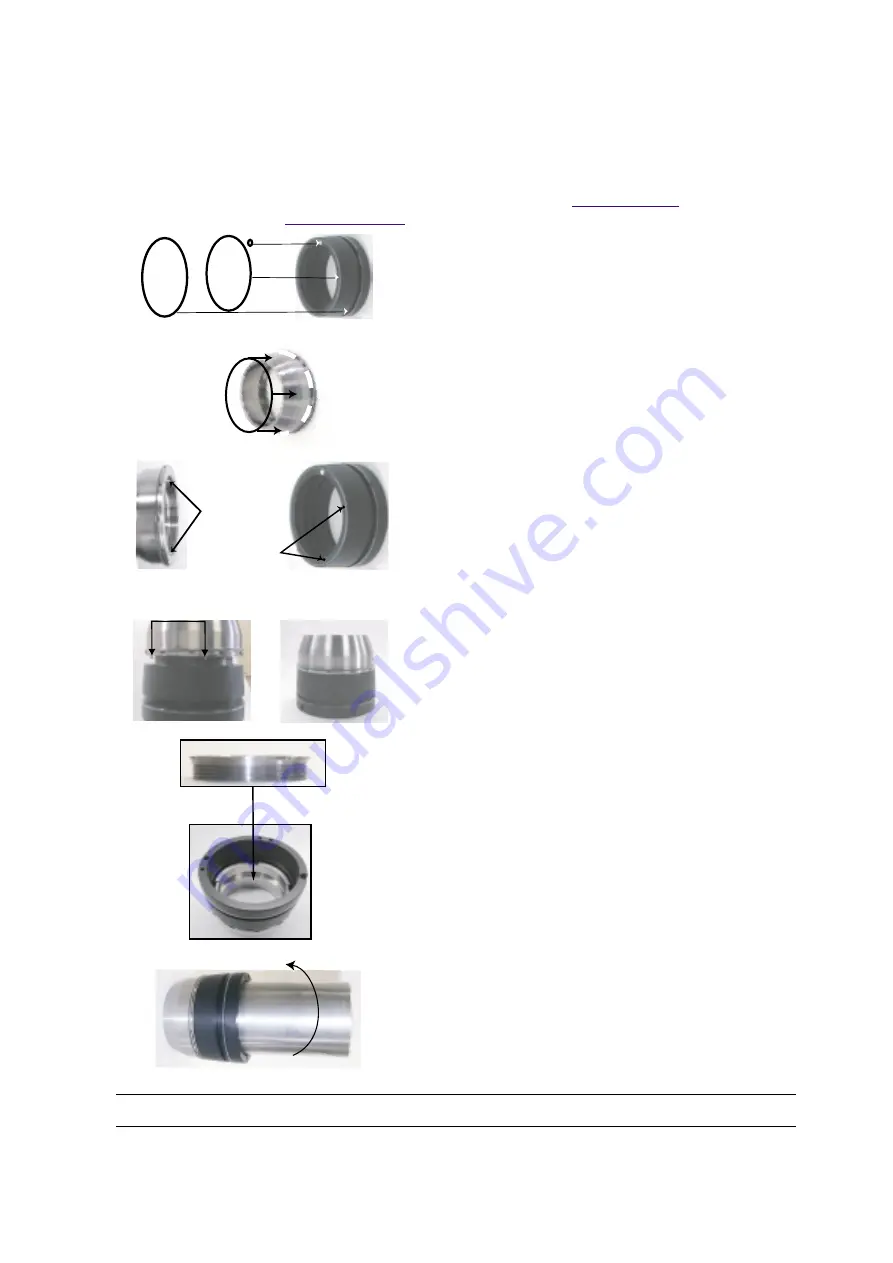
6.1.2. Assembly
Clean all components and inspect for damage, replace if necessary (
Note: O-ring kit available
.
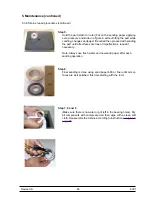
• Step 1: Place the o-rings onto the shaping air shroud
(item 4-5-8)
• Step 2: Slide o-ring over the shaping air insert until it sits
in its groove.
• Step 3: Align the shaping air insert to the shaping air
shroud, be careful not to damage the o-rings.
• Step 4: Secure the shaping air insert to the shaping air
shroud by placing the shaping air nut evenly
inside the shaping air shroud as illustrated and
tighten lightly with fingers.
• Step 5: Secure in place with shaping air nut removal and
installation tool P/N 72-1126-00.
• Step 6: Align the whole assembly to the robotic elbow,
place the aluminium cover over the assembly,
secure it by hand then tighten it with the wrench
1308689.
Alignment holes
Alignment pins
Shaping air nut
Alignment pins

