1.
Plug one end of the USB cable provided into the USB slot on your camera.
2.
Plug the other end of the USB cable into a USB port on your computer.
3.
Make sure that your camera is connected and turned ON.
4.
WAIT
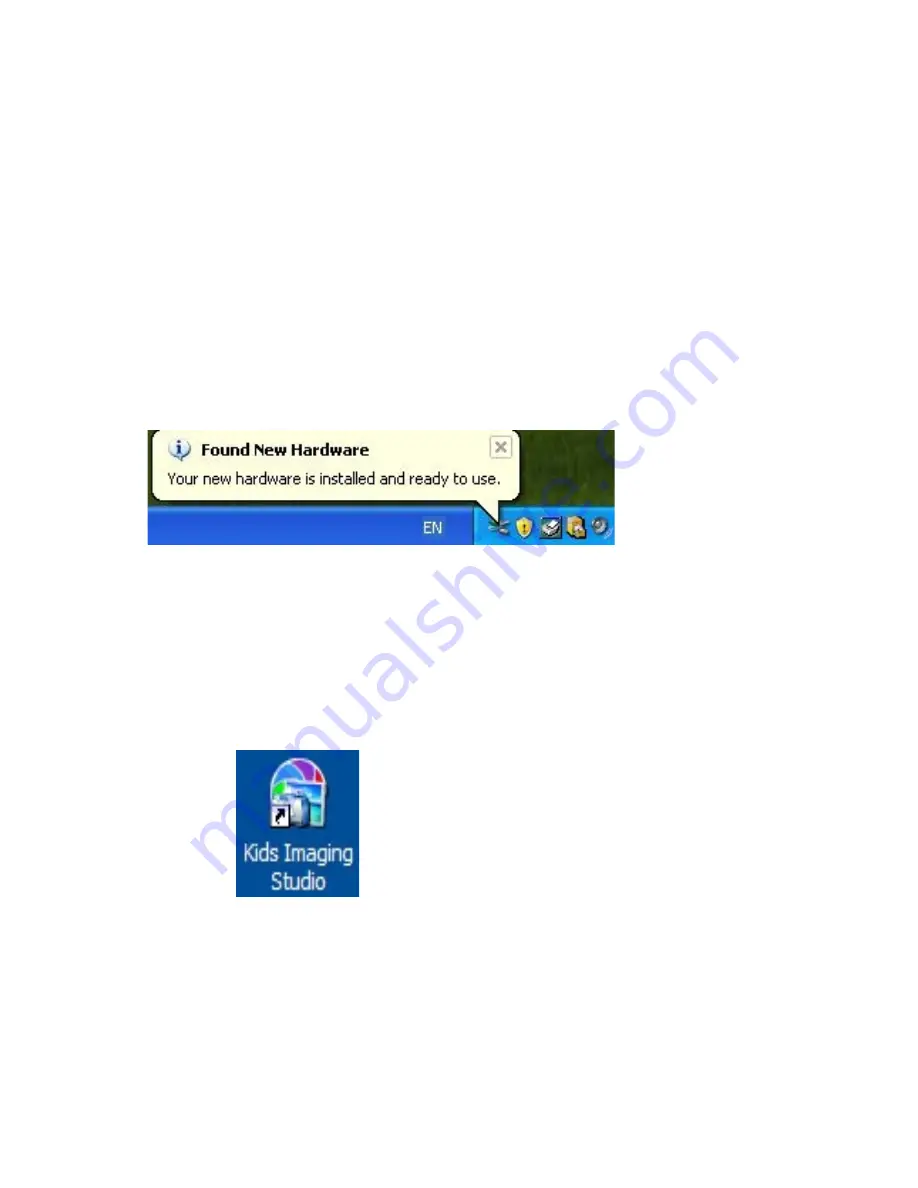
for the computer to recognize your camera. In Windows XP a message box will appear on the Task
Bar informing you that “Found New Hardware – your new hardware is installed and ready to use”.
Note
: The camera will not function correctly if you open the application BEFORE the camera is recognized by the
computer.
5.
Double-click the “Kids Imaging Studio” icon on your desktop to launch the “Kids Imaging Studio”
application.
27
Summary of Contents for 32490
Page 5: ...A Quick Look at your Digital Video Camera 5 ...
Page 9: ...Playback mode 9 ...
Page 21: ...6 Click Next to begin installation of muvee AutoProducer 21 ...
Page 28: ...Click on the Get Photos button on the Main Menu 28 ...
Page 37: ...Technical Specifications 37 ...
Page 41: ...41 ...
Page 42: ...42 ...


