27
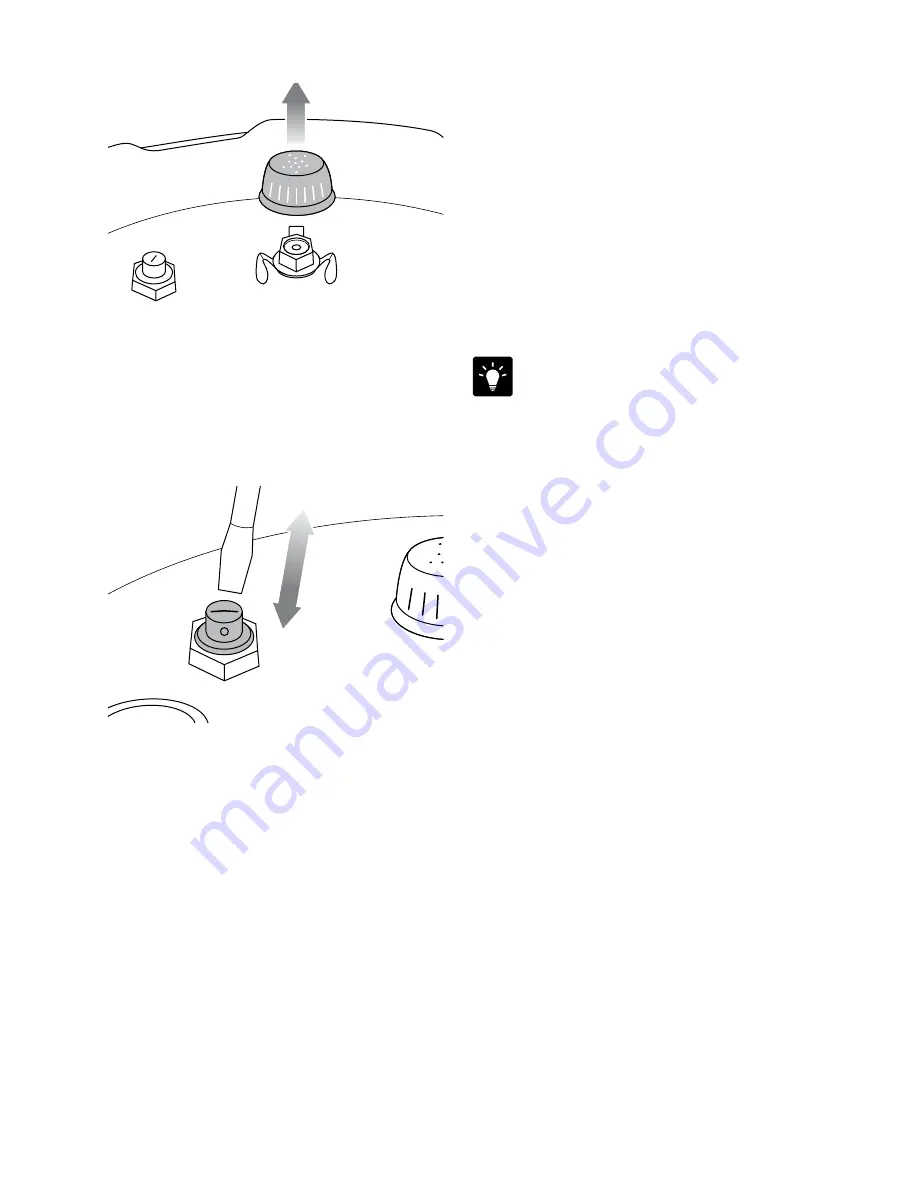
c) Pressure safety valve is clean and free of
food or liquid. To clean, push the valve from
inside so the valve sits open on the
lid and remove any oil or food residue.
Ensure the valve moves in and out smoothly
after cleaning.
7. Attach the clean silicone lid seal securely
back around the wire ring on the underside
of the lid. Adjust position if necessary so
that it sits comfortably and is free from
any distortions.
8. To reattach the lid, orient the lid so that the
steam release valve housing is to the rear of
the unit, and then align the centre of the lid
with the bolt on the underside of the lid arm
and push into position to expose the screw
thread. Secure the lid by screwing on the
sealing nut so that the red seal touches the
lid surface.
CLEANING THE STEAMING TRAY
AND TRIVET
1. Wash all accessories in warm soapy water
with a soft sponge or soft plastic scouring
pad. Rinse and dry thoroughly.
Do not use abrasive cleansers, metal
scouring pads or metal utensils to clean
any of the accessories as they may damage
the surfaces.
2. To extend the life of your accessories,
we do not recommend that these be placed
in the dishwasher.
TIP
To help eliminate food odours, combine 2 cups
(500ml) hot water,
½
cup (125ml) lemon juice,
1 tablespoon lemon rind and 1 tablespoon
vanilla extract in the removable cooking bowl.
Pressure cook at 80kPa for 5 minutes using
Natural steam release.
STORAGE
1. Ensure the cooker is turned off by pressing
the STOP/CANCEL button on the control
panel. The cooker is off when the button
backlight is no longer illuminated.
2. Remove the power plug from the power
outlet. Allow the cooker and all accessories
to cool completely before disassembling
and cleaning.
3. Ensure the cooker and all accessories are
clean and dry.
4. Ensure the bowl is inserted into the cooker;
the trivet is inserted into the steaming tray
and placed inside the bowl.
5. Ensure the lid is closed and in the
locked position.
6. Store the appliance in an upright position
standing level on its support legs. Do not
store anything on top.
Summary of Contents for BPR700
Page 1: ...the Fast Slow Pro Instruction Book BPR700...
Page 8: ...8 Components C B D F G H J K I L M N A P O E Q R S T...
Page 29: ...29 Notes...
Page 30: ...30 Notes...
Page 31: ......


