Powered by Safety
®
41
Installation
01.4IB.77020
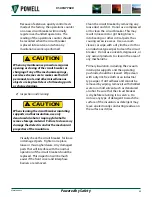
b. To insert the circuit breaker into the
connected position, remove the padlock
, open the emergency
racking drive shaft shutter
and place the racking handle socket
onto the emergency racking drive shaft.
The racking handle socket may be used
to push down the shutter to gain access
to the racking drive shaft.
c. Turning the racking handle
counterclockwise will begin to rack the
circuit breaker into the compartment.
When the circuit breaker is racked into
the compartment, the force needed
to rotate the racking handle will be
low at the beginning of motion as
the movement of the racking crank
arms is only opening the shutters.
Once the shutters are open, the circuit
breaker begins to move toward the
stationary primary disconnecting
devices. When the movable primary
disconnecting devices of the circuit
breaker engage with the stationary
primary disconnecting devices of the
compartment, the force required to
rotate the racking handle will increase
appreciably. This force will decrease
as the primary disconnecting devices
spread and engage fully. Continuing
rotation of the racking handle will
cause the circuit breaker to travel
further into the compartment ensuring
wipe or overlap of the primary
disconnecting devices. Continue
racking until the breaker position
indicator displays
“CONN”
. When
the circuit breaker reaches the end of
the racking travel, the user will notice
an increased amount of force. If the
operator continues to apply force, a
torque limiter on the racking handle
will produce a sharp clicking sound
indicating the torque limit is reached at
35-ft-lb. Should the operator continue
to apply force, the torque limiter will
continue to operate with no further
buildup of torque on the circuit breaker
racking mechanism.
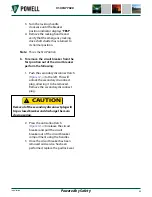
d. Once the circuit breaker has reached the
connected position, remove the racking
handle, visually verify the emergency
racking drive shaft shutter has returned
to its normal position, close the
compartment door, and operate the
circuit breaker as required.
Note:
This is the Connected Position.
4) Removing the Circuit Breaker from the
Connected to the Test/Disconnected Position
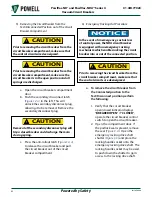
Prior to removing the circuit breaker from the
circuit breaker compartment, make sure that
the control circuits are deenergized.
!
CAUTION
Prior to removing the circuit breaker from the
circuit breaker compartment, make sure the
circuit breaker is in the open position and all
springs are discharged.
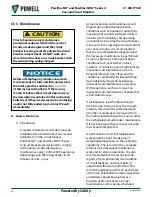
!
CAUTION
The preferred method of racking the NDA
circuit breaker is electrically from a remote
location via Sentry remote controller. Refer
to the instruction bulletin provided with the
controller for detailed information on the
automatic racking procedures.
NOTICE

