

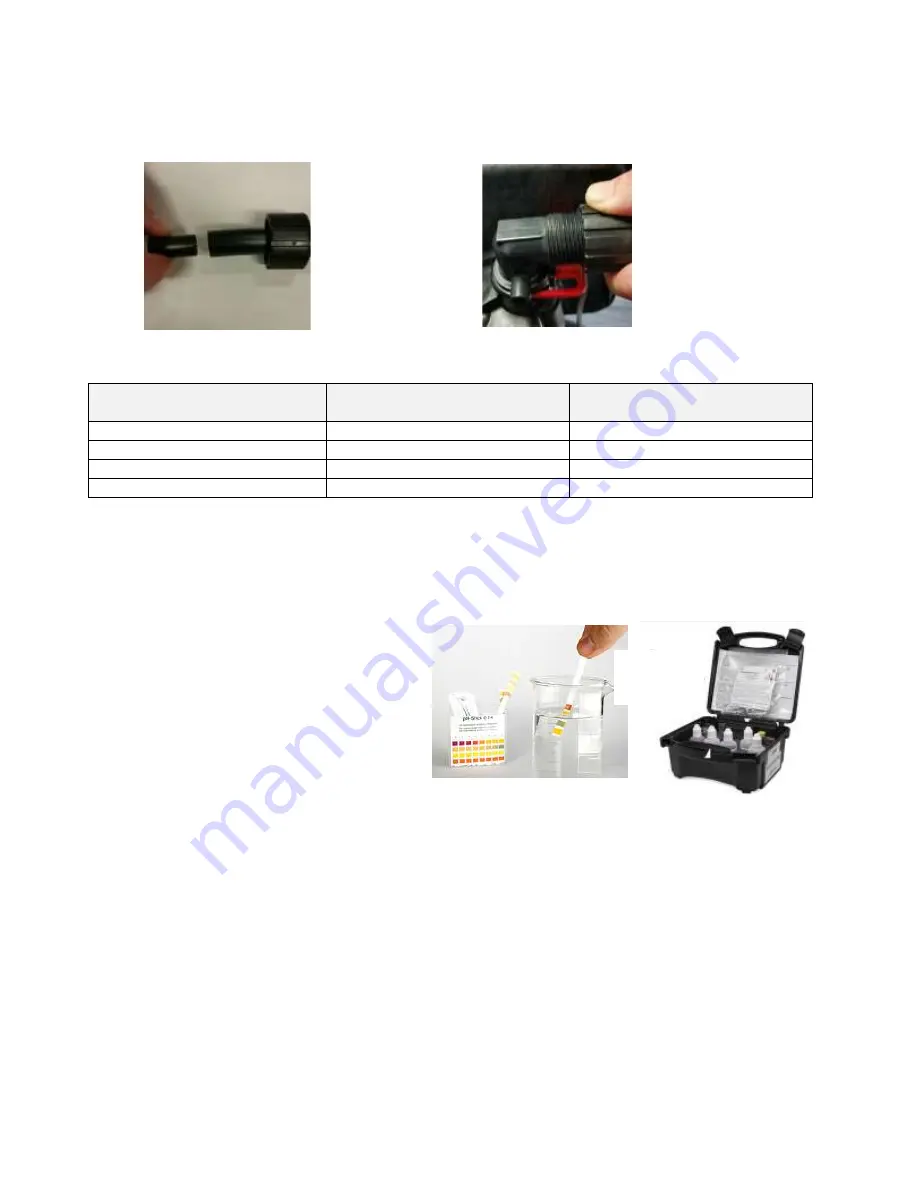
Water test
It is essential to complete a water test, prior to start-up and valve programming.
Check the following parameters:
Hardness
pH
Chlorine
TDS
System placement
1.
Locate main water line and determine where to place the unit (near power outlet and where the
drain can be located.
2.
Install system on main water line before the water heater.
Be sure the by-pass is closed. If a filter is to be installed, install it before the softener.
-3-
To set clock
Press and hold SET button until hour blinks. Arrow up or down to set hour. Press SET to adjust minutes.
Adjust minutes and press SET to exit. (Keep in mind the clock is a 12 hour clock. If arrow on the face plate
points to time, this is AM. If arrow points to PM, this is PM.
Note: If arrow is blinking on REGEN, this means unit will regen tonight.
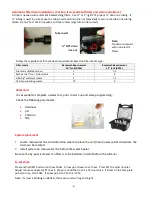
Automatic filter drain installation. (Carbon, Iron, sediment filters and acid neutralizers.)
A drain is needed with automatic backwashing filters. Use ¾” or 1” rigid PVC pipe or ½” drain line tubing. If
½” tubing is used, be sure to use the tube insert and drain line nut (provided) to secure the drain line tubing.
(Note: Do not “tee” drain line with a softener unless larger drain line is used.)
Tube insert
¾” NPT drain
line nut
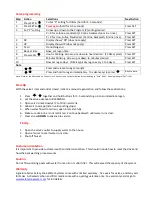
Follow these guidelines for backwash requirements based on filter media type:
Filter media
Backwash Requirement
10” tank (GPM)
Backwash Requirement
12” tank (GPM)
Granular activated carbon
5
7.5
Katalox Lite® Iron / Sulfur media
6
8
FilterAg® sediment media
5
7.5
Calcite neutralizing media
7.5
9
Note:
No drain is needed
with non-electric
filters.


