12
5
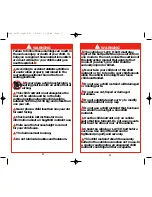
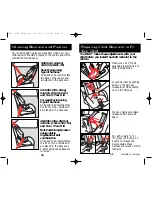
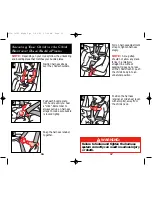
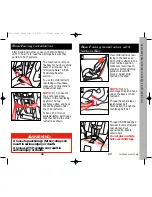
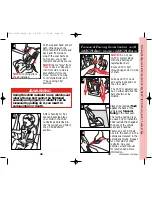
Place the child’s bottom
and back flat against the
child restraint.This will
increase comfort and allow
the harness to properly
tighten.
Rear-Facing Position:
Harness guide must be
even with or just below
the shoulders.
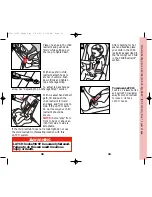
If the harness guide is
above the child’s shoulders
with the headrest in the
lowest position,
do not
use this child restraint.
Use an infant child
restraint instead.
Harness
Guide
6
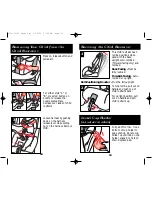
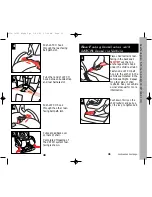
Forward-Facing Position: Harness guide must be
even with or just above
the shoulders.
If the harness guide is below the child’s shoulders with
the headrest in the 4th highest position, the child
weighs at least 40 lbs. (18.1 kg) and is over 1 year old,
convert the seat to a belt-positioning booster.
Check Harness/Headrest Height
WARNING:
!
Make sure
metal bar
is locked
into
position. Failure to
do this can result in
serious injury or
death.
7
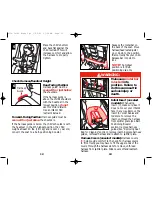
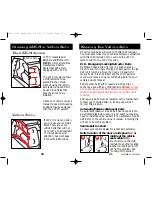
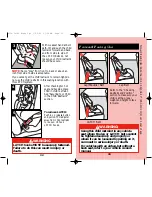
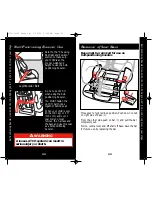
Squeeze the metal bar on
the back of the seat. Move
harness/headrest adjuster
up or down to the position
that correctly fits your child.
Release bar into slot to
lock.
NOTE:
The highest
position is for belt-
positioning use only.
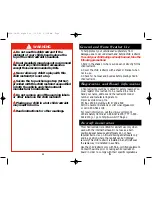
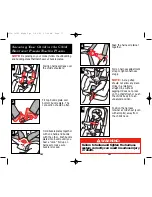
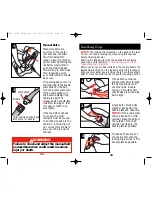
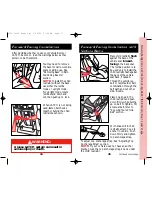
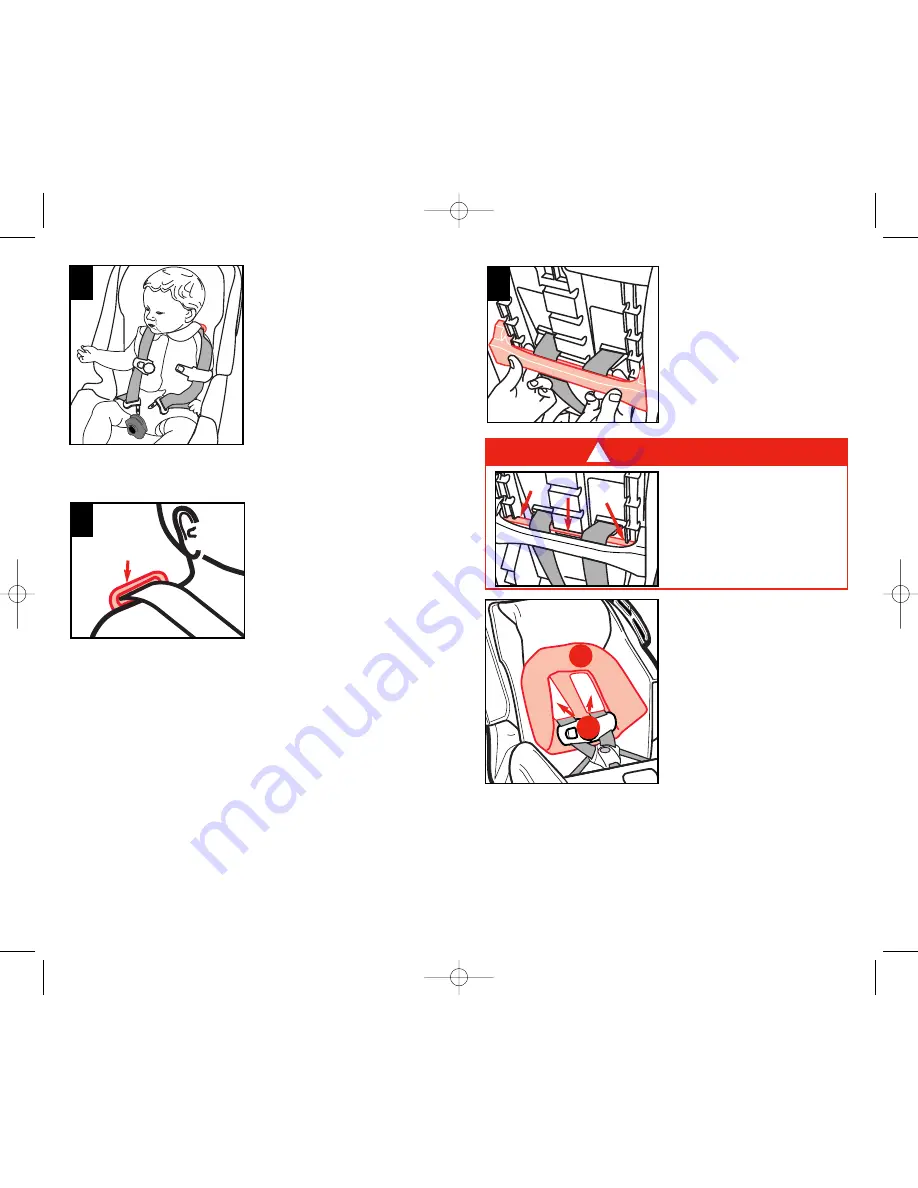
Infant Insert (on select
models): When using
insert
(A)
, make sure insert
does not cover your infant’s
face in any way. Remove the
insert for older babies and
toddlers.To remove the
insert, unthread the harness
from splitter plate (see Belt-
Positioning Booster
section), remove harness
guides (see “Removing Seat
Pad for Cleaning” section), remove insert. Replace harness
guides, rethread harness and reattach to splitter plate.
Harness Covers (on select models): Harness covers
(B)
help provide comfort to the neck. For harness covers
to fit correctly, you may have to fit the upper ends of the
covers through the harness slots.To remove, unthread
harness from splitter plate. Slide covers off and reattach
harness.
A
B
13
4358-3410D Alpha 5pt 1/26/06 11:39 AM Page 15


