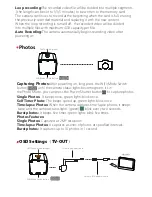
Capturing Photos:
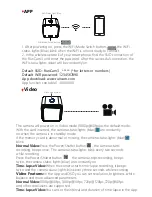
After powering on, long press the WiFi/Mode Switch
button until the camera status lights become green, it's in
the Photo Mode, you can press the Power/Shutter button to capture photos.
· OSD Settings
(
TV-OUT
)
·
Photos
Photo Mode (green)
WiFi/Mode Switch Button
OSD Setup Mode (orange)
WiFi/Mode Switch Button
Single Photos:
It beeps once, green lights blink once.
Self Timer Photo:
The beeps speed up, green lights blink once.
Time-lapse Photos:
When the camera captures time-lapse photos, it beeps
twice and the camera status lights (green) blink every two seconds.
Burst photos:
It beeps five times, green lights blink five times.
Photos Features:
Single Photos:
Captured at 2MP resolution.
Time-lapse Photos:
It captures a series of photos at specified intervals.
Burst photos:
It captures up to 10 photos in 1 second
Loop recording:
The recorded video file will be divided into multiple segments
(the length can be set to 1/3/5 minutes) to be written to the memory card.
The camera continues to record at the beginning when the card is full, erasing
the previously recorded material and replacing it with the new content.
When the loop recording is turned off, the recorded video will be divided
into multiple files with maximum 4GB capacity per file.
Auto Recording:
The camera automatically begins recording video after
powering on.
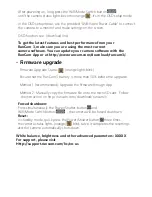
TV-out and power cable
Servo to RCA adapter cable
Summary of Contents for RunCam 3
Page 1: ...RunCam 3 User Manual...

