background image

By

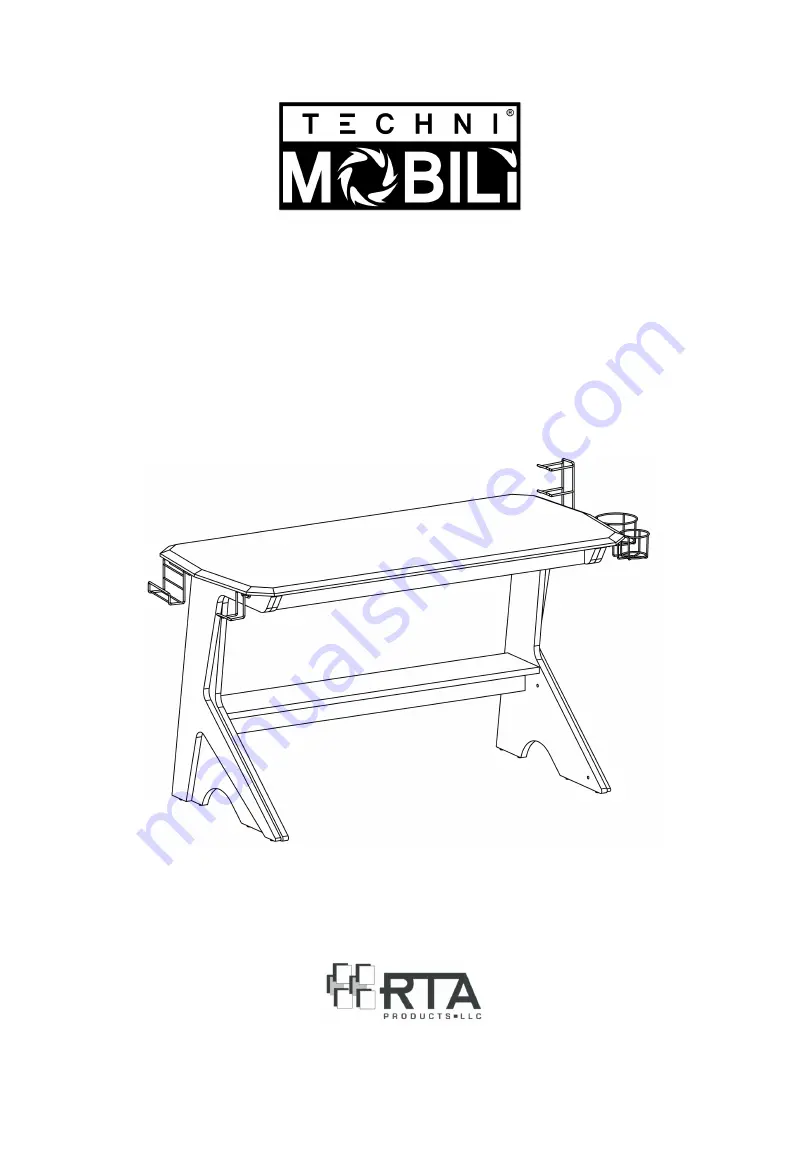
MODEL RTA-3992D

ASSEMBLY INSTRUCTIONS 

Thank you for purchasing one of our products.

Please read carefully the assembly instructions before the installation.


Do not discard this manual or any of the packaging material until the unit 

has been completely assembled

.

Summary of Contents for Techni Mobili RTA-3992D

Page 1: ...STRUCTIONS Thank you for purchasing one of our products Please read carefully the assembly instructions before the installation Do not discard this manual or any of the packaging material until the unit has been completely assembled ...

Page 2: ...ure Left ornament panel Right ornament panel MAIN PARTS LIST Right leg structure x1 x1 Main panel Back panel x1 x2 Middle shelf Support panels x1 x1 Small accessory holder Large cup holder x1 Control holder x1 Large cup holder x1 Small cup holder ...

Page 3: ...mbly step it is a guide for when you are actually doing the assembly using this kind of hardware 1 Screw the bolt into the corresponding panel 2 In the other panel insert the cam lock and align it so it can properly receive the bolt then join both panels the cam locks might come pre installed in this unit 3 The panels might have a very small gap which is normal turn the cam lock clockwise to lock ...

Page 4: ...eeding to do the assembly Do not overtighten or force the screws as they might break strip damage the threads of the holes or get stuck inside the part Make sure you understand which hardware will be used on each step Using the wrong size of screw bolt or pin might strip the threads or cause damage to the part in which it is being used To avoid misalignments always leave the screws loose and tight...

Page 5: ... screws Ⓒ to assemble in between the left and right leg structures and The shelf and support panel in the middle The other support panel at the front top The back panel at the back top IMPORTANT Screw loosely and tighten only after all the panels are in place YES NO X All the panels come with pre aligned insert nuts that look like screws Please check them first and re align them with screwdriver i...

Page 6: ...P 3 Hardware Tools 🅑🅑 6x30mm 12 Pcs First screw the bolts Ⓐ into the underside holes of the main panel then align the cam locks on the leg structures and and assemble the main panel as shown and as explained in page 3 STEP 4 Hardware Tools 🅐 6x40mm 8 Pcs Refer to page 3 Pay attention to the orientation of the main panel Front ...

Page 7: ... the sides of your choice and in the configuration of your preference STEP 5 Hardware Tools 🅓 4x14mm 14 Pcs ALL DONE Give yourself a nice pat on the back You did a great job Before you start using the unit make sure that all the screws bolts cam locks etc are properly tightened and read all the warnings in the next page ...

Page 8: ...ny object that is heavy or might fall off When lifting the unit use both hands and bend your knees not your backs When transporting the unit to places far away protect and secure the unit to avoid damage in transit Shall any part of the unit become defective during the warranty period replacement parts might be available to you at no charge Please refer to the WARRANTY card included with the produ...

Reviews: